Category: Fundamentals and setup

  • Creating landing pages

    This guide walks you through how to create, design, and publish a landing page in Sender for the first time.

    Where to find this feature

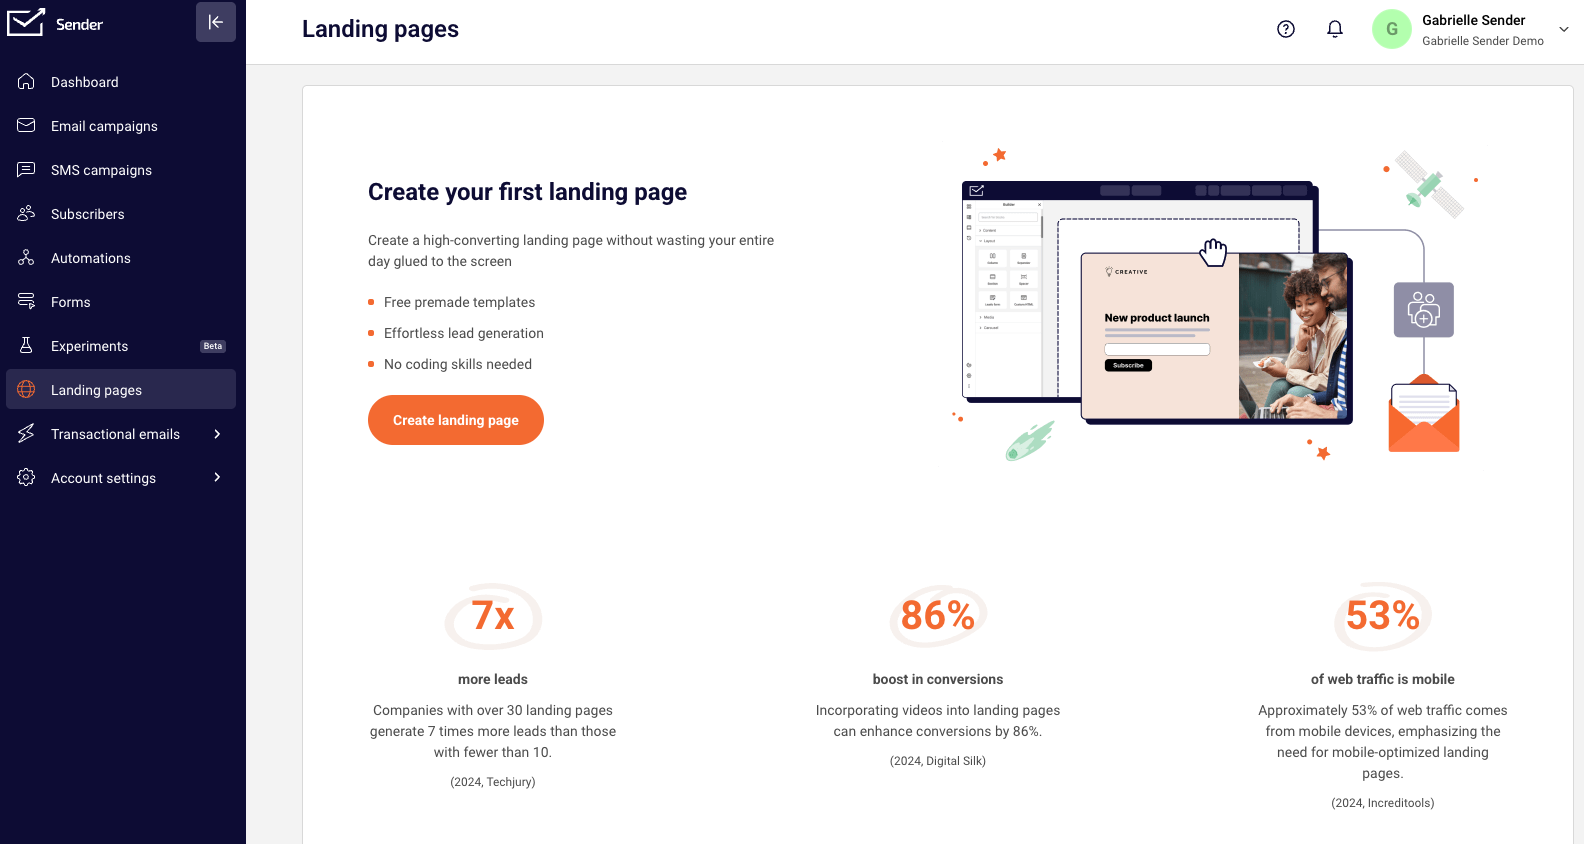
    In the Sender dashboard, go to: Landing pages in the left sidebar.

    If you have not created any landing pages yet, you will see a welcome screen with a Create landing page button. If you already have landing pages, you will see a list of your existing pages with their names, URLs, statuses, and action icons, along with a Create landing page button in the top-right corner.

    Steps to create a landing page

    Step 1 — Start a new landing page

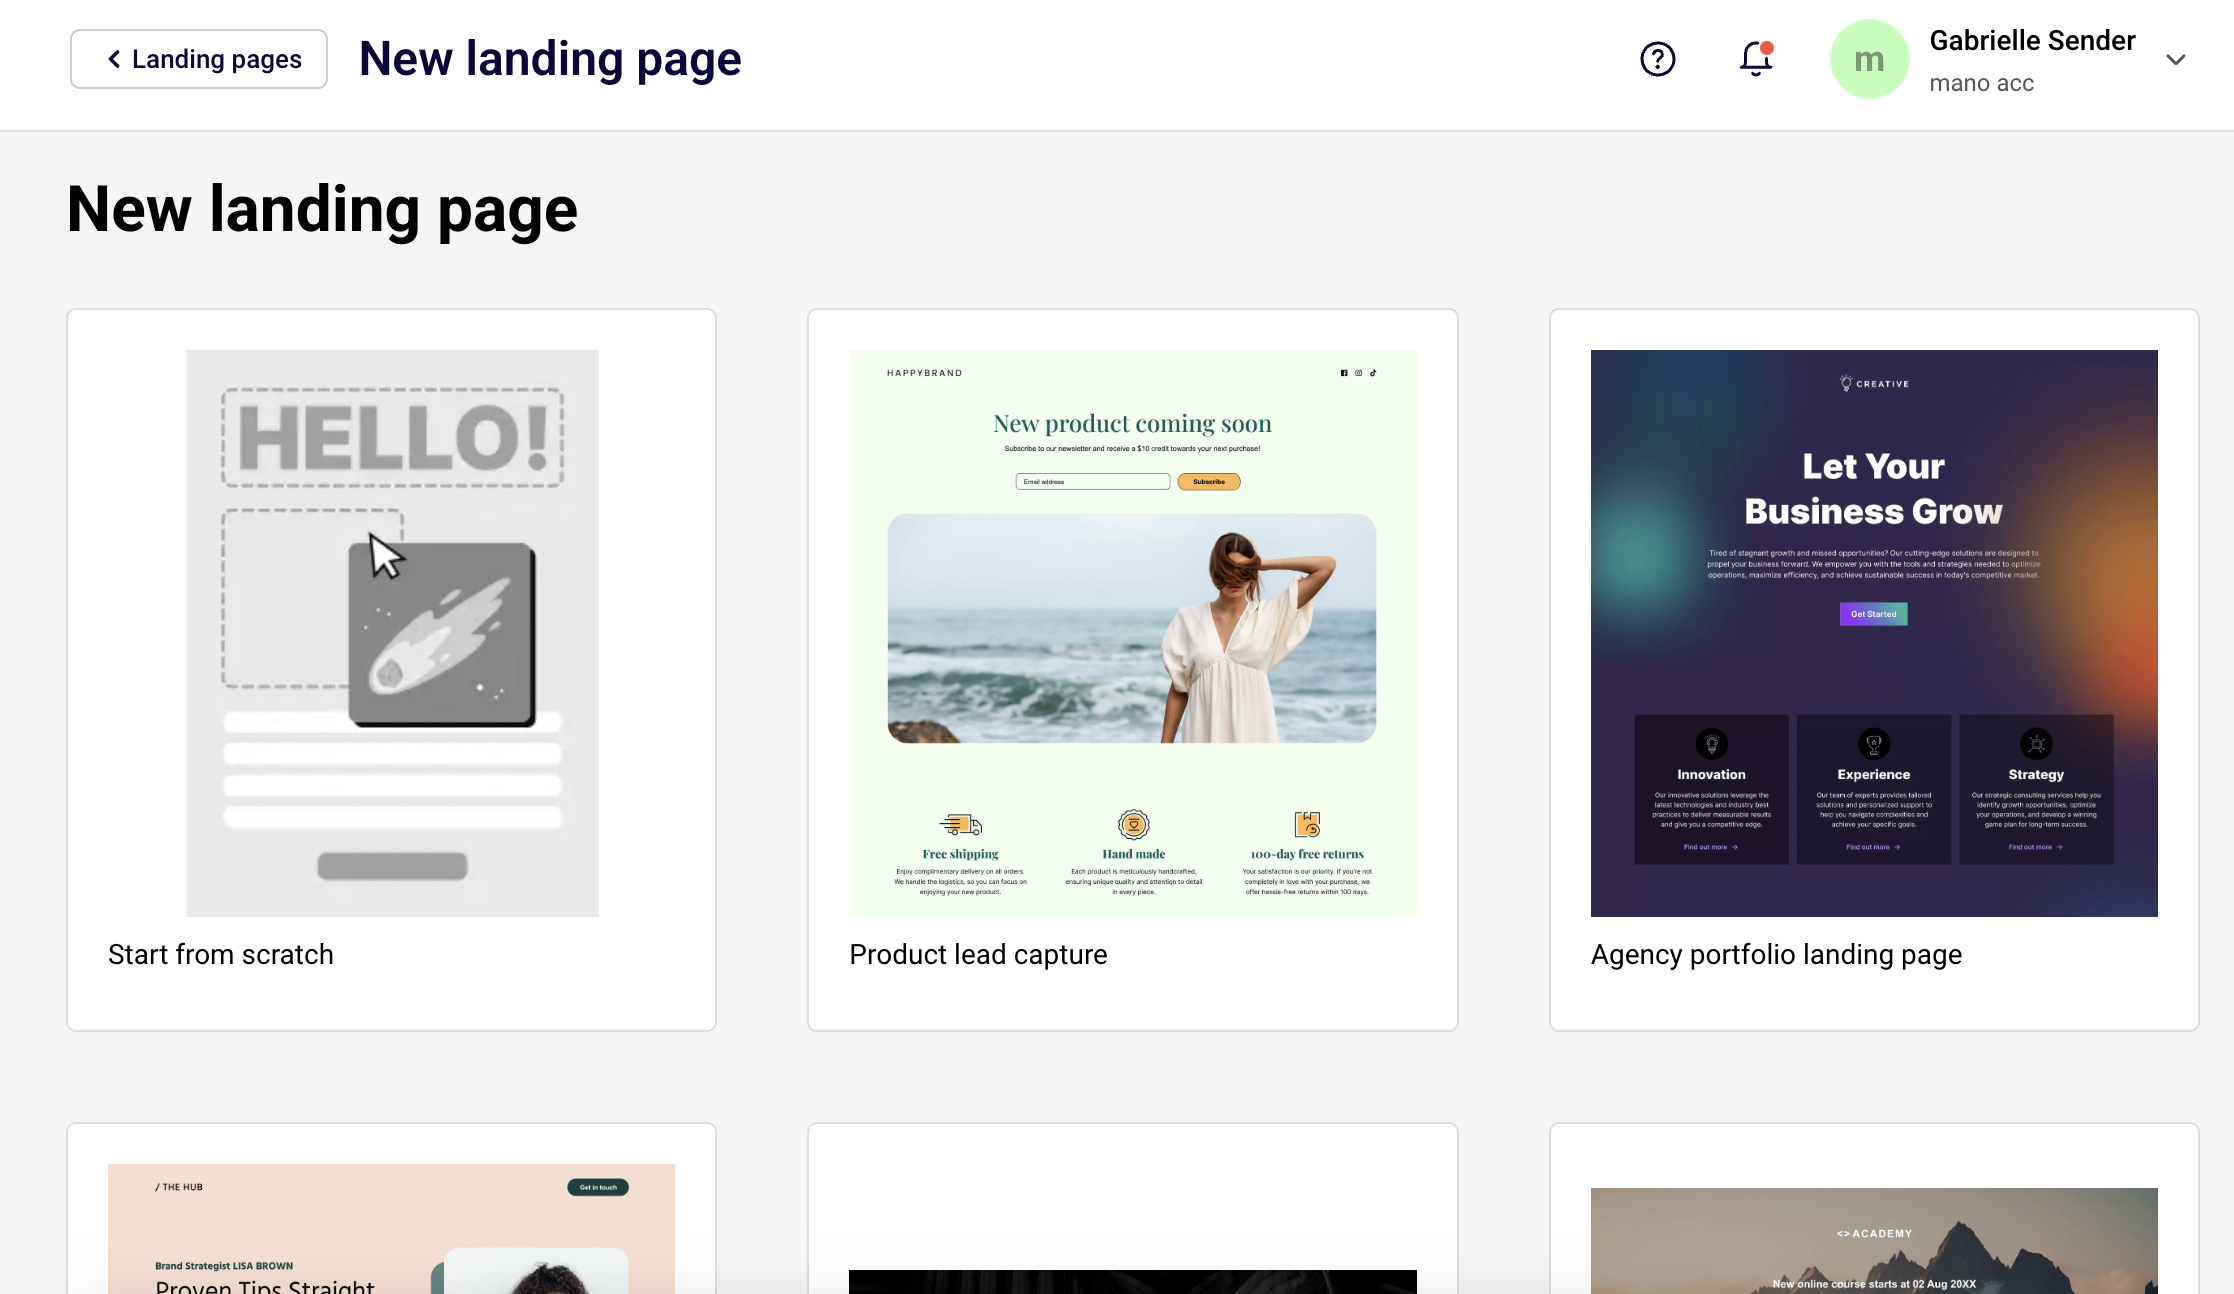
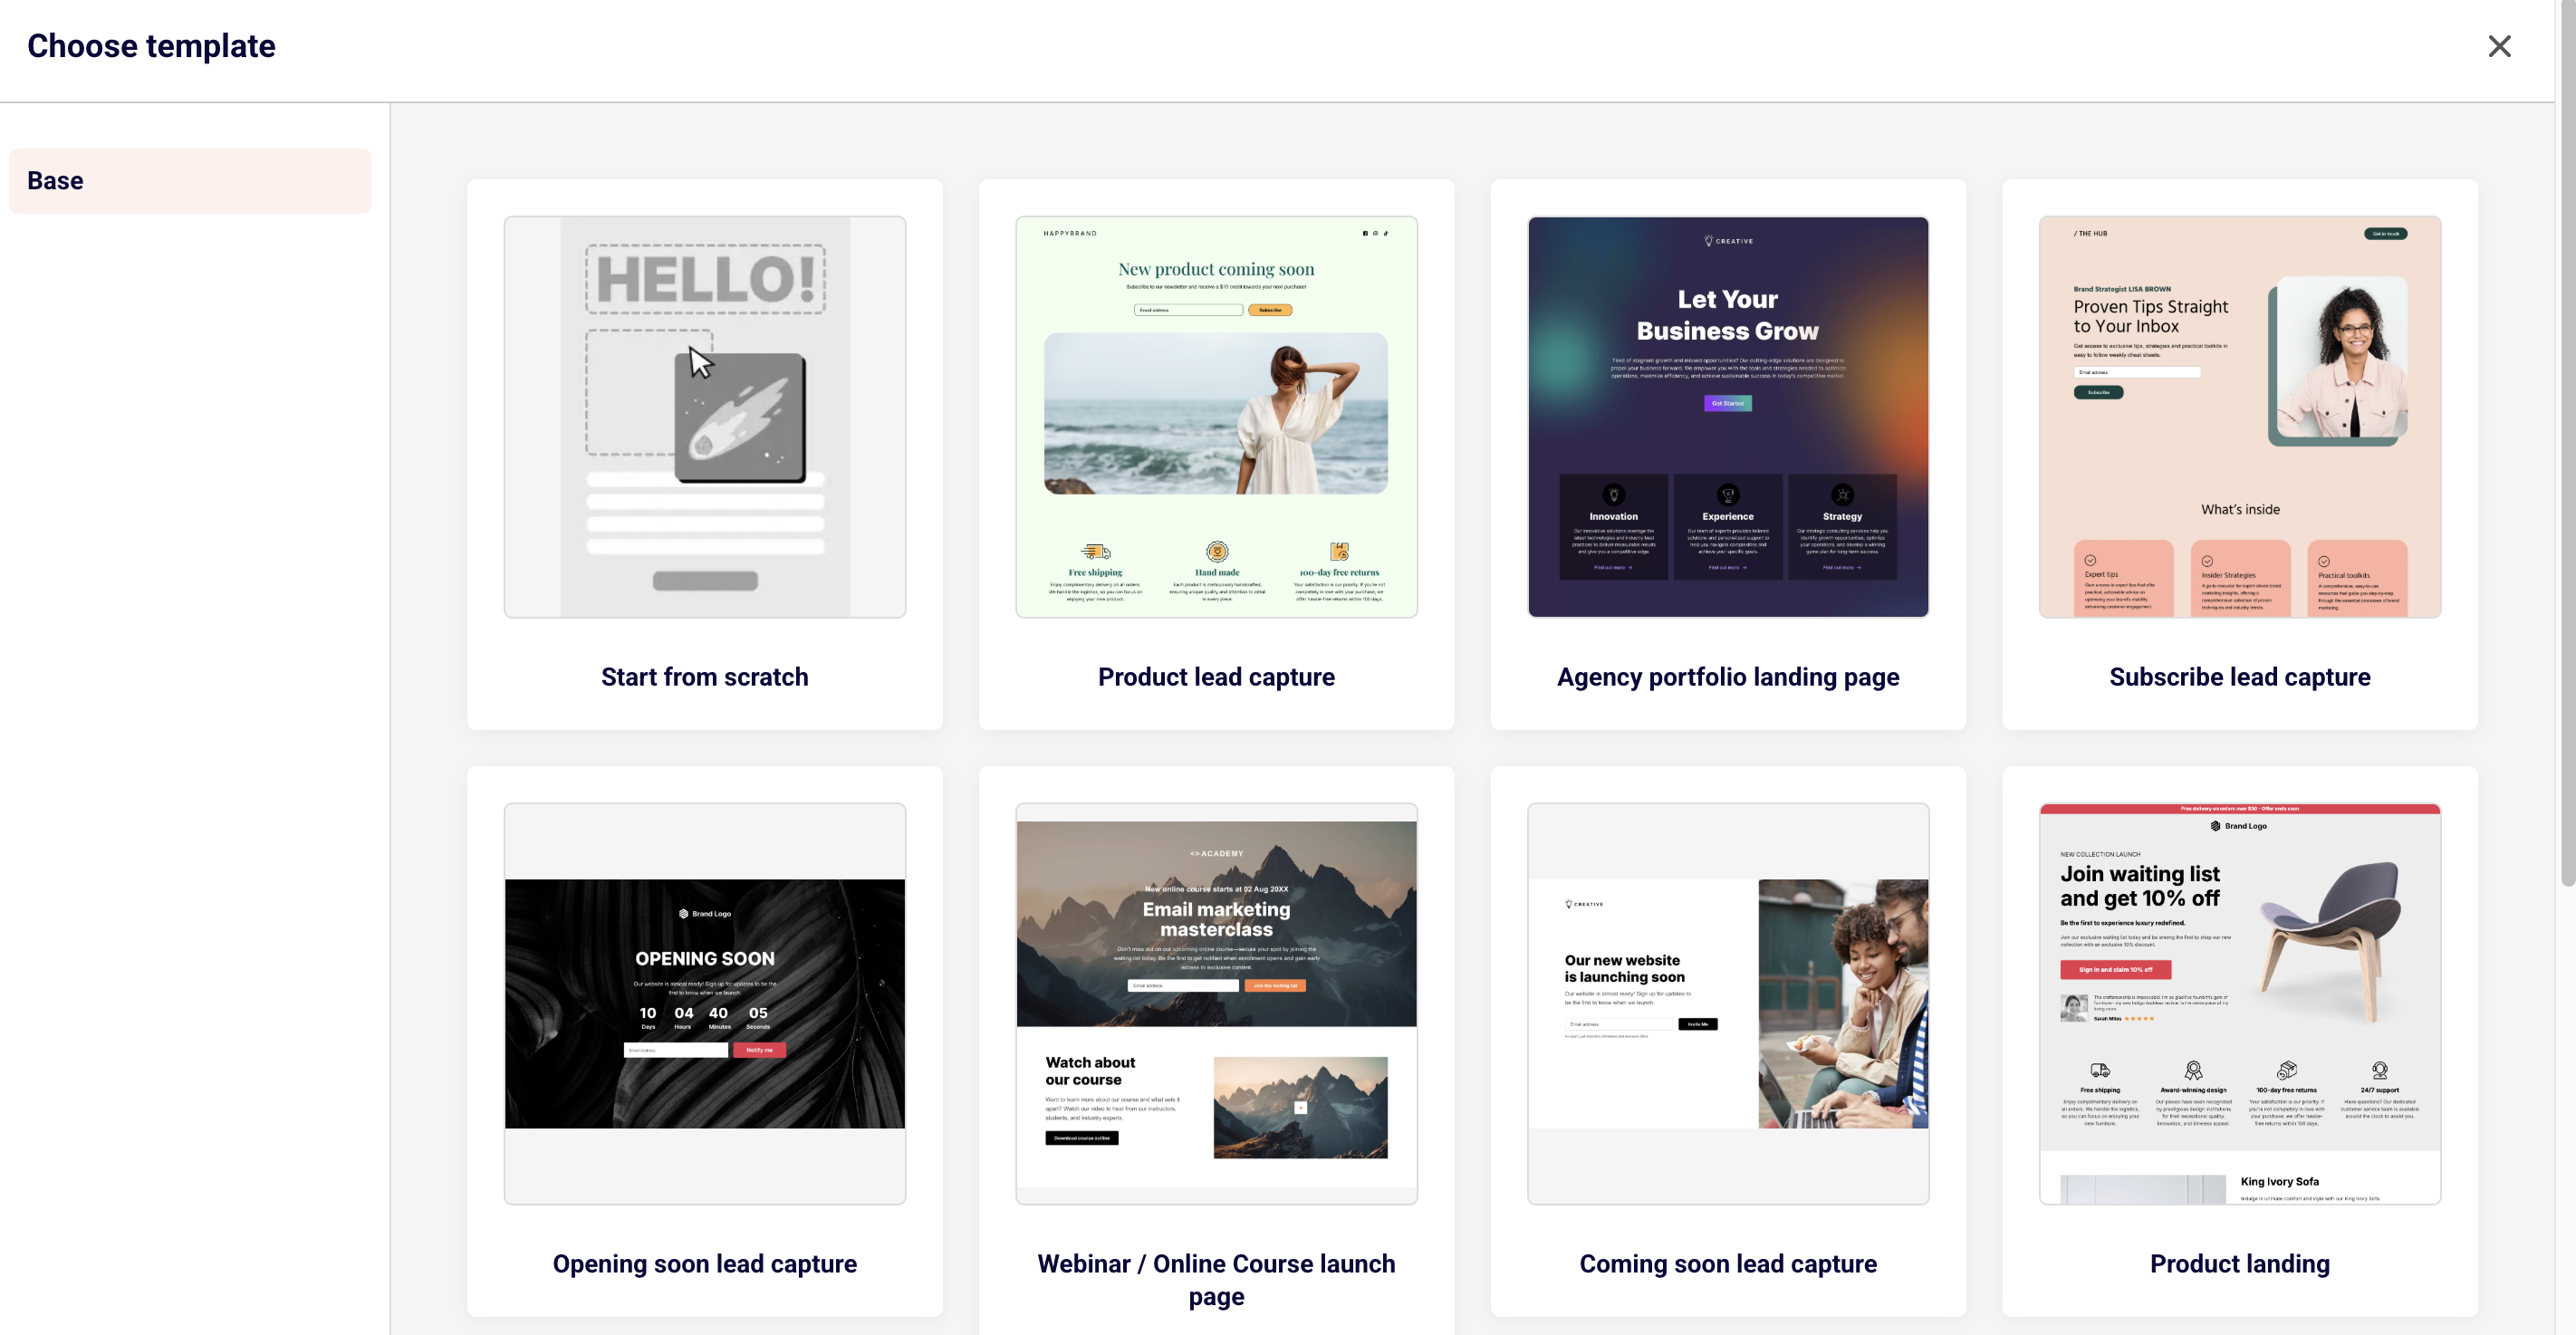
    Click Create landing page from the landing pages screen. The template gallery opens, showing all available pre-designed templates along with a Start from scratch option. Browse the templates to find one that fits your goal. Hover over any template to reveal a preview icon (eye) to see how it looks and an edit icon (pencil) to select it. Click the edit icon on your chosen template or on Start from scratch to proceed. A Create New Landing Page dialog appears. Enter a name in the Name your landing page field, then click Create.

    Step 2 — Navigate the builder interface

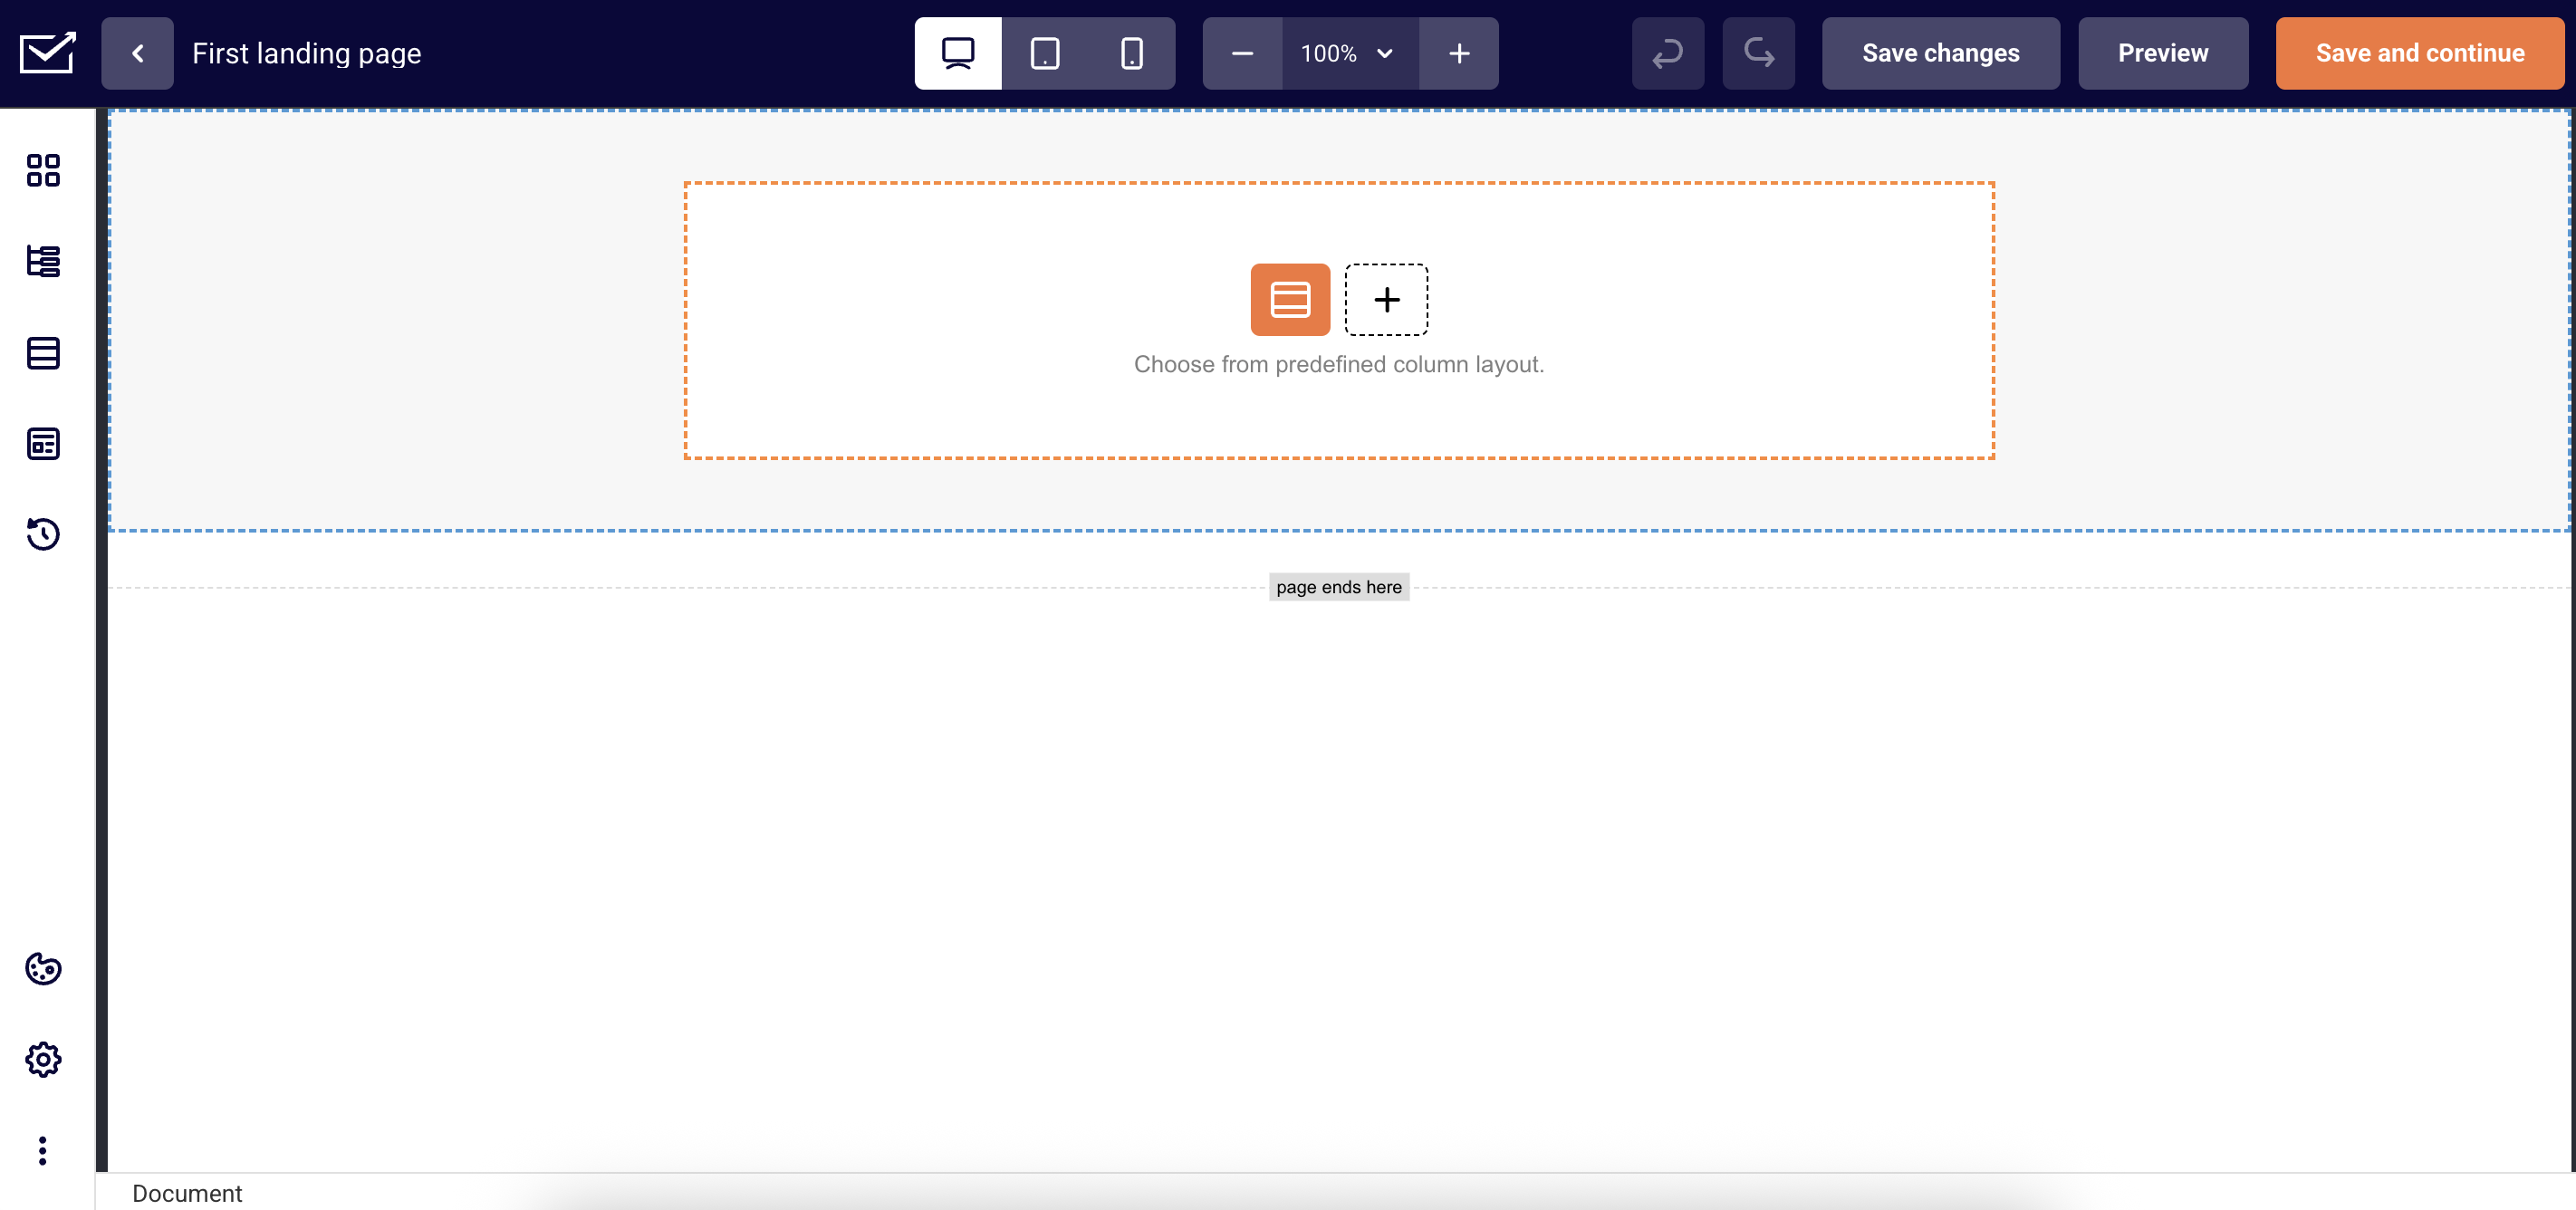
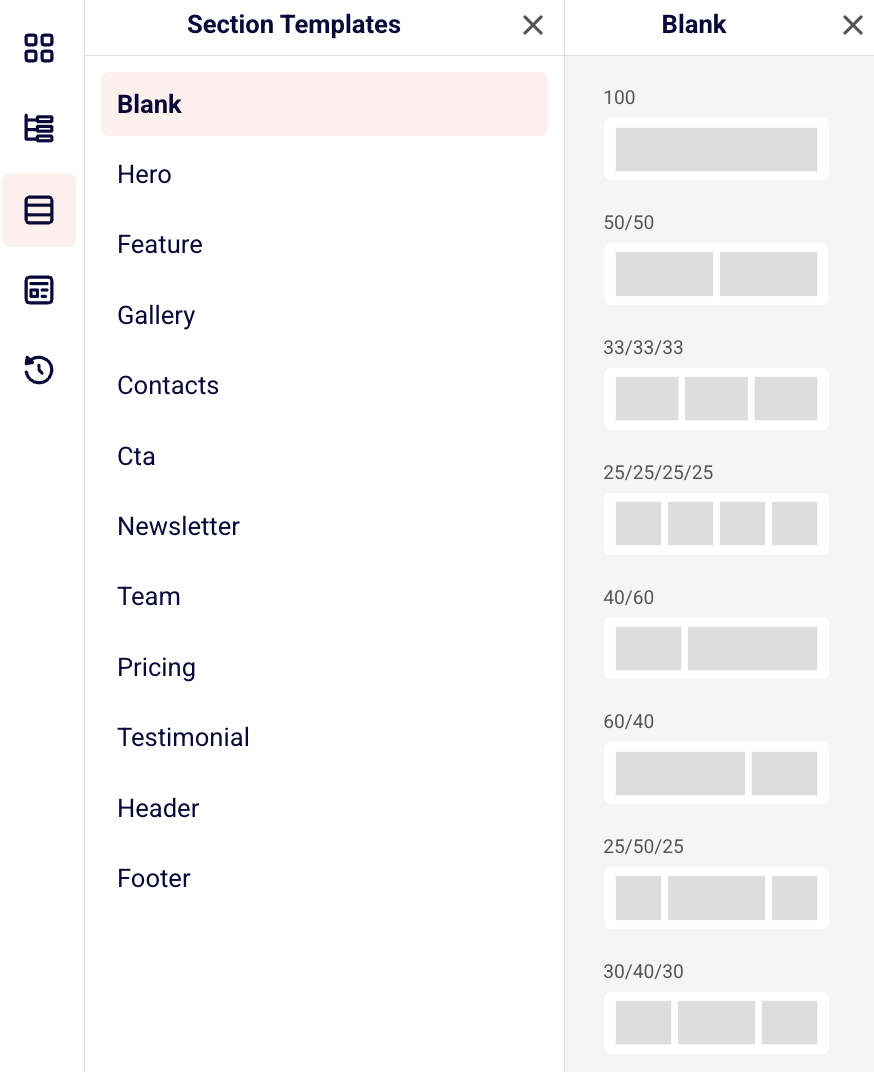
    The builder opens with your page name at the top and a blank canvas in the center. The left sidebar contains five tabs, accessible via icons from top to bottom: Builder (content blocks), Blocks Tree (page structure), Section Templates (pre-designed sections by category), Choose template (full-page templates), and History (revision history). The top toolbar includes device preview buttons for desktop, tablet, and mobile views, zoom controls, undo/redo buttons, Save changes, Preview, and Save and continue.

    Step 3 — Add sections and content blocks

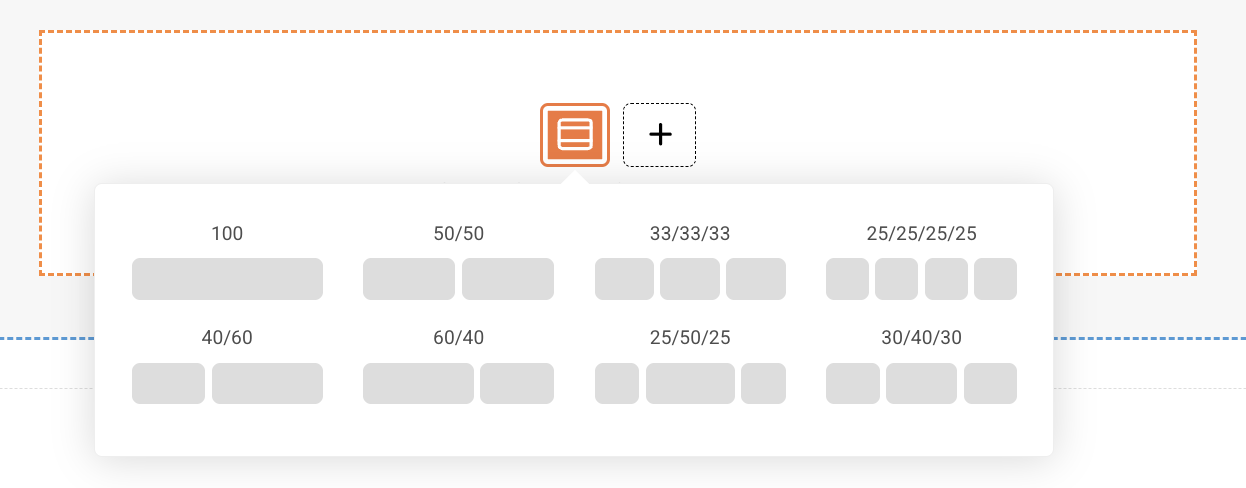
    Click the orange column layout icon on the canvas to choose a layout. A panel appears with two tabs: Blocks (column layouts such as 100%, 50%/50%, 33%/33%/33%, and others) and Library (pre-designed section templates organized by category, including Hero, Feature, Gallery, Contacts, CTA, Newsletter, Team, Pricing, Testimonial, Header, and Footer). Select a column layout or a library section to add it to your page. You can then drag content blocks from the Builder panel onto your sections.

    Step 4 — Customize with content blocks

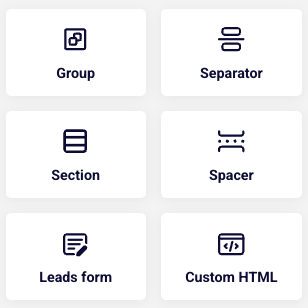
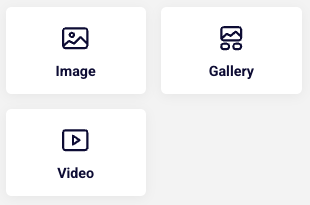
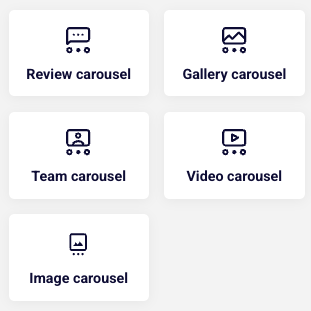
    Open the Builder panel by clicking the top icon in the left sidebar. Blocks are organized into four categories: Content (Headline, Paragraph, Buttons, List, Infobox, Icon, and others), Layout (Section, Group, Separator, Spacer, Leads form, Custom HTML), Media (Image, Gallery, Video), and Carousel (Review carousel, Gallery carousel, Team carousel, Video carousel, Image carousel). Click or drag a block to add it to a section on your canvas. Click any element on the canvas to select it and edit its content, style, or settings in the panel that appears on the left.

    Step 5 — Add a leads form

    To collect subscriber data, open the Builder panel and drag the Leads form block into a section on your page. The leads form lets visitors submit their information directly from your landing page. Subscribers collected through this form appear in the Subscribers section on the landing page overview. This works the same way a standalone signup form collects data in Sender.

    Step 6 — Configure SEO and social share settings

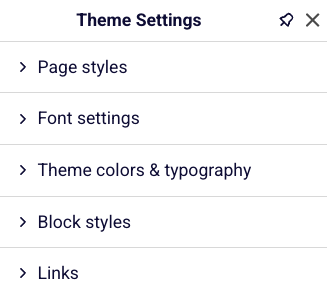
    Click the Site Settings icon (gear) at the bottom of the left sidebar. Expand SEO settings to fill in the Site title, Meta descriptions (a short summary of your page for search engines), Tags (comma-separated keywords), and upload a favicon (the small icon that appears in the browser tab, sized at 24×24 pixels). Expand Social share settings to upload a share image, and enter a Title and Description that appear when your page is shared on social media. Click Show preview to see how the social card will look.

    Step 7 — Save, preview, and publish

    Click Save changes in the top toolbar to save your work without leaving the builder. Click Preview to open your page in a new browser tab and see how it looks on a live screen. When you are ready to finalize, click Save and continue. This takes you to the landing page Overview screen. Here you can review your Domain settings, SEO Settings, Social share Settings, and Sender branding display. Click the Publish button in the top-right corner to make your landing page live at the generated URL.

    What happens next

    After publishing, your landing page is live and accessible at the URL shown under Domain settings on the Overview screen (for example, https://your-account.sender.site). You can edit the subdomain or add a custom domain from the same section.

    To manage your page going forward, go to Landing pages in the left sidebar. Your page appears in the list with a status label: Draft (saved but not live), Published (live and accessible), or Unpublished (was live but has been taken offline).

    You can click the edit icon (pencil) next to any page to reopen the builder, or click the overview icon (grid) to view its analytics and settings. Subscribers who submit the leads form on your page are automatically added to your Sender subscriber list and visible under the Subscribers section on the page overview.

    Common issues

    Landing page shows a blank preview → This happens when no content blocks have been added to the page. Open the builder, add at least one section with a column layout, and place content blocks inside it before previewing.

    Publish button does not appear → The Publish button is located on the landing page Overview screen, not inside the builder. Click Save and continue in the builder to reach the Overview screen where the Publish button is available.

    Changes are not visible after editing → Edits made in the builder are not applied automatically. Click Save changes in the builder toolbar, then click Save and continue to return to the Overview. If the page is already published, republish it for the updated version to go live.

    Subdomain or URL not working → The temporary subdomain is generated based on your Sender account name. To change it, go to the Overview screen, open Domain settings, and click Edit next to the temporary domain to update your subdomain through the Change subdomain dialog.

    FAQs

    Can I use a custom domain for my landing page?

    Sender generates a default URL under the .sender.site domain for each landing page. To connect a custom domain, go to the landing page Overview, open Domain settings, and click Add domain to configure your own domain.

    Can I add a signup form to my landing page?

    Yes. In the builder, open the Builder panel and drag the Leads form block into a section on your page. Subscribers who fill out this form are collected the same way standalone forms work in Sender.

    How do I edit a landing page after publishing?

    Go to the Landing pages list, click the edit icon (pencil) next to the page you want to modify, make your changes in the builder, click Save changes, then click Save and continue and republish from the Overview screen.

    Can I preview my landing page before publishing?

    Yes. Click the Preview button in the builder toolbar to open a live preview of your page in a new browser tab. You can also switch between desktop, tablet, and mobile views using the device icons in the top toolbar to check how your page looks on different screen sizes.

    What is the difference between Save changes and Save and continue?

    Save changes saves your current work and keeps you inside the builder. Save and continue saves your work and takes you to the landing page Overview screen where you can configure page settings and publish.

    Can I duplicate a landing page?

    Yes. On the Landing pages list, click the dropdown arrow next to the page you want to copy and select Duplicate from the menu.

  • Set up a landing page

    Landing pages are a powerful way to grow your audience, promote special offers, or collect leads — all without needing a separate website. With Sender’s built-in landing page builder, you can quickly create and publish beautiful, mobile and tablet-friendly pages that match your brand.

    Whether you want to launch a newsletter sign-up form, announce a product launch, or offer a downloadable resource, our landing pages make it easy.

    In this guide, we’ll walk you through how to create and customize your first landing page step by step — from choosing a layout to publishing it live. Let’s get started!

    Creating a landing page

    To create a landing page, head to “Landing pages” from the menu on the left and then “Create landing page”.

    You will be asked to choose your landing page template or you can start creating one from scratch. 

    You will then be asked to name your landing page. 

    Another pop-up will give you an option to go through a quick tour around the landing page building, which we highly recommend. It will give you a great overview of the different sections and options for your creation process.

    Landing page builder looks quite similar to our Drag and Drop editor made for email campaigns. It has blocks, sections and other editing tools for anything you add into your page.

    Content blocks include:

    • Headline – Create compelling titles that capture attention and communicate your main message.
    • Paragraph – Insert formatted text content to provide detailed information, descriptions, and messaging throughout your page.
    • List – Create organized bullet points or numbered lists to present features, benefits, or step-by-step information clearly.
    • Buttons – Add clickable call-to-action buttons that direct visitors to take specific actions like signing up, purchasing, or contacting you.
    • Icon – Include visual icons and symbols to enhance your design and communicate concepts quickly and effectively.
    • Accordion – Display collapsible content sections that allow visitors to expand and view information while keeping your page organized and clutter-free.
    • Profile – Showcase team members, testimonials, or personal information with dedicated profile sections including photos and descriptions.
    • Social – Integrate social media links, feeds, or sharing buttons to connect your landing page with your social media presence.
    • Rating stars – Display star ratings and review scores to build trust and showcase customer satisfaction or product quality.
    • Review – Feature customer testimonials and detailed reviews to provide social proof and build credibility with potential customers.
    • Timer – Create countdown timers to add urgency to limited-time offers, events, or product launches.
    • Counter – Show animated number counters to highlight statistics, achievements, or key metrics that demonstrate your success.
    • Menu – Add navigation menus to help visitors easily browse different sections or pages of your website.
    • Progress – Display progress bars or indicators to show completion status, skill levels, or step-by-step processes.
    • Map – Embed interactive maps to show your business location, service areas, or event venues for easy navigation.

    Layout options:

    • Column – Organize content side-by-side in flexible column layouts for better visual structure.
    • Separator – Add dividing lines and visual breaks to separate different sections clearly.
    • Section – Group related content together with customizable background colors and spacing.

    • Spacer – Control vertical spacing between elements to improve page flow and readability.
    • Leads form – Capture visitor information with customizable signup and contact forms.
    • Custom HTML – Insert your own code for advanced functionality and unique design elements.

    Media block:

    • Image – Add photos, graphics, and visual elements to enhance your message and design.
    • Gallery – Showcase multiple images in an organized, browsable collection or slideshow.
    • Video – Embed videos to demonstrate products, share stories, or engage visitors dynamically.

    Carousel:

    • Review carousel – Display multiple customer testimonials in a rotating slideshow format.
    • Gallery carousel – Showcase collections of images that visitors can browse through automatically or manually.
    • Team carousel – Present your team members in a scrollable format with photos and information.
    • Video carousel – Feature multiple videos in an interactive slideshow for dynamic storytelling.
    • Image carousel – Create sliding image displays perfect for highlighting products or key visuals.

    Version history:

    If you need to undo edits or restore a previous version of your landing page, you can use the “Version history” feature. This tool automatically saves different versions of your work as you build, allowing you to easily revert to any earlier state of your page. Simply access the version history to view and restore any saved version whenever needed.

    Section templates:

    There is a variety of pre-designed section templates to help you create your landing page quickly and easily: from impactful hero sections, organized feature displays, to compelling call-to-action areas, you can choose from multiple template options for each section type.

    These ready-made templates provide different layouts, styles, and arrangements that you can customize with your own content, saving you time while ensuring your landing page looks polished and professional.

    You can also choose one, two or more slots when adding a new section directly in the template editor.

    Templates:

    For those who find building from scratch challenging, we offer complete landing page templates to get you started. These professionally designed templates can be easily customized with your own content and branding. Simply choose a template, replace the placeholder content, and you’ll have a polished page ready in minutes.

    Editing landing page:

    You can edit your landing page by customizing individual blocks or applying settings to the entire theme for consistent styling. Individual blocks can be modified separately to meet specific needs, while theme-wide settings allow you to control the overall appearance across your entire page. 

    These global settings include page style, font settings, theme colors and typography, block styles, and link formatting to ensure a cohesive and professional look throughout your landing page.

    Site settings:

    • SEO settings – Configure your site title, craft compelling meta descriptions, add relevant tags, and upload a favicon to improve search engine rankings and click-through rates,
    • Global CSS – Add custom styling code that applies to your entire page, allowing for advanced design customizations beyond the standard theme options,
    • Scripts – Insert essential tracking codes, analytics tools, or custom JavaScript functionality to monitor performance and add interactive features,
    • Map settings – Enter your Google Maps API key to enable interactive location displays and mapping functionality throughout your landing page,
    • Social share settings – Customize the preview image, title, and description that appear when visitors share your page on social media platforms, ensuring consistent branding and messaging.

    Additional notes:

    You can easily import JSON-formatted page content to quickly load existing designs or export your current landing page for backup or reuse purposes. 

    Additionally, the landing page builder includes comprehensive keyboard shortcuts to streamline your workflow and make page creation more efficient. These shortcuts allow you to build faster without constantly switching between mouse and keyboard.


    If you got stuck on a specific task or can’t find a way to execute a particular job, contact our support team via LiveChat or [email protected] – we’re here to help 24/7.

  • What is a landing page

    Simple answer: A landing page is a standalone web page designed to get people to do one specific thing. Whether that’s signing up for your newsletter, downloading a guide, or buying your product—it’s all about that single goal.

    Think of it like this: if your website is like a department store with lots of different sections to explore, a landing page is like a focused sales counter where you’re selling just one amazing thing.

    Why Landing Pages Matter (And Why Your Homepage Isn’t Enough)

    Here’s the thing most people get wrong: they send all their traffic to their homepage and wonder why nobody converts.

    Your homepage is great for showcasing your brand and letting people browse around. But when someone clicks on your ad promising a “Free Email Marketing Guide,” they don’t want to land on your homepage and hunt around for it. They want that guide, and they want it now.

    That’s where landing pages shine:

    • They match exactly what people expect after clicking your ad or link

    • They remove distractions and focus on one clear action

    • They turn more visitors into customers(seriously, way more)

    • They make your advertising dollars go further

    Having fewer links on your landing page increases conversions, as there are fewer tantalizing clickables that’ll carry visitors away from the call to action.

    The Magic Behind Landing Pages

    Landing pages work because of something researchers call the “paradox of choice.” The more options you give people, the harder it is for them to make a decision and act.

    Imagine you’re offering a free eBook, but your page also invites people to visit your blog, check out your products, and follow your social media. With each additional option, the chances of someone actually downloading your eBook get smaller because you’ve scattered their attention.

    A good landing page says: “Hey, you came here for this one thing. Here it is. Want it? Great, just click here.”

    Types of Landing Pages (And When to Use Each)

    • Lead Generation Pages. These are your workhorses for collecting contact information. You offer something valuable (like an eBook, webinar, or free trial) in exchange for someone’s email address and maybe a few other details.

    Perfect for: Building your email list, generating sales leads, promoting content downloads

    • Click-Through Pages. These pages warm people up before sending them to make a purchase. Think of them as your friendly salesperson who explains why your product is awesome before asking for the sale.

    Perfect for: E-commerce, software trials, expensive products that need some convincing

    • Sales Pages. Straight to the point: these pages are designed to get people to buy right now. They include all the details, benefits, and social proof needed to close the deal.

    Perfect for: Direct sales, limited-time offers, lower-priced products

    • Event Registration Pages Whether it’s a webinar, conference, or local meetup, these pages get people signed up and excited about attending.

    Perfect for: Webinars, workshops, product launches, networking events

    What Makes a Landing Page Actually Work

    A Headline That Grabs Attention Your headline should immediately tell people they’re in the right place. If your ad promised “10 Email Marketing Tips,” your headline better mention those exact tips.

    One Clear Call-to-Action “Download Now,” “Start Free Trial,” “Get My Guide”—whatever it is, make it crystal clear what happens when someone clicks that button.

    Just Enough Information Give people what they need to make a decision, but don’t overwhelm them. Think “helpful summary,” not “complete novel.”

    Social Proof That Builds Trust Testimonials, customer logos, download numbers—anything that shows other people love what you’re offering.

    Mobile-Friendly Design More than half your visitors are probably on their phones. If your page looks terrible on mobile, you’re losing money.

    Landing Pages vs. Your Homepage: The Showdown

    Here’s a quick comparison to make it crystal clear:

    Homepage:

    • Shows off your entire business

    • Has tons of navigation links

    • Appeals to lots of different visitors

    • Encourages exploration and browsing

    Landing Page:

    • Focuses on one specific offer

    • Minimal or no navigation links

    • Targets people with a specific interest

    • Pushes toward one clear action

    On a typical homepage, you can find at least 10 links. On a well-optimized landing page, though, you’ll usually find fewer links, and sometimes only one.

    When Should You Create a Landing Page?

    Running Paid Ads? Always send that traffic to a dedicated landing page, not your homepage.

    Launching Something New? Create a landing page to build excitement and collect early signups.

    Promoting a Specific Offer? Whether it’s a discount, free trial, or content download, give it its own page.

    Testing a New Audience? Landing pages let you speak directly to different customer segments with tailored messaging.

    Want Better Email Signups? A focused landing page will always outperform a generic “subscribe to our newsletter” form.

    The Bottom Line

    Landing pages aren’t just “nice to have”—they’re essential if you want your marketing to actually work. Landing pages across different industries typically convert at a rate of 10.76%, but top pages can achieve a conversion of 27% and higher.

    Every marketing campaign deserves its own landing page. Every special offer needs a focused page. Every time you’re asking people to take a specific action, you need a page designed for exactly that purpose.

    The best part? You don’t need to be a designer or developer to create them. Modern landing page builders make it easy to create professional pages that convert—no coding required.

    Want to create landing pages that actually convert? Try Sender’s landing page builder and start turning more visitors into customers today.


    If you got stuck on a specific task or can’t find a way to execute a particular job, contact our support team via LiveChat or [email protected] – we’re here to help 24/7.