This guide explains how to enable and customize the confirmation checkbox on your signup forms in Sender to collect explicit consent from subscribers.
Where to Find This Setting
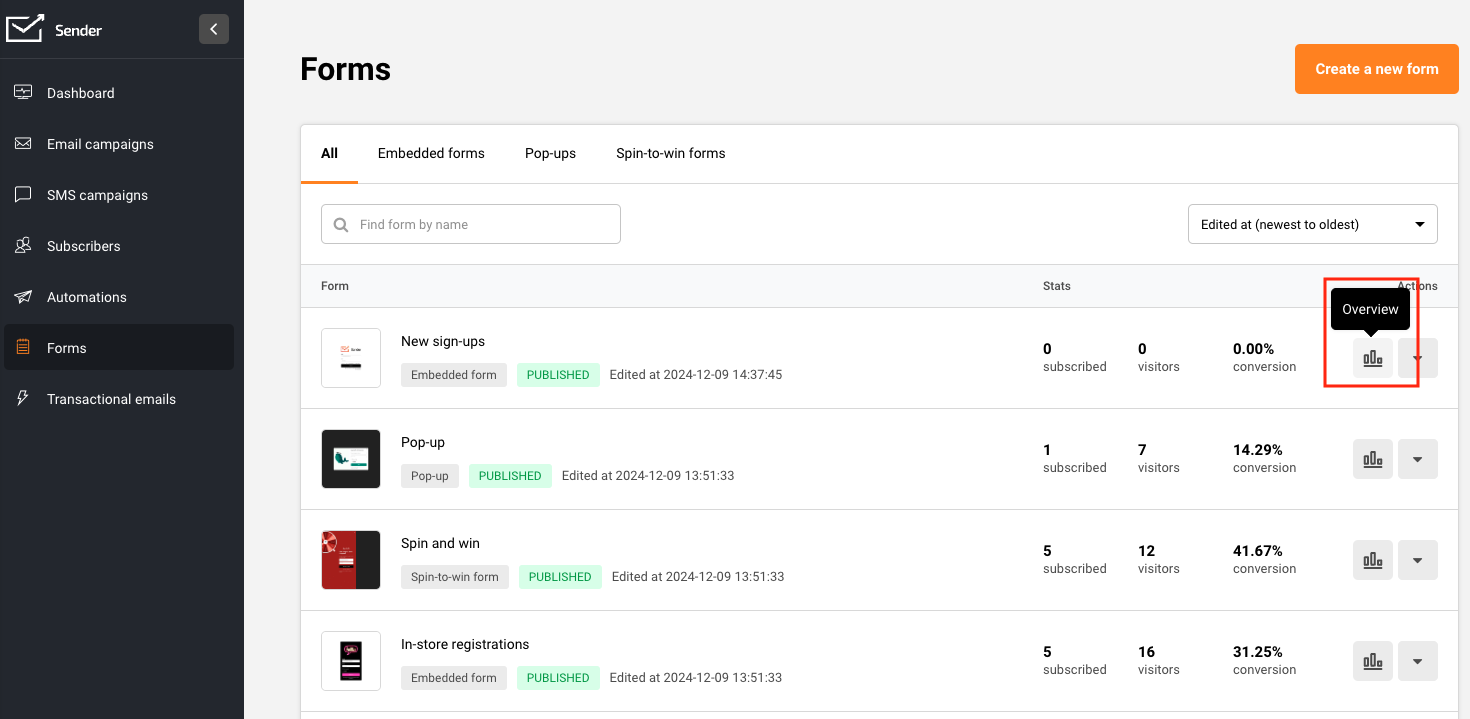
Open any existing form from Forms in the left sidebar, then click the edit icon to enter the form builder. Select the Settings tab in the right-hand panel. The Confirmation checkbox option is located under the Options section, alongside other form-level settings like Use Google reCaptcha and Redirect after submit.
Steps to Enable and Customize the GDPR Consent Checkbox
Step 1 — Enable the Confirmation Checkbox
In the Settings tab, expand the Options section. Check Confirmation checkbox to enable it. Once enabled, two additional fields appear below: Confirmation text and Confirmation text validation message. The form preview updates immediately to show an unchecked checkbox between the form fields and the Submit button, displaying the default consent text.
Step 2 — Customize the Confirmation Text
Edit the Confirmation text field to replace the default message ("I would like to receive newsletter and promotions") with your preferred consent statement. This is the text visitors see next to the checkbox on your form. The form preview reflects your changes in real time.
Write a clear statement that describes what the subscriber is agreeing to receive.
Step 3 — Customize the Validation Message
Edit the Confirmation text validation message field to change the error message displayed when a visitor tries to submit the form without checking the consent box. The default message is "This field is required."
Replace it with a message that prompts the visitor to confirm their consent before submitting.
Step 4 — Save and Verify
Click Save and continue to save your changes. Preview the form on both desktop and mobile views using the device toggle icons in the top toolbar. Test the form by attempting to submit it without checking the consent box to confirm the validation message appears as expected.
How It Protects
Confirmation checkbox — Adds a required consent checkbox to the form that visitors must check before submitting. The form cannot be submitted until the box is checked, ensuring every subscriber has actively opted in. The consent action is recorded alongside the subscriber record.
Confirmation text — Displays a customizable consent statement next to the checkbox, making it clear to visitors what they are agreeing to. This allows you to tailor the language to match the type of communications you send.
Confirmation text validation message — Shows a configurable error message when a visitor attempts to submit without checking the consent box. This prevents accidental submissions and reinforces that consent is required.
Compliance Tips
Use specific consent language — Write confirmation text that describes the type of content subscribers will receive (e.g., newsletters, promotional offers), rather than using vague or generic phrasing.
Combine with reCAPTCHA — Enable Use Google reCaptcha under Options alongside the confirmation checkbox to add both consent collection and bot protection to the same form.
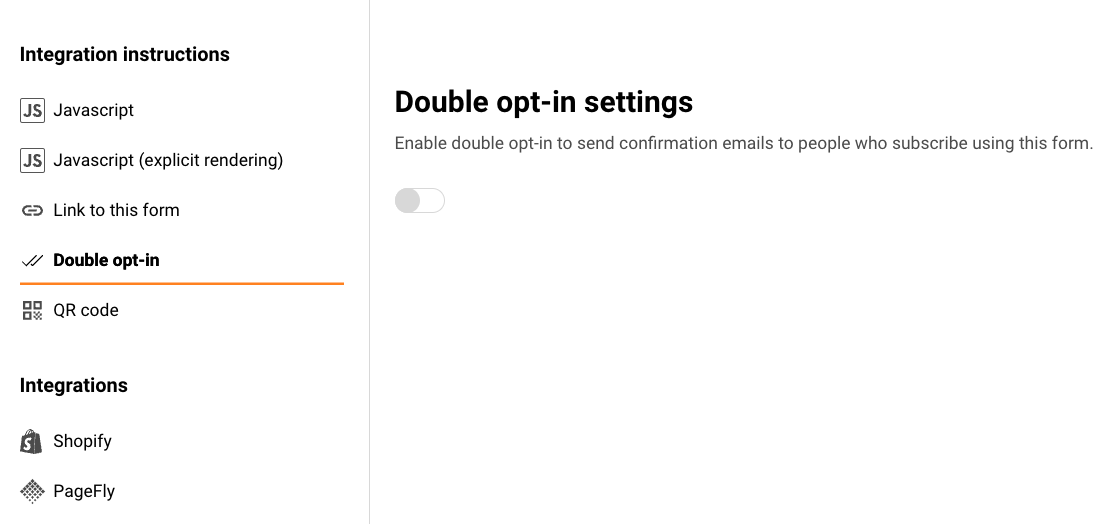
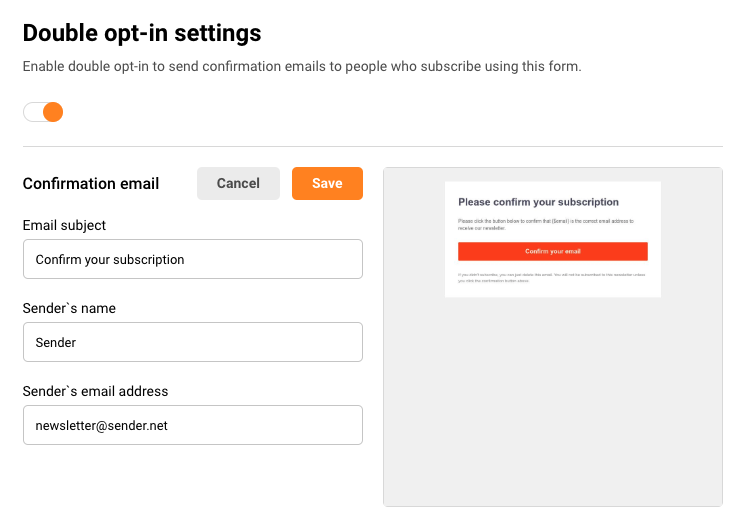
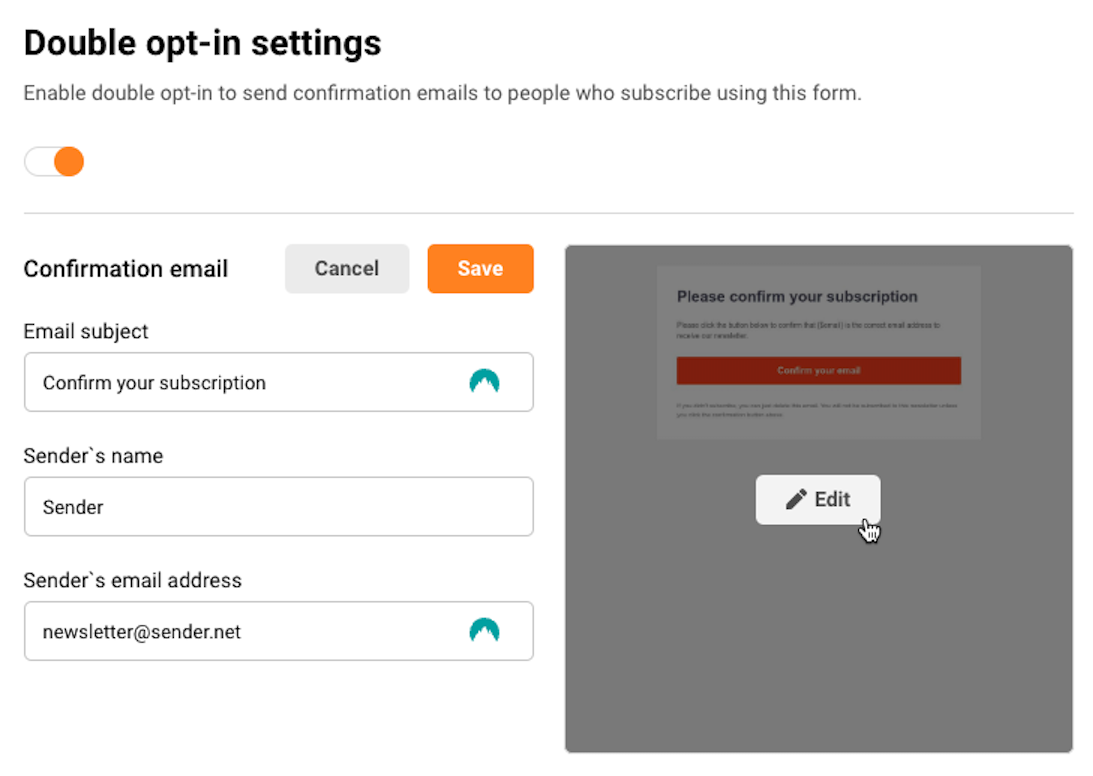
Pair with double opt-in — Use the confirmation checkbox together with double opt-in on the Publishing settings page to layer explicit consent with email verification for stronger subscriber validation.
Test after every change — Preview and test your form after editing the confirmation text or validation message to confirm the checkbox displays correctly and validation triggers as expected.
Common Issues
Checkbox not visible on the form → Confirmation checkbox is not enabled. Open the Settings tab, expand Options, and check Confirmation checkbox.
Validation message not appearing → The Confirmation text validation message field may be empty. Enter a message such as "This field is required." to ensure visitors see an error when they skip the checkbox.
Consent text reverted to default → Changes were not saved before leaving the form builder. Always click Save and continue after editing the Confirmation text or Confirmation text validation message fields.
Checkbox appears but is not required → This can occur if the form has not been saved after enabling the checkbox. Click Save and continue and re-test the form to confirm validation is active.
FAQs
Can I customize what the confirmation checkbox says?
Yes. In the Settings tab, expand the Options section, check Confirmation checkbox, and edit the Confirmation text field to display your preferred consent message.
Is the confirmation checkbox required for GDPR compliance?
Sender provides the Confirmation checkbox tool to help you collect explicit consent. Whether it is legally required depends on your specific situation and jurisdiction. Consult a legal professional for compliance advice specific to your business.
Where is consent data stored?
When a subscriber checks the confirmation checkbox and submits the form, the consent action is recorded alongside their subscriber record in Sender.
Can I use the confirmation checkbox on embedded forms?
Yes. The Confirmation checkbox setting is available under Options in the Settings tab for both pop-up and embedded form types.
Does the confirmation checkbox work with reCAPTCHA?
Yes. You can enable both Confirmation checkbox and Use Google reCaptcha under Options in the Settings tab. The reCAPTCHA verification and consent checkbox function independently on the same form.