This guide explains how to migrate email templates and designs from your previous platform to Sender. It covers exporting HTML from your source platform, importing it into Sender’s Custom HTML email editor, and rebuilding designs using the Drag and drop builder.
Before You Start
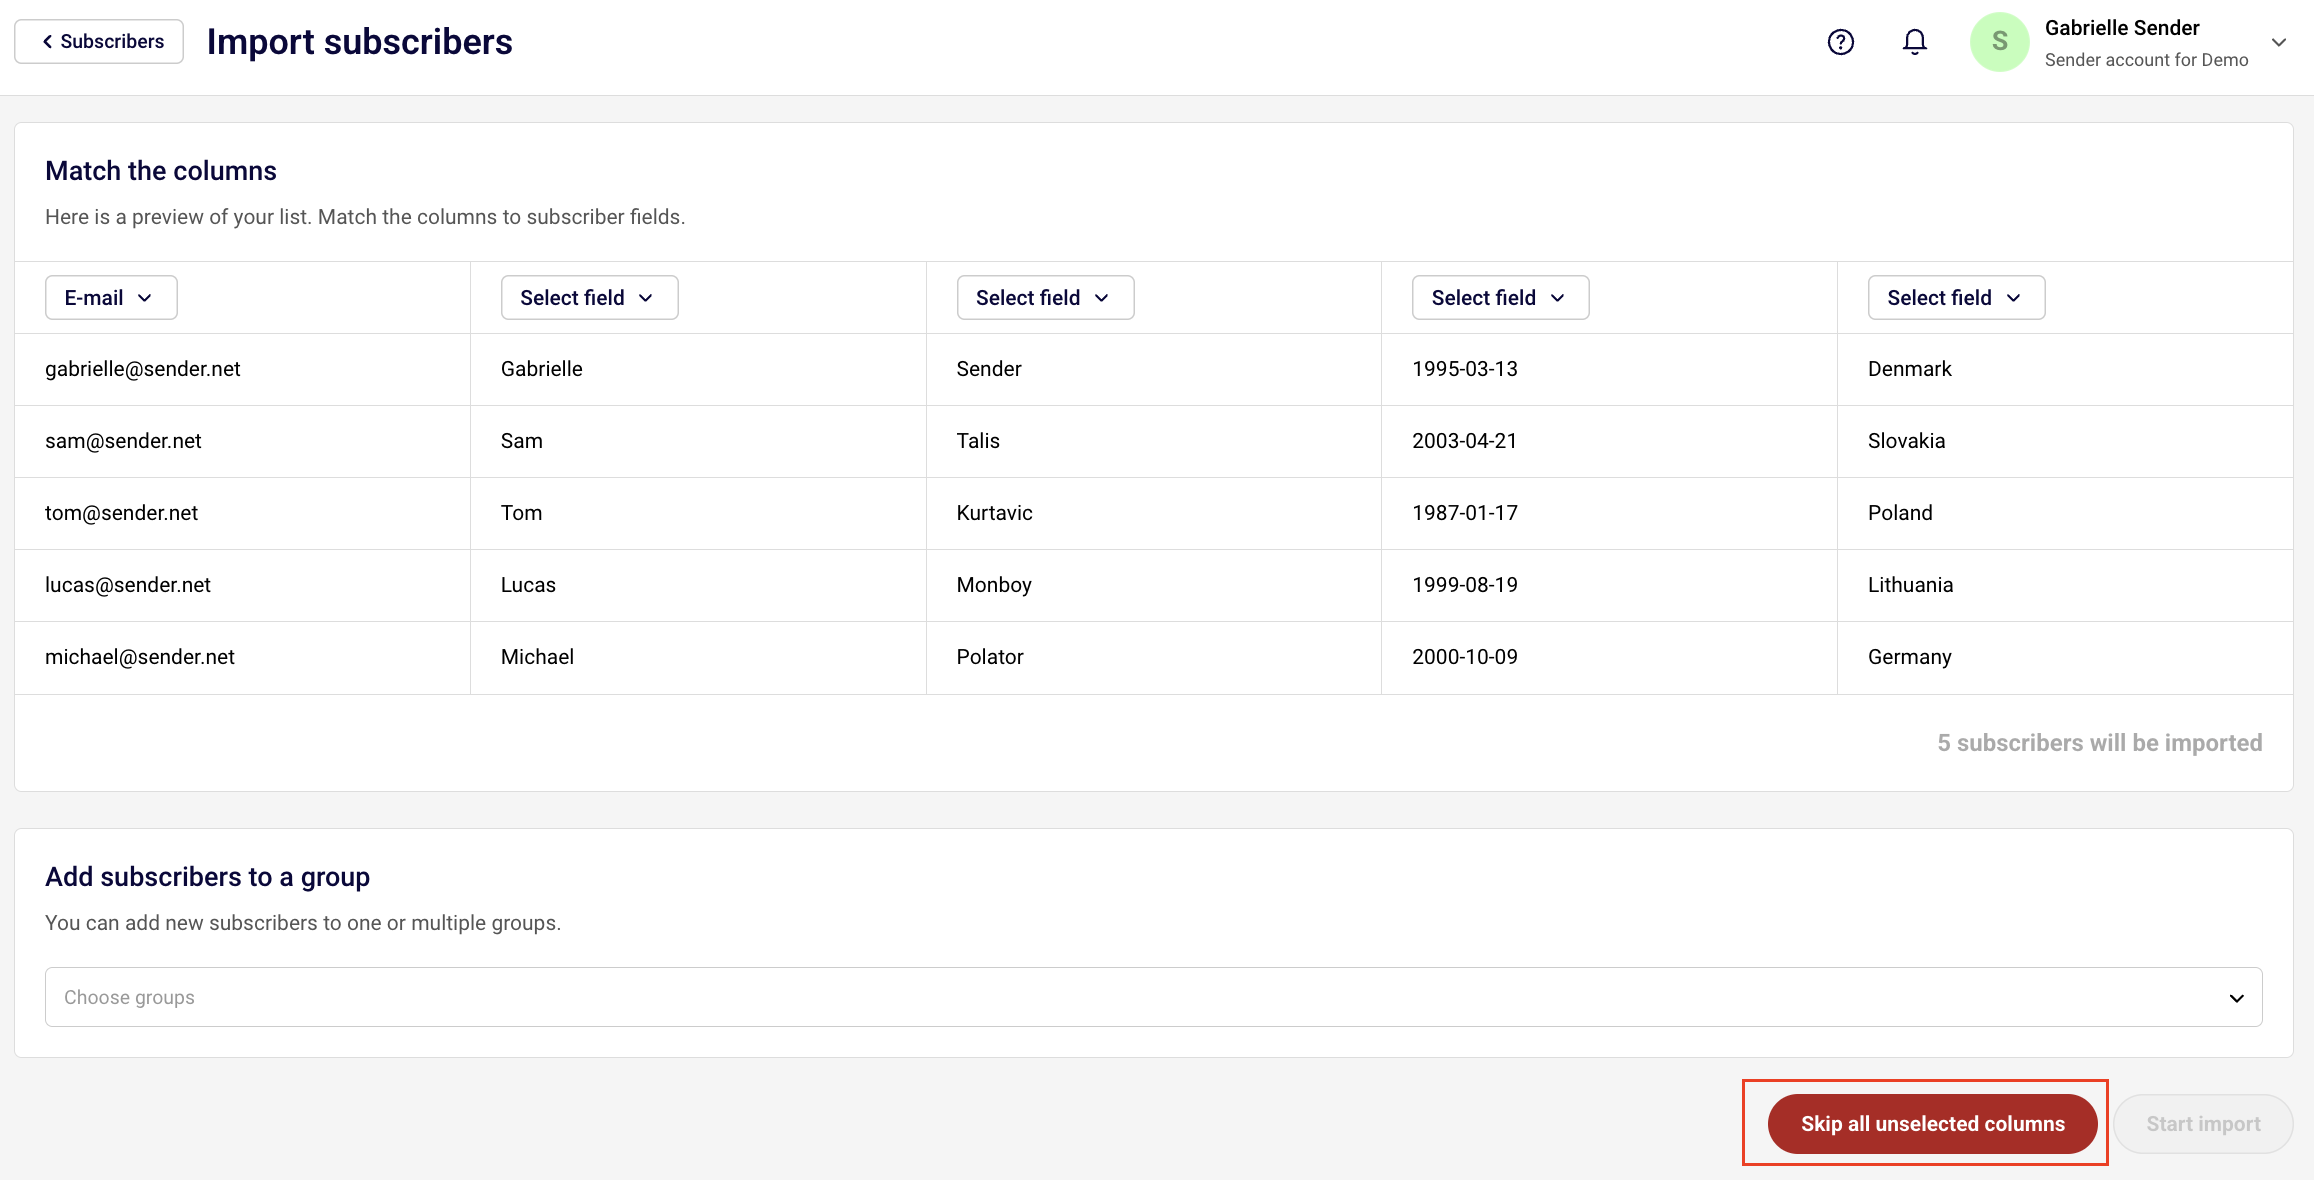
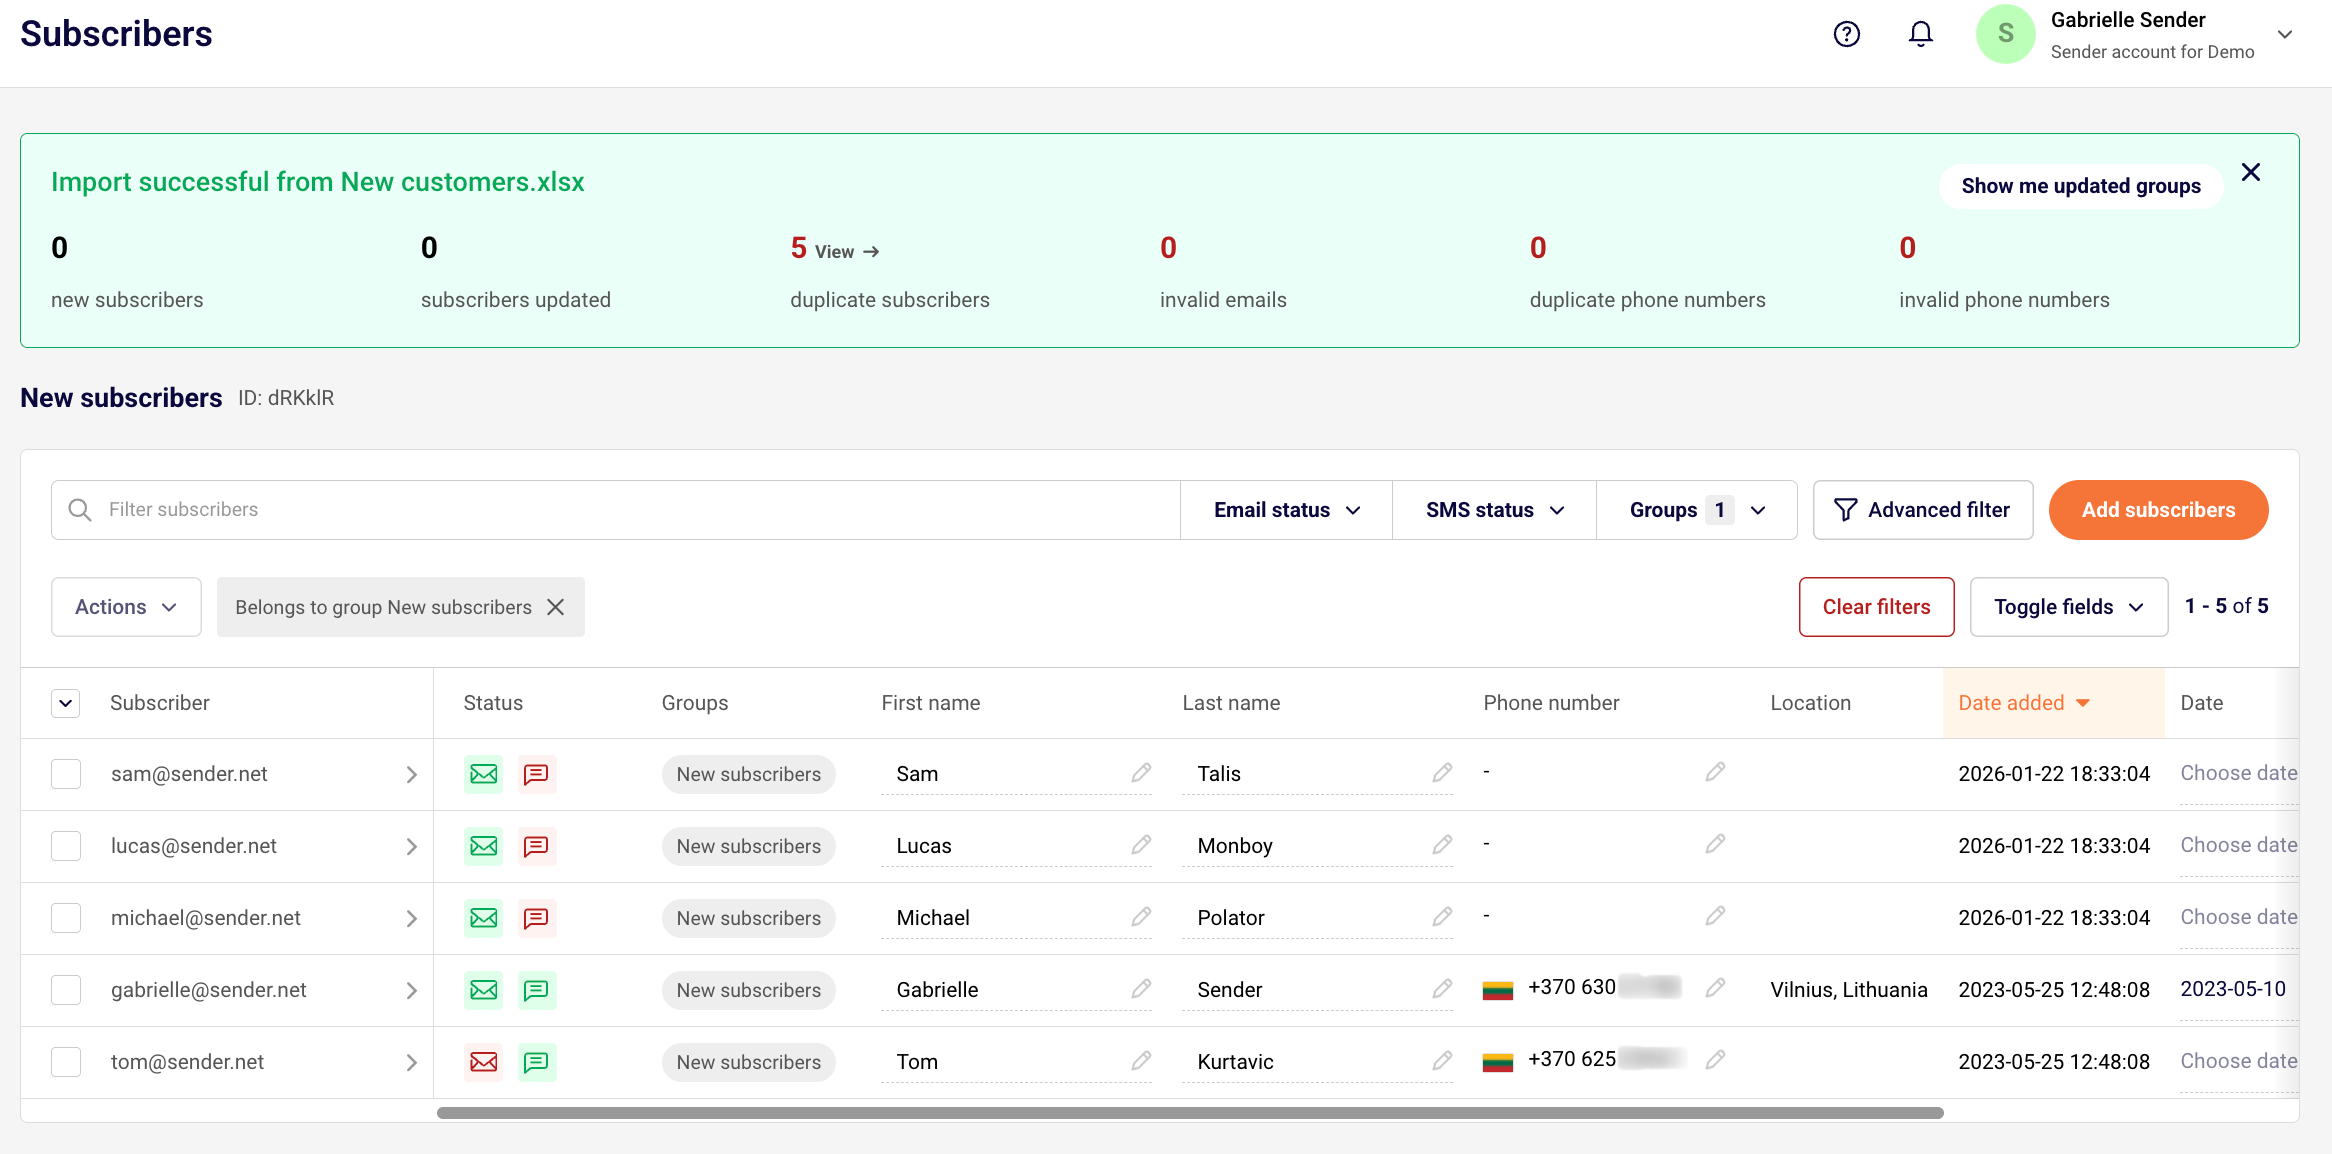
- Completed subscriber import in Sender
- Verified sending domain in Sender
- Admin access to the source platform to export email templates and HTML code
- A documented inventory of all email templates you need to migrate, including which templates are used in automations
- Brand assets (logo files, hex color codes, fonts) from your source platform available for reference
- Awareness that Sender’s personalization tags use {{ field_name }} syntax — source platform tags will need to be replaced
Audit Your Source Platform
Email templates — Open each template in your source platform’s editor and record its name, purpose (campaign, automation, transactional), and which automations or campaigns use it. Note whether the template was built with a visual editor or custom HTML.
Template content and structure — For each template, document the layout structure (number of columns, section order), all text content, image URLs or files, button links, and any dynamic or conditional content blocks. Save or screenshot each template for reference.
Personalization tags — List every personalization or merge tag used in your templates, such as first name, company name, or custom field values. Record the exact tag syntax your source platform uses (e.g., *|FNAME|*, {{first_name}}, {contact.first_name}) so you can map each one to Sender’s {{ field_name }} format.
Unsubscribe and compliance links — Identify how your source platform handles unsubscribe links, browser-view links, and physical address footers in templates. Sender requires an unsubscribe link in every email and uses {{unsubscribe_link}} in custom HTML templates.
Images and hosted assets — Document all images used in your templates and where they are hosted. If images are hosted on your source platform’s servers, download them before canceling that account, as those URLs may stop working after migration.
Steps to Migrate Email Templates
Step 1 — Export or copy the template HTML from your source platform
In your source platform, open each template you need to migrate and export or copy the full HTML code. Most platforms offer an Export HTML option or let you view the raw HTML source in the template editor. Save each template’s HTML as a separate .html file. If your source platform does not support HTML export, take detailed screenshots of each template section and copy all text content manually.
Step 2 — Prepare the HTML for Sender
Open each exported HTML file and replace all source-platform-specific tags with Sender equivalents. Replace personalization tags with Sender’s {{ field_name }} syntax — for example, replace *|FNAME|* with {{ firstname }}. Replace the unsubscribe link with {{unsubscribe_text}}. Remove any source-platform-specific tracking scripts or proprietary code. If images were hosted on your source platform, update image URLs to point to your own hosting or prepare to re-upload them in Sender’s editor.
Step 3 — Import the template into Sender
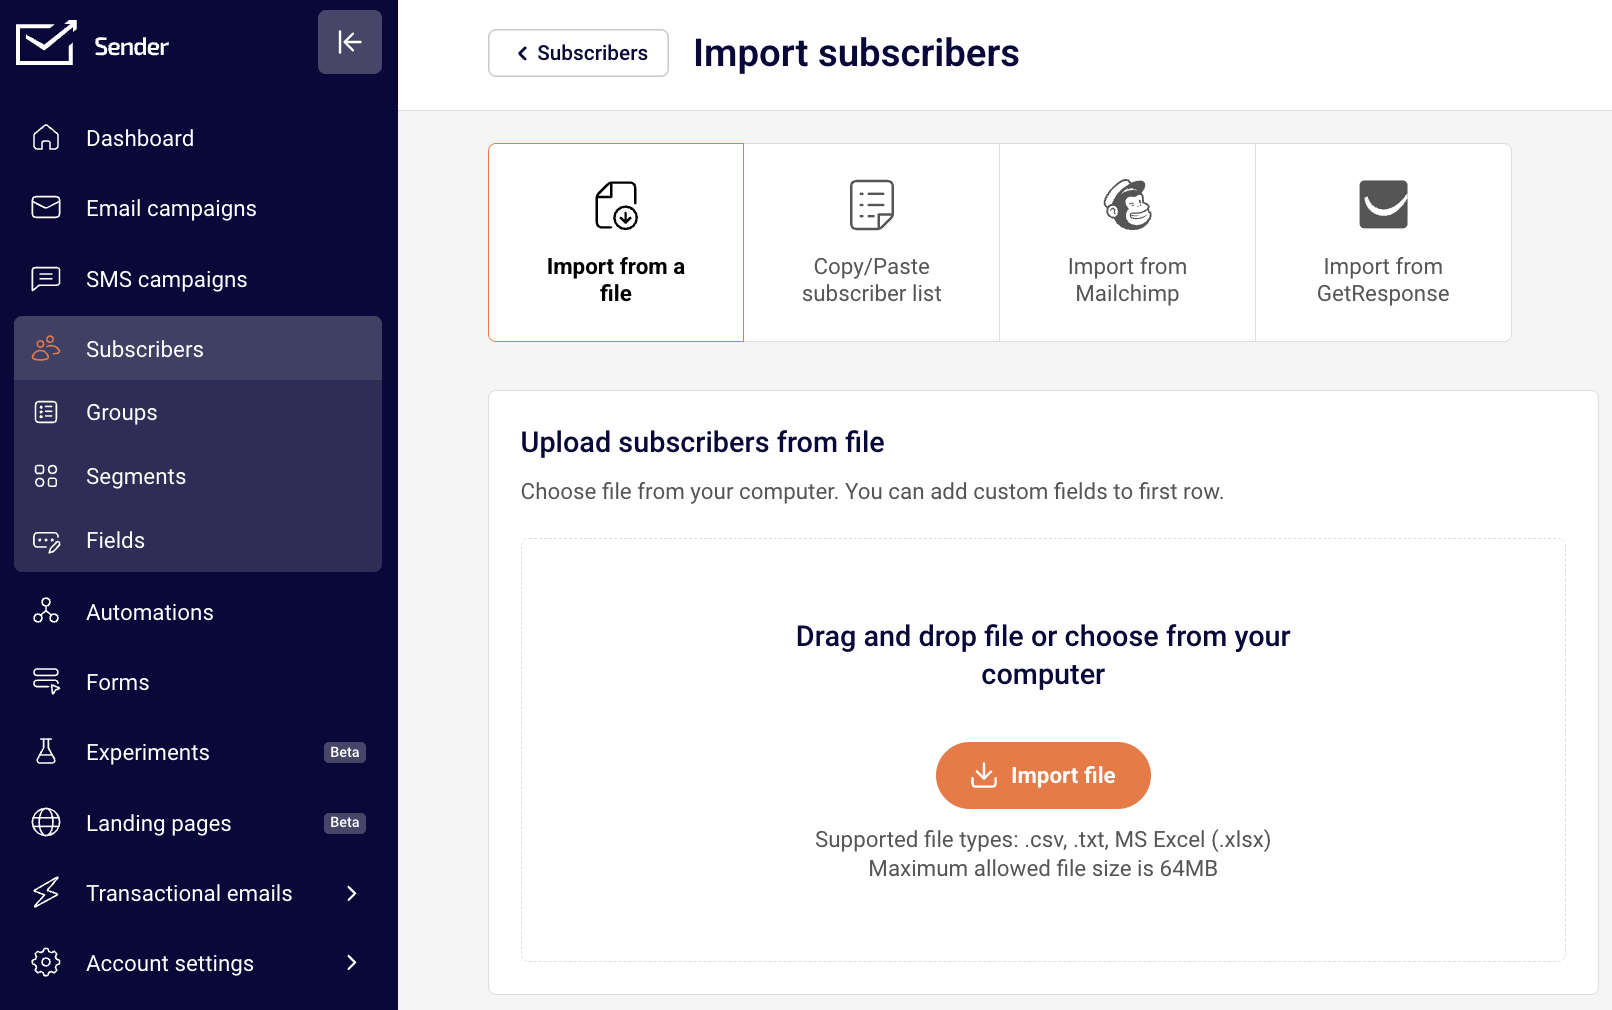
In Sender, go to Email campaigns → New campaign. Complete the Settings step, then on the Design step, select Custom HTML email. This opens the HTML code editor with a live preview on the right. Select all default code in the editor, delete it, and paste your prepared HTML. Verify the layout in the preview panel. Confirm the email size shown in the top-right corner is acceptable. Click Save & continue to save the design.
Step 4 — Rebuild templates in the drag-and-drop builder (alternative method)
If you prefer a visual approach or your source template HTML does not render well, select Drag and drop builder on the Design step instead. Choose Blank template or a similar starting template from the All templates list. Use the Building blocks panel on the left sidebar to add blocks — Headline, Paragraph, Image, Button, Logo, Social, and others — to match your original template’s layout. Use the Custom HTML building block for any sections requiring custom code within the visual editor.
Step 5 — Save the design as a reusable template
After finalizing the template in either editor, save it for reuse. In the drag-and-drop editor, click the Template options icon in the left sidebar and select Save as template. Your saved template appears under My templates in the template selection screen and can be reused in future campaigns and automation workflow emails. Repeat the import or rebuild process for each template you need to migrate.
Mapping Reference
Personalization merge tags → Custom fields in Sender — Source platform tags like *|FNAME|* (Mailchimp), {{ contact.first_name }} (ActiveCampaign), or {first_name} (other platforms) map to Sender’s {{ firstname }} format. Available default fields include {{ firstname }}, {{ lastname }}, {{ email }}, {{ phone }}, and {{ birthday }}. Custom fields you create in Sender also become available as personalization tags.
Unsubscribe link → {{unsubscribe_link}} in Sender — Replace your source platform’s unsubscribe tag with {{unsubscribe_link}} in the href attribute and {{unsubscribe_text}} for the link text. Sender requires every email to contain a working unsubscribe link. The drag-and-drop editor includes this automatically in the footer.
Visual template editor → Drag and drop builder in Sender — Source platform visual editors map to Sender’s drag-and-drop builder, which offers Building blocks (Headline, Paragraph, Image, Button, Separator, Logo, Video, Social, Product, Menu, Custom HTML) and Section templates (Preheader, Header, Hero, Content, Newsletter, Feature, Call to action, Product, Footer, Blank).
HTML template editor → Custom HTML email in Sender — Source platform code editors or raw HTML exports map to Sender’s custom HTML editor, accessed by selecting Custom HTML email on the campaign Design step. The editor provides a code panel on the left and a live preview on the right.
Brand styles (colors, fonts, logo) → Brand assets in Sender — Source platform brand settings map to Account settings → Brand assets in Sender, where you configure your logo, color theme (dark background, light background, headline, paragraph text, accent color), fonts (with fallback options), and social links. These settings auto-apply to all new Branded templates.
Saved/reusable templates → My templates in Sender — Source platform template libraries map to Sender’s My templates category. Save any design from the drag-and-drop editor using Template options → Save as template. Saved templates are available for both campaigns and automation emails.
What Cannot Be Migrated Automatically
Template design files — There is no direct file import to transfer a complete template design from another platform into Sender. You must either paste HTML into the Custom HTML email editor or rebuild the design in the Drag and drop builder.
Platform-specific dynamic content blocks — Conditional content blocks, product recommendation widgets, or AI-generated content sections from your source platform have no direct equivalent in Sender’s editor. Recreate the logic manually using Sender’s available building blocks or separate the content into different templates for different audience segments.
Hosted images on the source platform — Images hosted on your source platform’s CDN or file manager will not transfer. Download all image assets before migration and re-upload them in Sender’s editor or host them on your own server and update the URLs in your HTML.
Template performance data — Open rates, click rates, and heatmap data tied to specific templates in your source platform cannot be transferred. Performance tracking for each template starts fresh in Sender.
Proprietary personalization logic — Advanced conditional personalization (e.g., if/else blocks based on subscriber data) that your source platform supports may not have a one-to-one equivalent in Sender. Document the logic and recreate it using Sender’s available personalization features or by creating separate templates for different subscriber segments.
How to Test the Migration
Visual rendering test — After importing or rebuilding a template, use the preview icons in the editor toolbar to switch between desktop and mobile views. Verify that the layout, images, fonts, and colors match the original template. Check that no broken image icons or layout shifts appear.
Personalization tag test — Click Send test email in the editor toolbar to send the template to your own email address. Verify that personalization tags like {{ firstname }} render correctly or display the expected fallback value. Confirm that all links, including the unsubscribe link, work and point to the correct destinations.
Cross-client rendering test — Send the test email to addresses across different email clients (Gmail, Outlook, Apple Mail, Yahoo). Check that the template displays consistently. Pay particular attention to custom fonts, background images, and button styling, which may render differently across clients.
Automation email test — If the template is used in an automation, add it to the relevant automation step and trigger the workflow with a test subscriber. Confirm the correct template is sent and that personalization and links function within the automation context.
Migration Tips
Set up Brand assets first — Before rebuilding templates, go to Account settings → Brand assets and configure your logo, colors, fonts, and social links. You can use Automatic brand setup to import these from your website URL. All new branded templates will then use these settings automatically, saving time on each template rebuild.
Prioritize high-use templates — Migrate templates used in active automations and recurring campaigns first. Low-priority or one-time-use templates can be rebuilt later or skipped entirely.
Use the Custom HTML block inside the drag-and-drop builder — If only a specific section of your template requires custom code, use the Custom HTML building block within the drag-and-drop editor rather than importing the entire template as custom HTML. This gives you the flexibility of visual editing with the precision of code where needed.
Download all images before leaving your source platform — Export or download every image from your source platform’s media library before your account expires. Once you lose access, images hosted on that platform’s servers will break in any template referencing them.
Save each completed template immediately — After finishing a template in the drag-and-drop editor, use Template options → Save as template right away. This stores the design in My templates for reuse across campaigns and automations.
Common Issues
Unsubscribe link error when sending → The custom HTML template is missing a valid unsubscribe link. Add {{unsubscribe_text}} to the template HTML and save again.
Personalization tags displaying as raw text → The tags are using the source platform’s syntax instead of Sender’s format. Replace them with Sender’s {{ field_name }} syntax, ensuring double curly braces with spaces around the field name.
Images broken after import → The image URLs still point to the source platform’s servers, which may no longer be accessible. Re-upload images in Sender’s editor or host them on your own server and update the src attributes in the HTML.
Template layout looks different in Sender → CSS rendering differences between platforms can cause layout shifts. Review the HTML for platform-specific CSS classes or inline styles that may not be supported. Test and adjust spacing, widths, and font sizes in Sender’s editor until the layout matches.
Saved template not appearing in automation email step → Templates saved via Template options → Save as template in the drag-and-drop editor appear under My templates. When adding an email step in an automation, look for the template in the My templates category. If it does not appear, verify the template was saved successfully by checking My templates when creating a new campaign.
Email clipping in Gmail → Sender shows the approximate email size in the top-right corner of the HTML editor. If the email exceeds 102 KB, Gmail may clip the message. Simplify the HTML, remove unnecessary code, or compress images to reduce the total size.
FAQs
Can I import a template file directly into Sender? Sender does not support importing template files (such as .json or .zip exports from other platforms) directly. You can paste raw HTML into the Custom HTML email editor, or rebuild the template using the Drag and drop builder. Save your finished design as a reusable template under My templates.
How do I replace personalization tags from my previous platform? Open your exported HTML and find all instances of source platform merge tags. Replace each one with Sender’s equivalent using the {{ field_name }} format. Default fields include {{ firstname }}, {{ lastname }}, {{ email }}, {{ phone }}, and {{ birthday }}. For custom fields, create the field in Sender first under Subscribers, then reference it with the same {{ field_name }} syntax.
Can I use my migrated templates in automations? Yes. Save your template in the drag-and-drop editor using Template options → Save as template. Saved templates appear under My templates and can be selected when adding an email step to any automation workflow.
What happens to images hosted on my previous platform? Images stored on your source platform’s servers will continue to load only as long as those URLs remain active. If you cancel your source platform account, those image URLs will break. Download all images before canceling and re-upload them in Sender’s editor or host them on your own server.
Should I use the drag-and-drop builder or the custom HTML editor? Use the Custom HTML email editor if you have clean, well-formatted HTML from your source platform and want to preserve the exact code. Use the Drag and drop builder if you want to take advantage of Sender’s visual editing tools, branded templates, and building blocks. You can also combine both approaches by using the Custom HTML building block within the drag-and-drop editor for specific sections.
How do I set up my brand colors and fonts in Sender before rebuilding templates? Go to Account settings → Brand assets. Upload your logo, select or customize a color theme, choose headline and paragraph fonts with fallback options, and add social media links. You can also use Automatic brand setup to import brand elements directly from your website URL. Click Save brand to apply these settings to all new branded templates.