This guide explains how personalization tags behave when you send a test email in Sender, and what to check before launching your campaign.
Where to Find This Feature
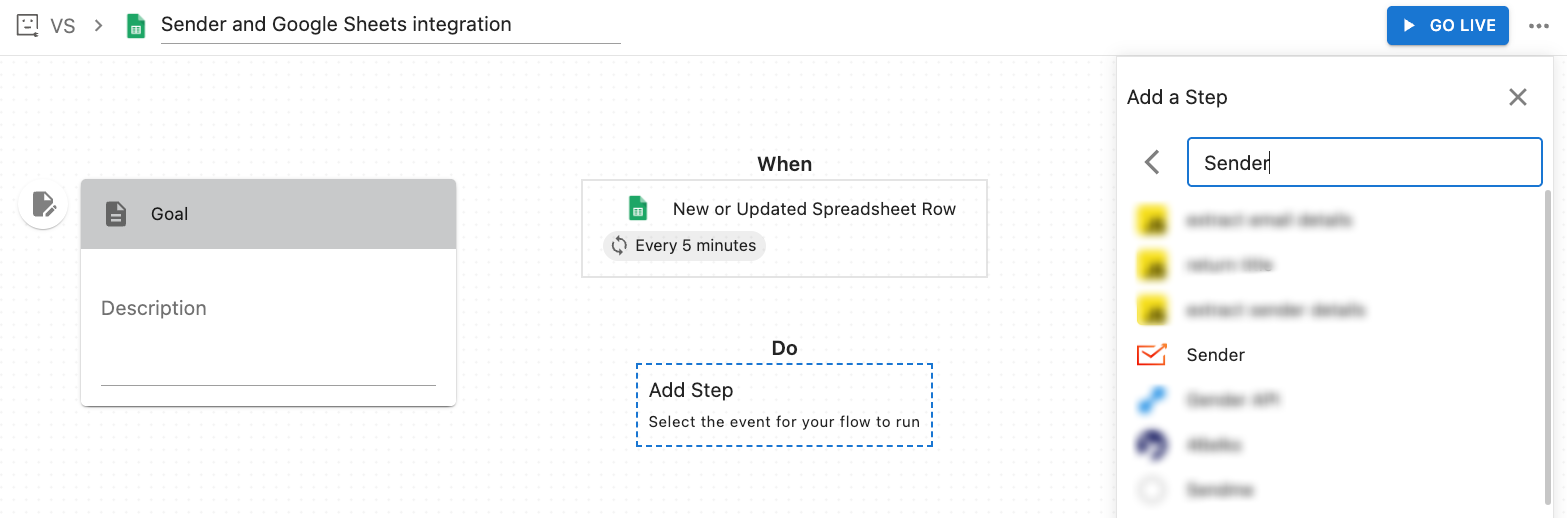
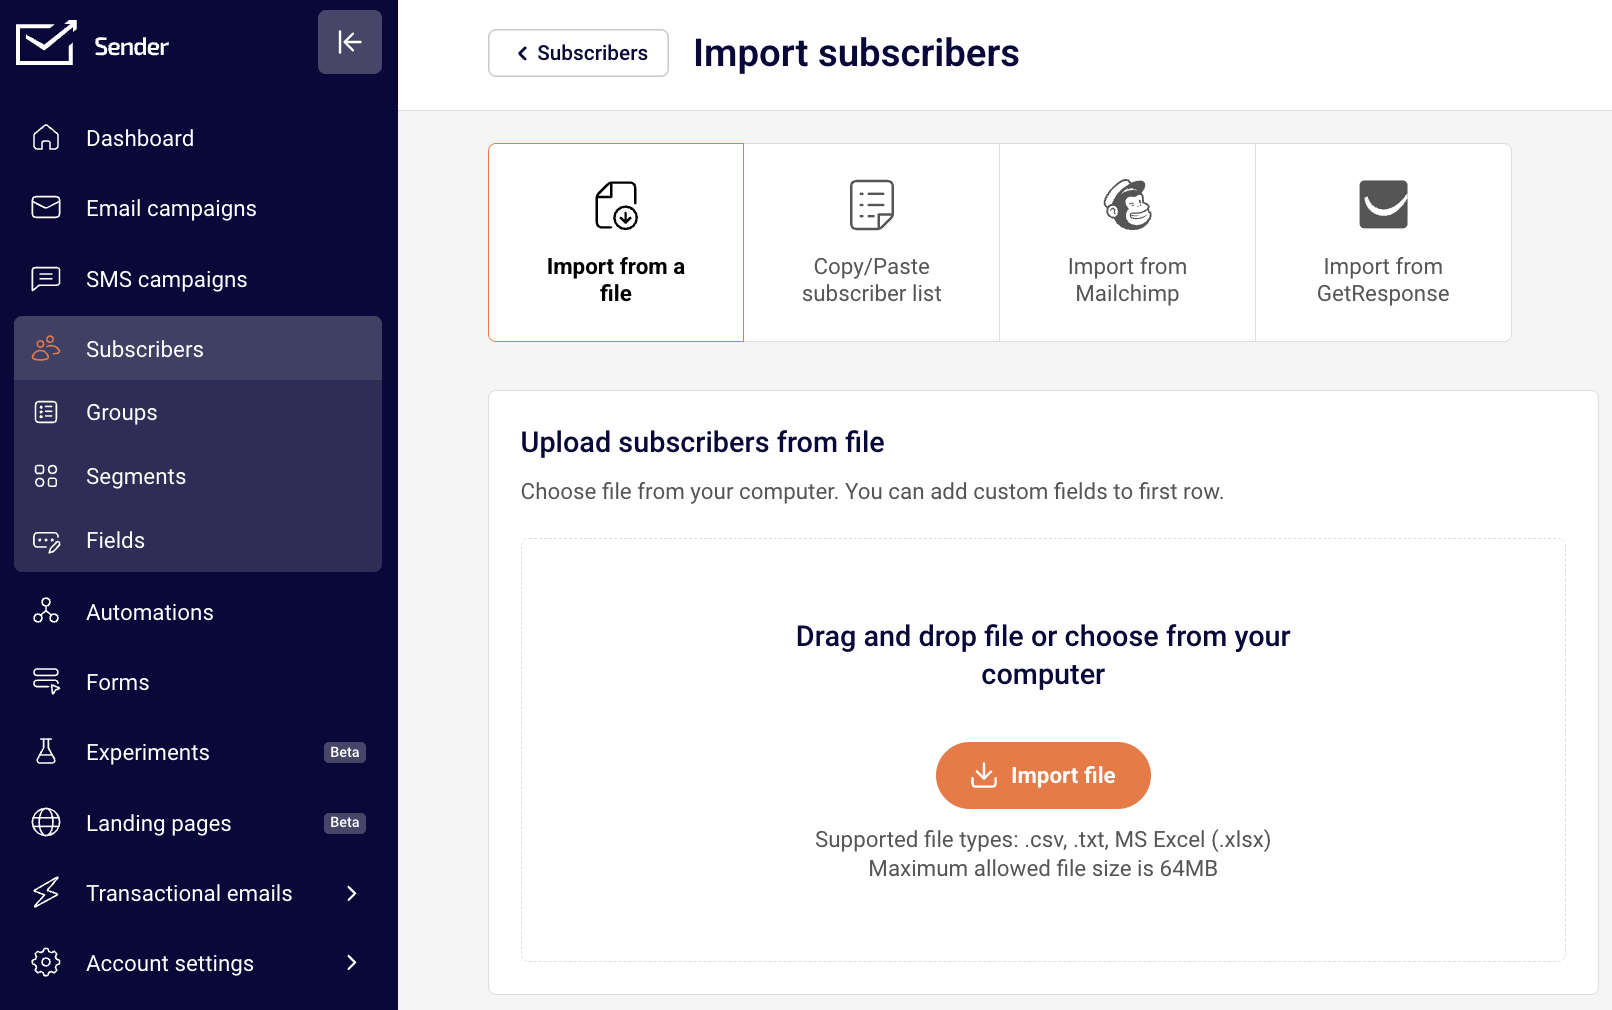
In the Sender dashboard, go to:
Email campaign → Design → Send test email
You can also access test emails from within the drag-and-drop email builder by clicking Send test email in the top navigation bar.
What to Check Before Sending
Check 1 — Verify custom field placement in the editor
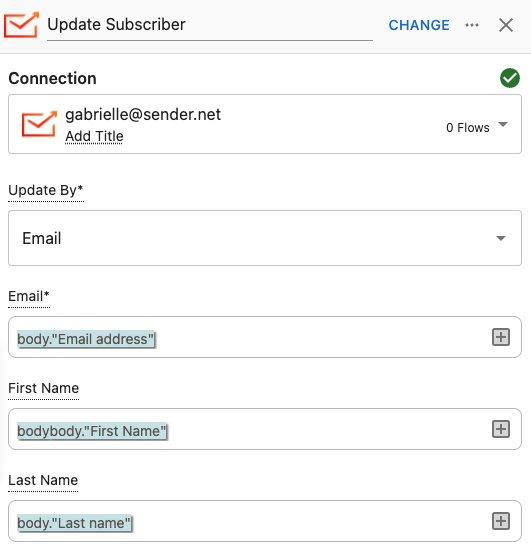
Open your campaign and click Edit design to enter the email builder. When you select a text block (such as Paragraph or Headline), the inline toolbar appears. Click the Custom fields icon to insert personalization tags like firstname, lastname, email, phone, or birthday. Inside the editor, inserted tags display as readable labels (e.g., “First name”). Make sure tags are placed where you expect them in your content.

Check 2 — Review tags in the Design preview
Go back to the Design step to see your email outside the editor. Here, personalization tags display in their raw syntax — for example, {{ firstname }}. This is the actual merge tag format that Sender uses. Check that tags appear in the correct position within your text, subject line, and preview text. If you see broken or misplaced {{ }} tags, return to Edit design to fix them.

Check 3 — Preview across devices and dark mode
In the email builder, click the Preview icon (eye) in the top bar. The preview shows your email in both desktop and mobile views side by side. Use the Dark mode preview toggle to verify your layout holds across rendering modes. Personalization tags remain unresolved in this preview — they still show as {{ fieldname }}. Focus on checking layout, spacing, and readability around your tags.

Check 4 — Understand test email behavior
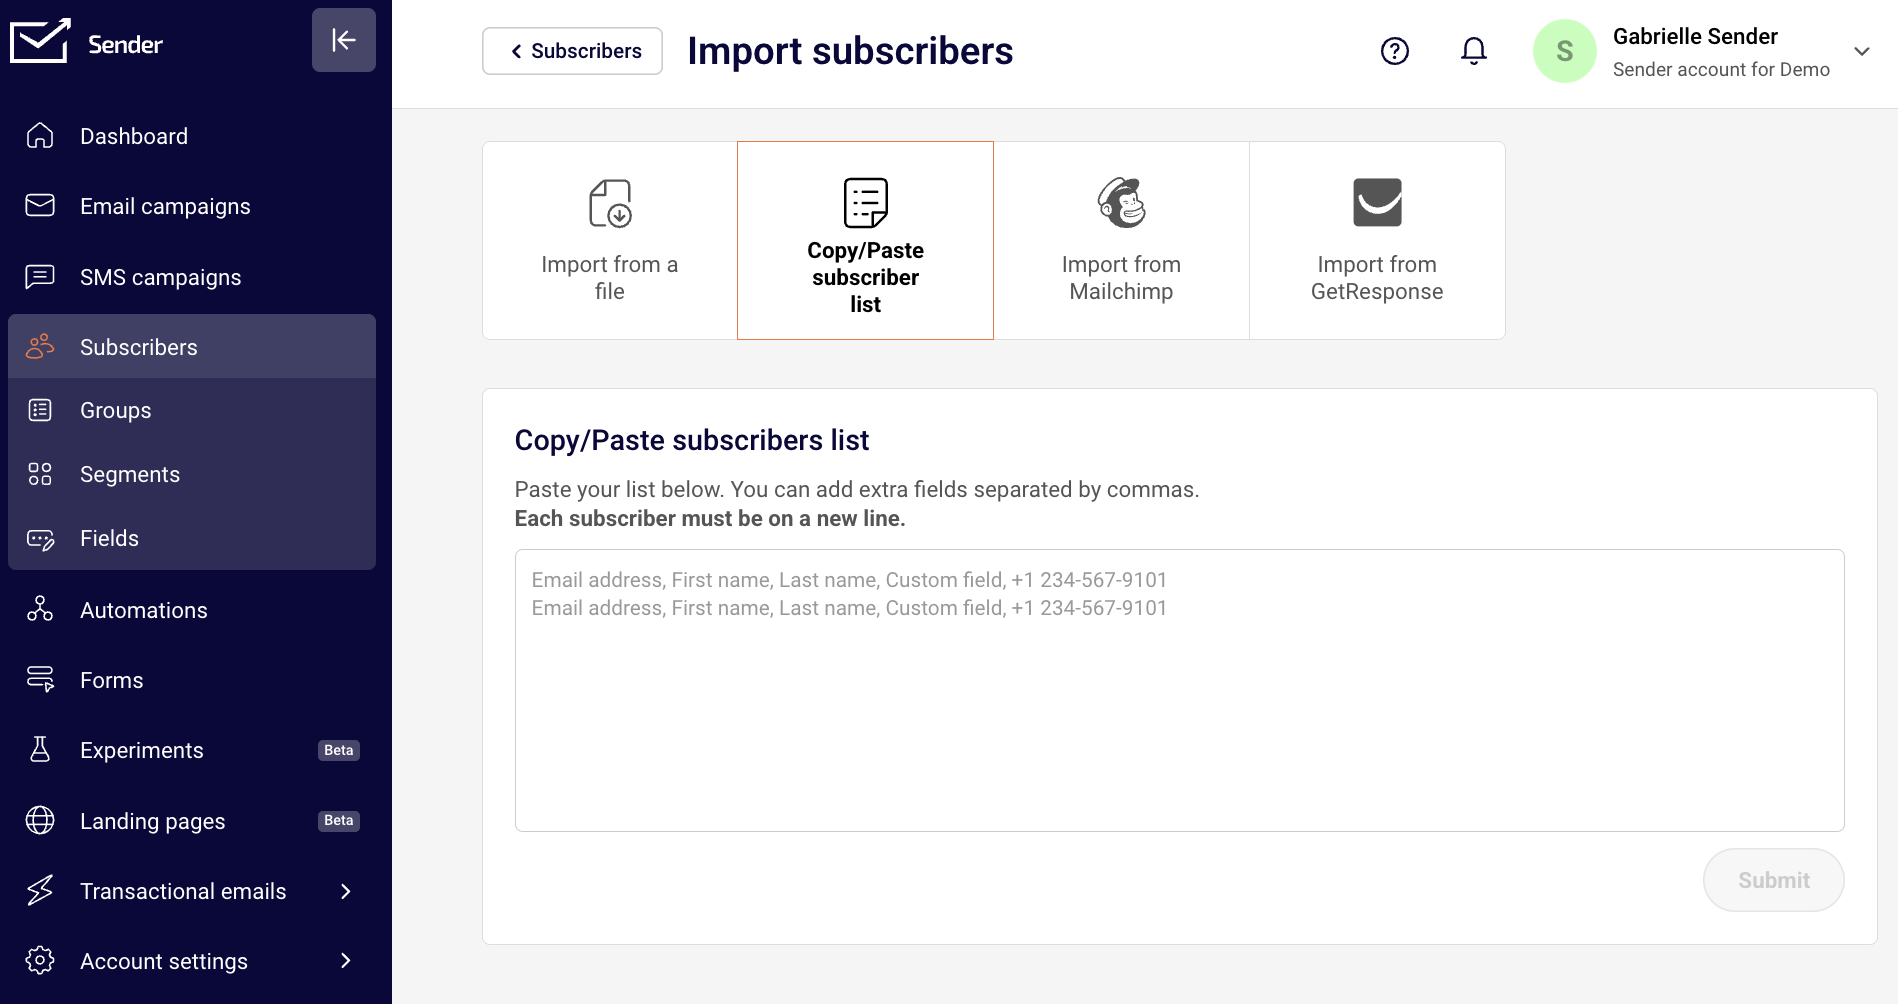
Click Send test email and enter the recipient address in the dialog. Test emails are sent to a specific email address you provide — not to your subscriber list. Because the test recipient is not a subscriber in your contact list, personalization tags are not replaced with actual data. The test email will display the raw tag syntax (e.g., {{ firstname }}). This is expected behavior.
Check 5 — Confirm subject line and preview text personalization
On the Settings step, both the Email subject and Email Preview text fields support personalization via the Custom fields dropdown. The Inbox preview panel on the right shows how the sender name, subject, and preview text appear together. If you added custom fields to the subject or preview text, verify the tag placement here before proceeding.

What Happens After You Send a Test Email
The test email arrives in the inbox you specified. Personalization tags appear as raw {{ fieldname }} placeholders — they are not populated with subscriber data. When you send the actual campaign to your subscriber list from the Review and send step, Sender resolves each tag using the matching data from each subscriber’s contact profile. If a subscriber’s field is empty, the tag renders as blank unless a fallback value is configured.
Common Issues
Tags show as {{ firstname }} in the test email — This is expected. Test emails do not resolve personalization because they are not sent to a subscriber record. The tags will populate correctly in the live campaign send.
Tags appear as raw code in the Design preview — Normal behavior. The Design step and the preview mode display the merge tag syntax, not resolved values.
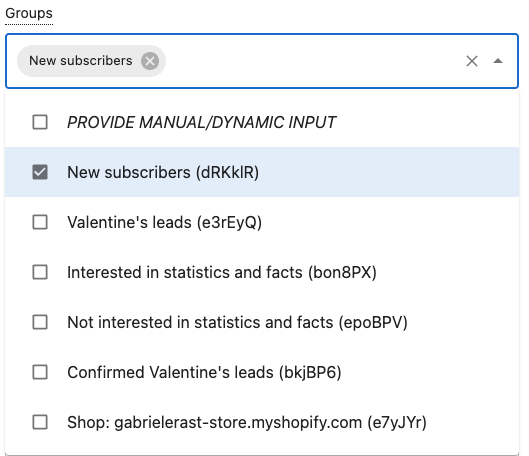
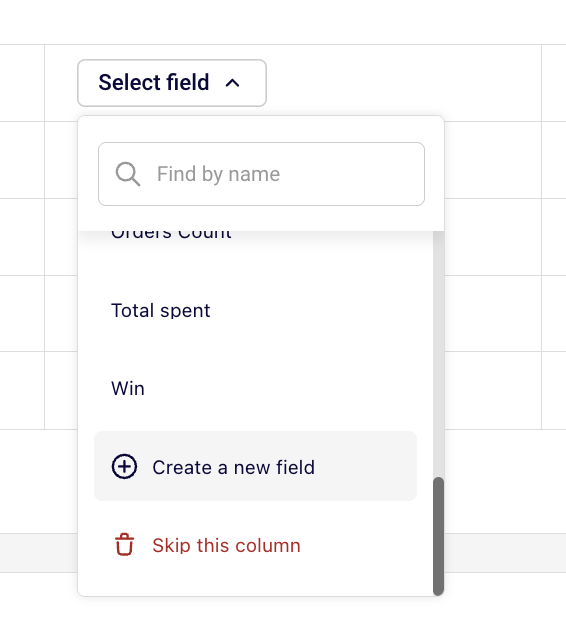
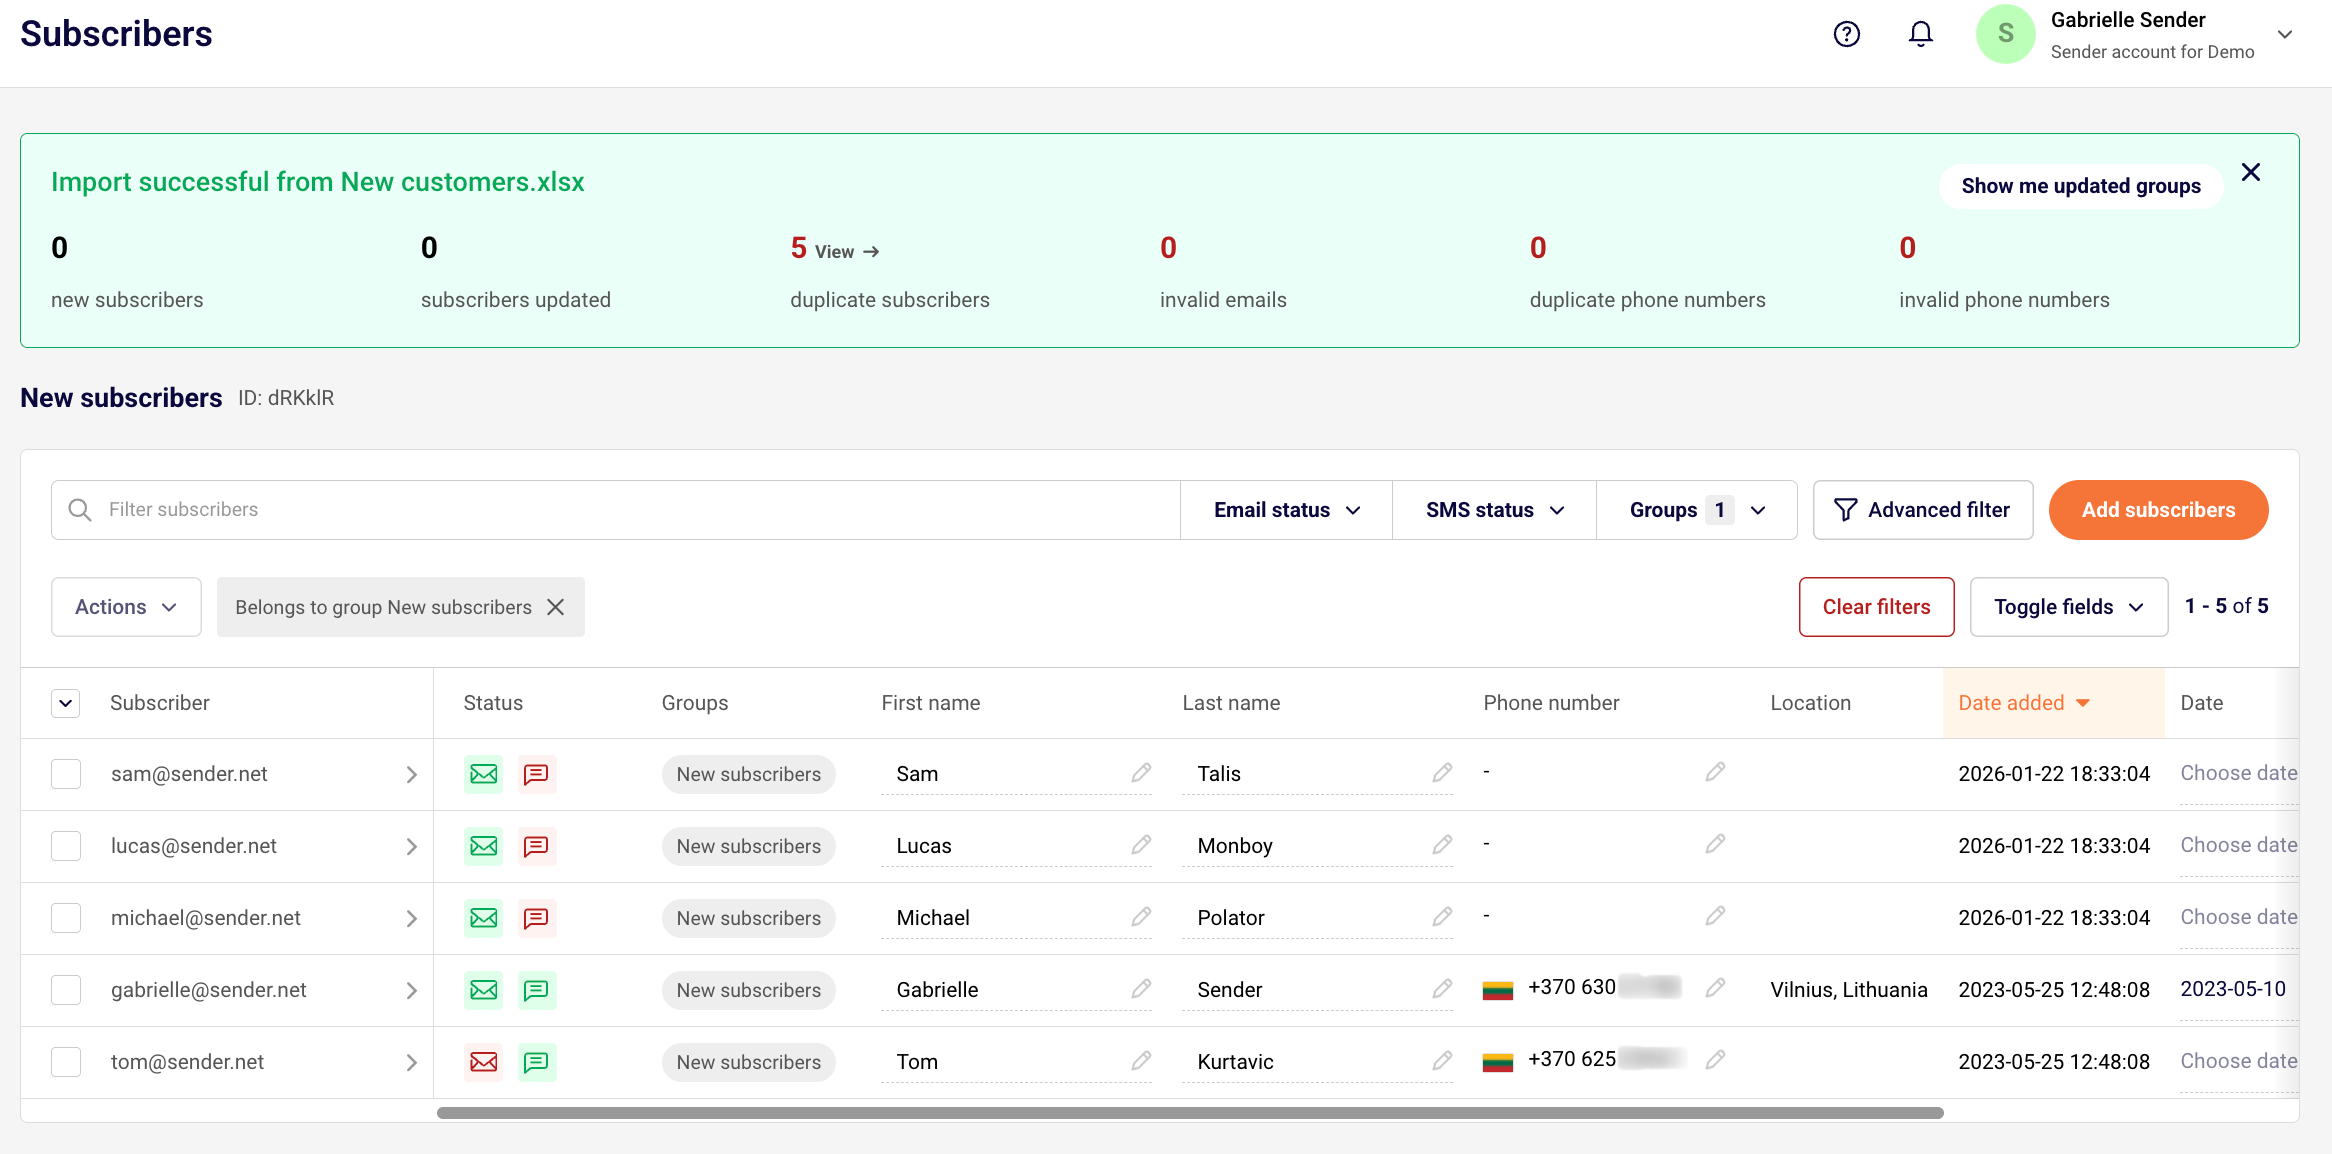
Custom field is missing from the dropdown — The Custom fields list in the email builder includes subscriber fields (e.g., firstname, lastname, email, phone, birthday) and account-level fields (e.g., account.title, account.address). If a field doesn’t appear, confirm it exists in your subscriber data or account settings.
Empty space appears in the live email where a tag was used — The subscriber does not have data for that field. Check your subscriber list to confirm the relevant field is populated for your recipients.
FAQs
Will personalization work when I send the actual campaign?
Yes. When you send from the Review and send step, Sender replaces each {{ fieldname }} tag with the corresponding value from the subscriber’s contact profile.
Can I add custom fields to the subject line?
Yes. On the Settings step, click Custom fields next to the Email subject or Email Preview text field and select a tag.
Where can I send a test email from?
You can send a test email from the Design step (via the Send test email button) or from inside the drag-and-drop email builder (via Send test email in the top bar).
How many test emails can I send?
Up to 10 test emails per hour. Test emails do not count toward your sending limit.
Does the preview mode show resolved personalization?
No. The preview (desktop, mobile, and dark mode) shows the raw {{ fieldname }} tag syntax, not actual subscriber data.