KEY FEATURES
- [Embedded subscription forms](#embedded forms)
- [Pop-up forms](#pop-up forms)
- [Subscriber management and segmentation](#Subscriber management and segmentation)
- Automation workflows
Installation process
Follow the interactive tutorial to connect your Jumpseller with your Sender account.
Embedded forms
As you now have connected your Jumseller store with Sender, you can add your first embedded form in your store website.
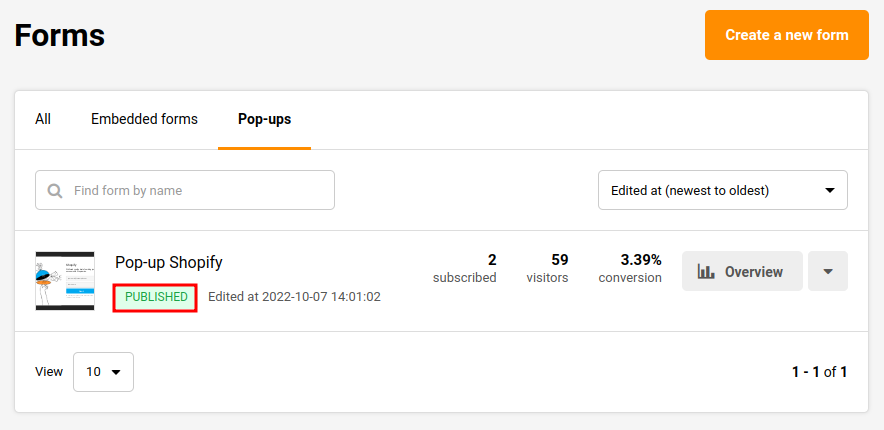
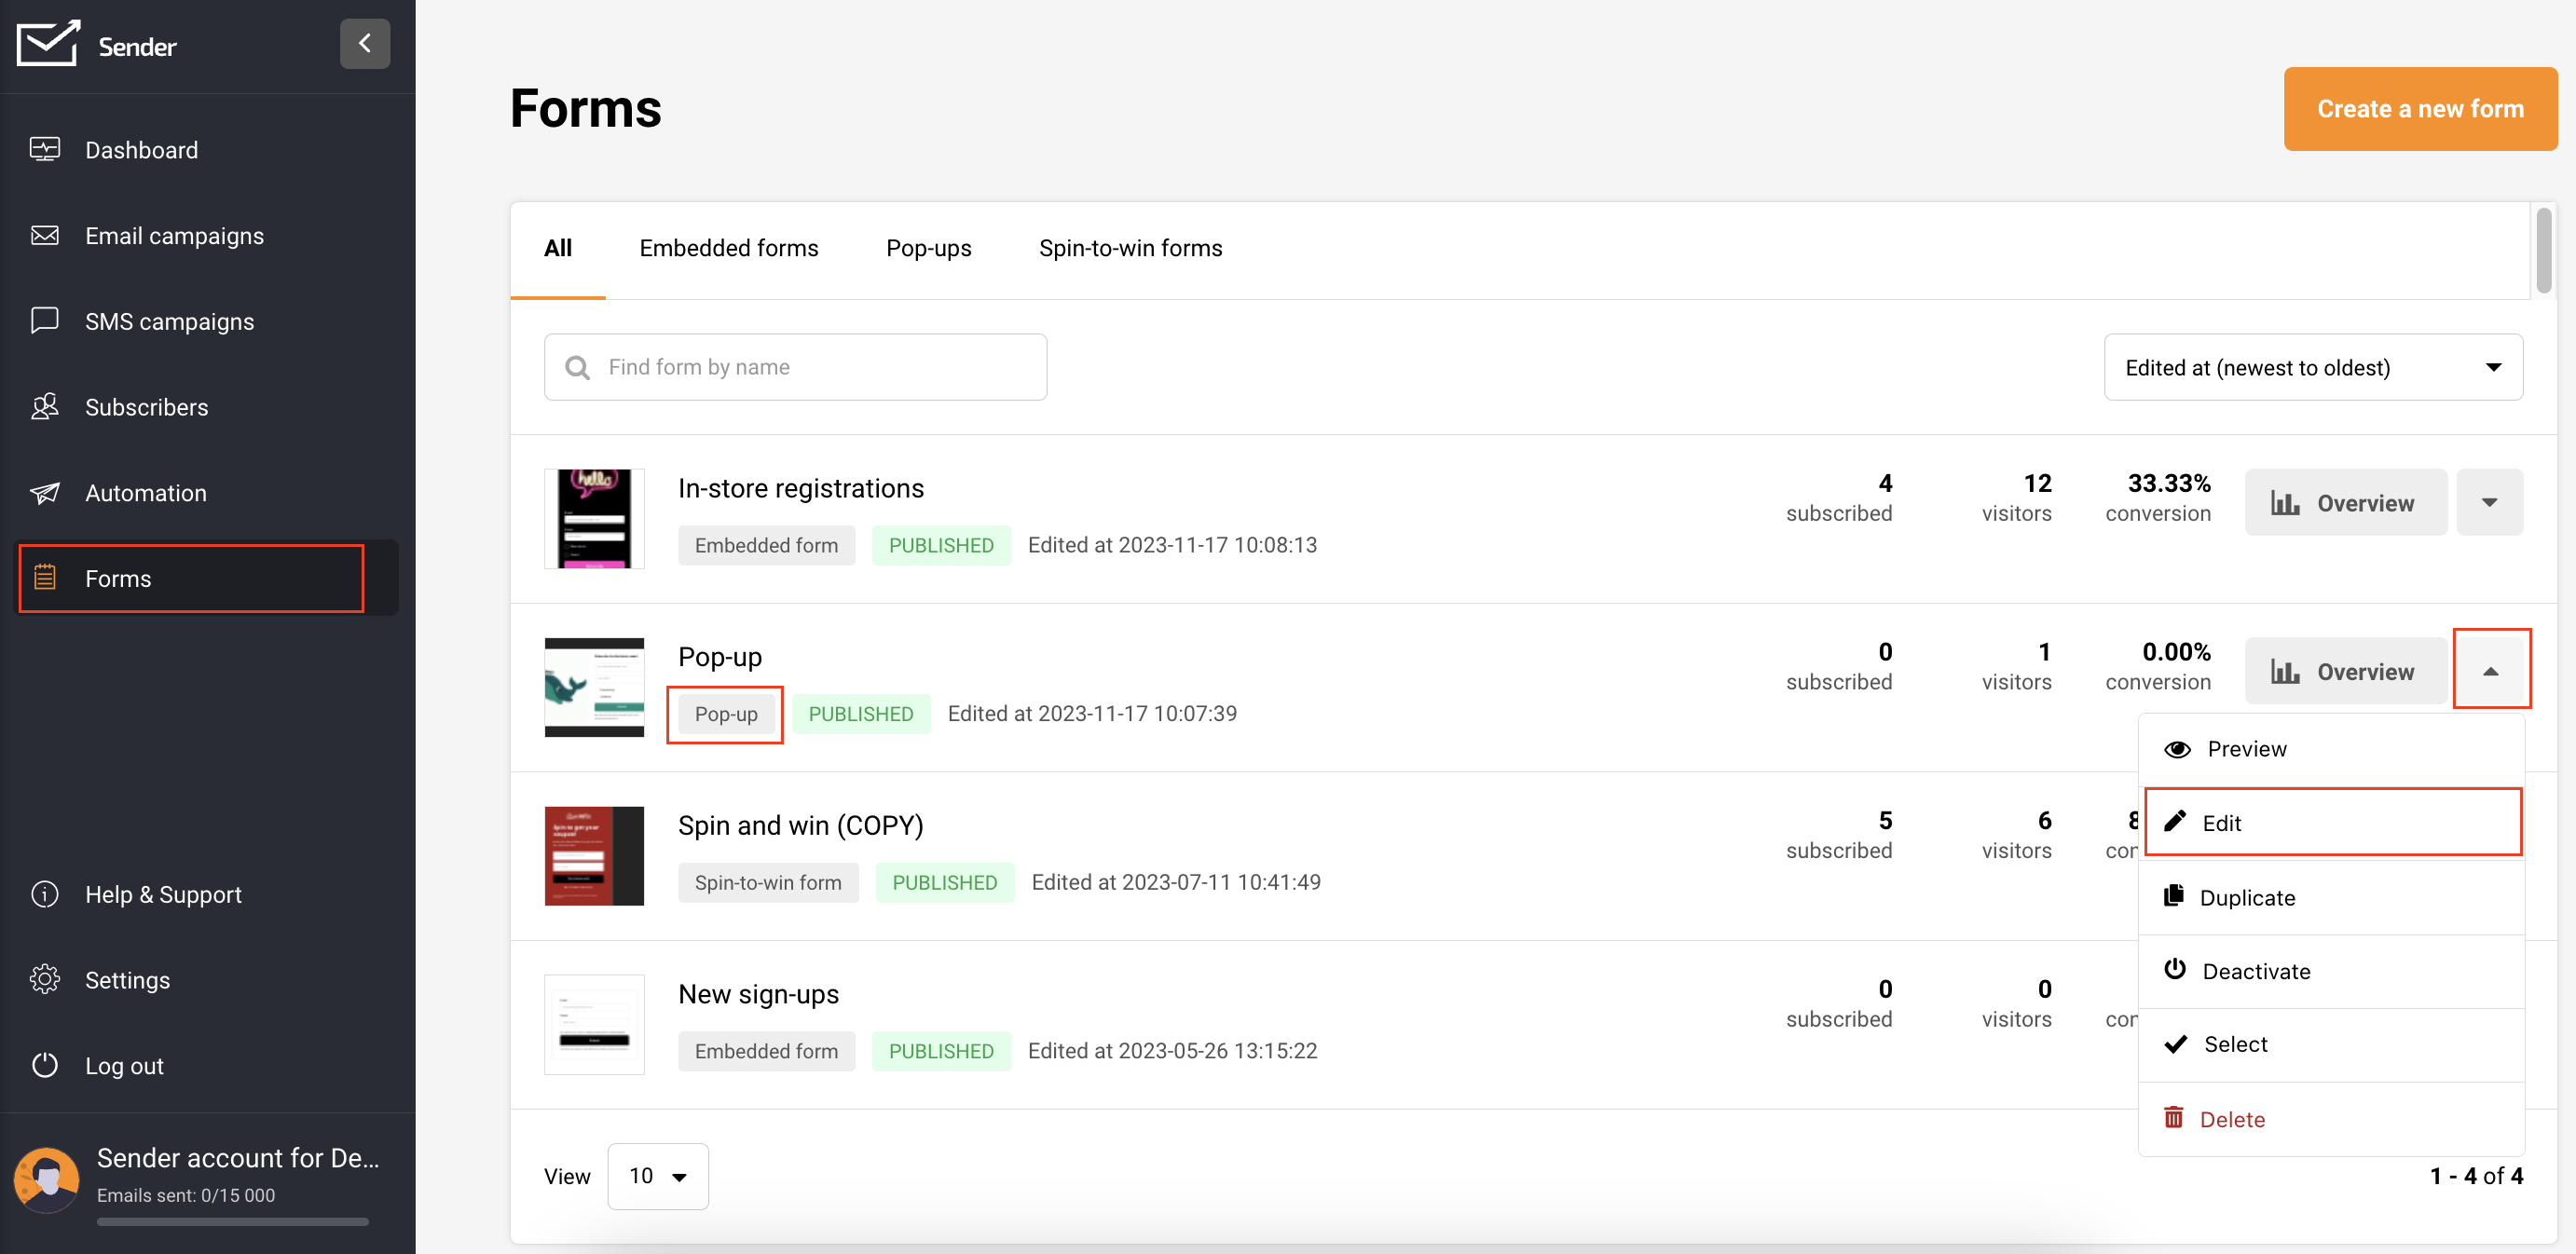
In your Sender account, go to Forms and select “Create a new form” if you haven’t already. Follow this tutorial to create an embedded form. To edit an existing form, click the arrow button next to “Overview” and choose “Edit.”

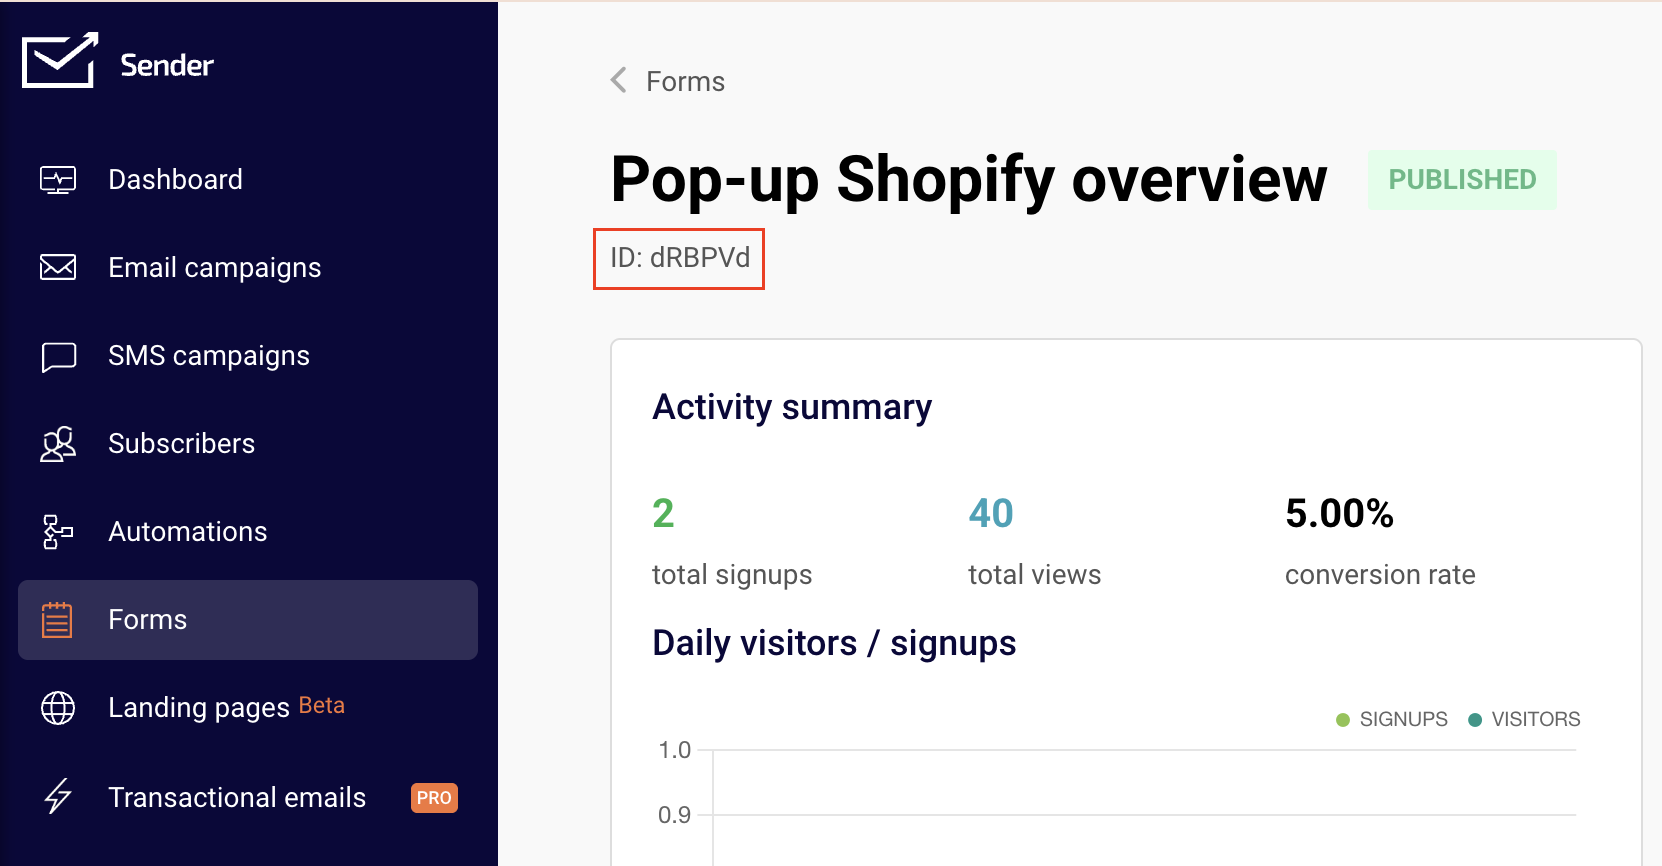
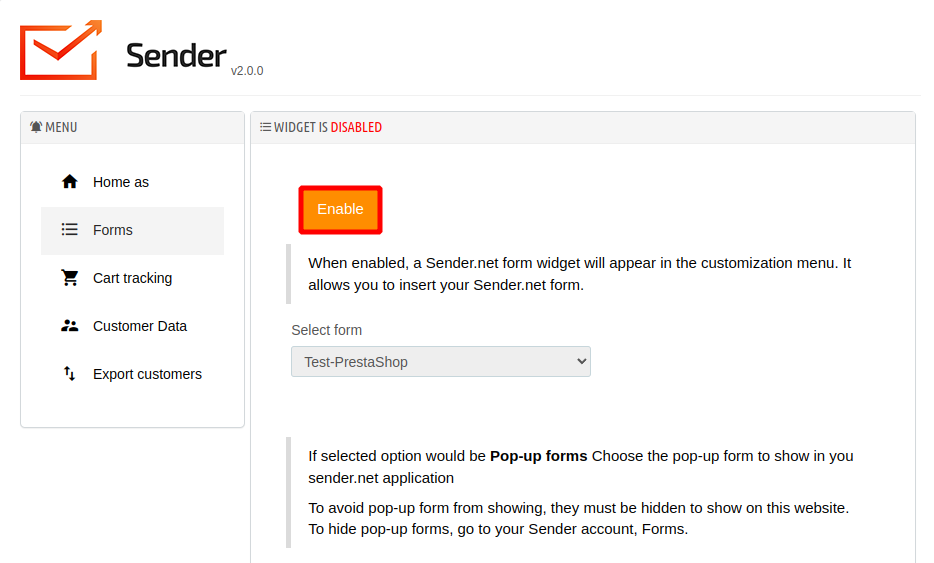
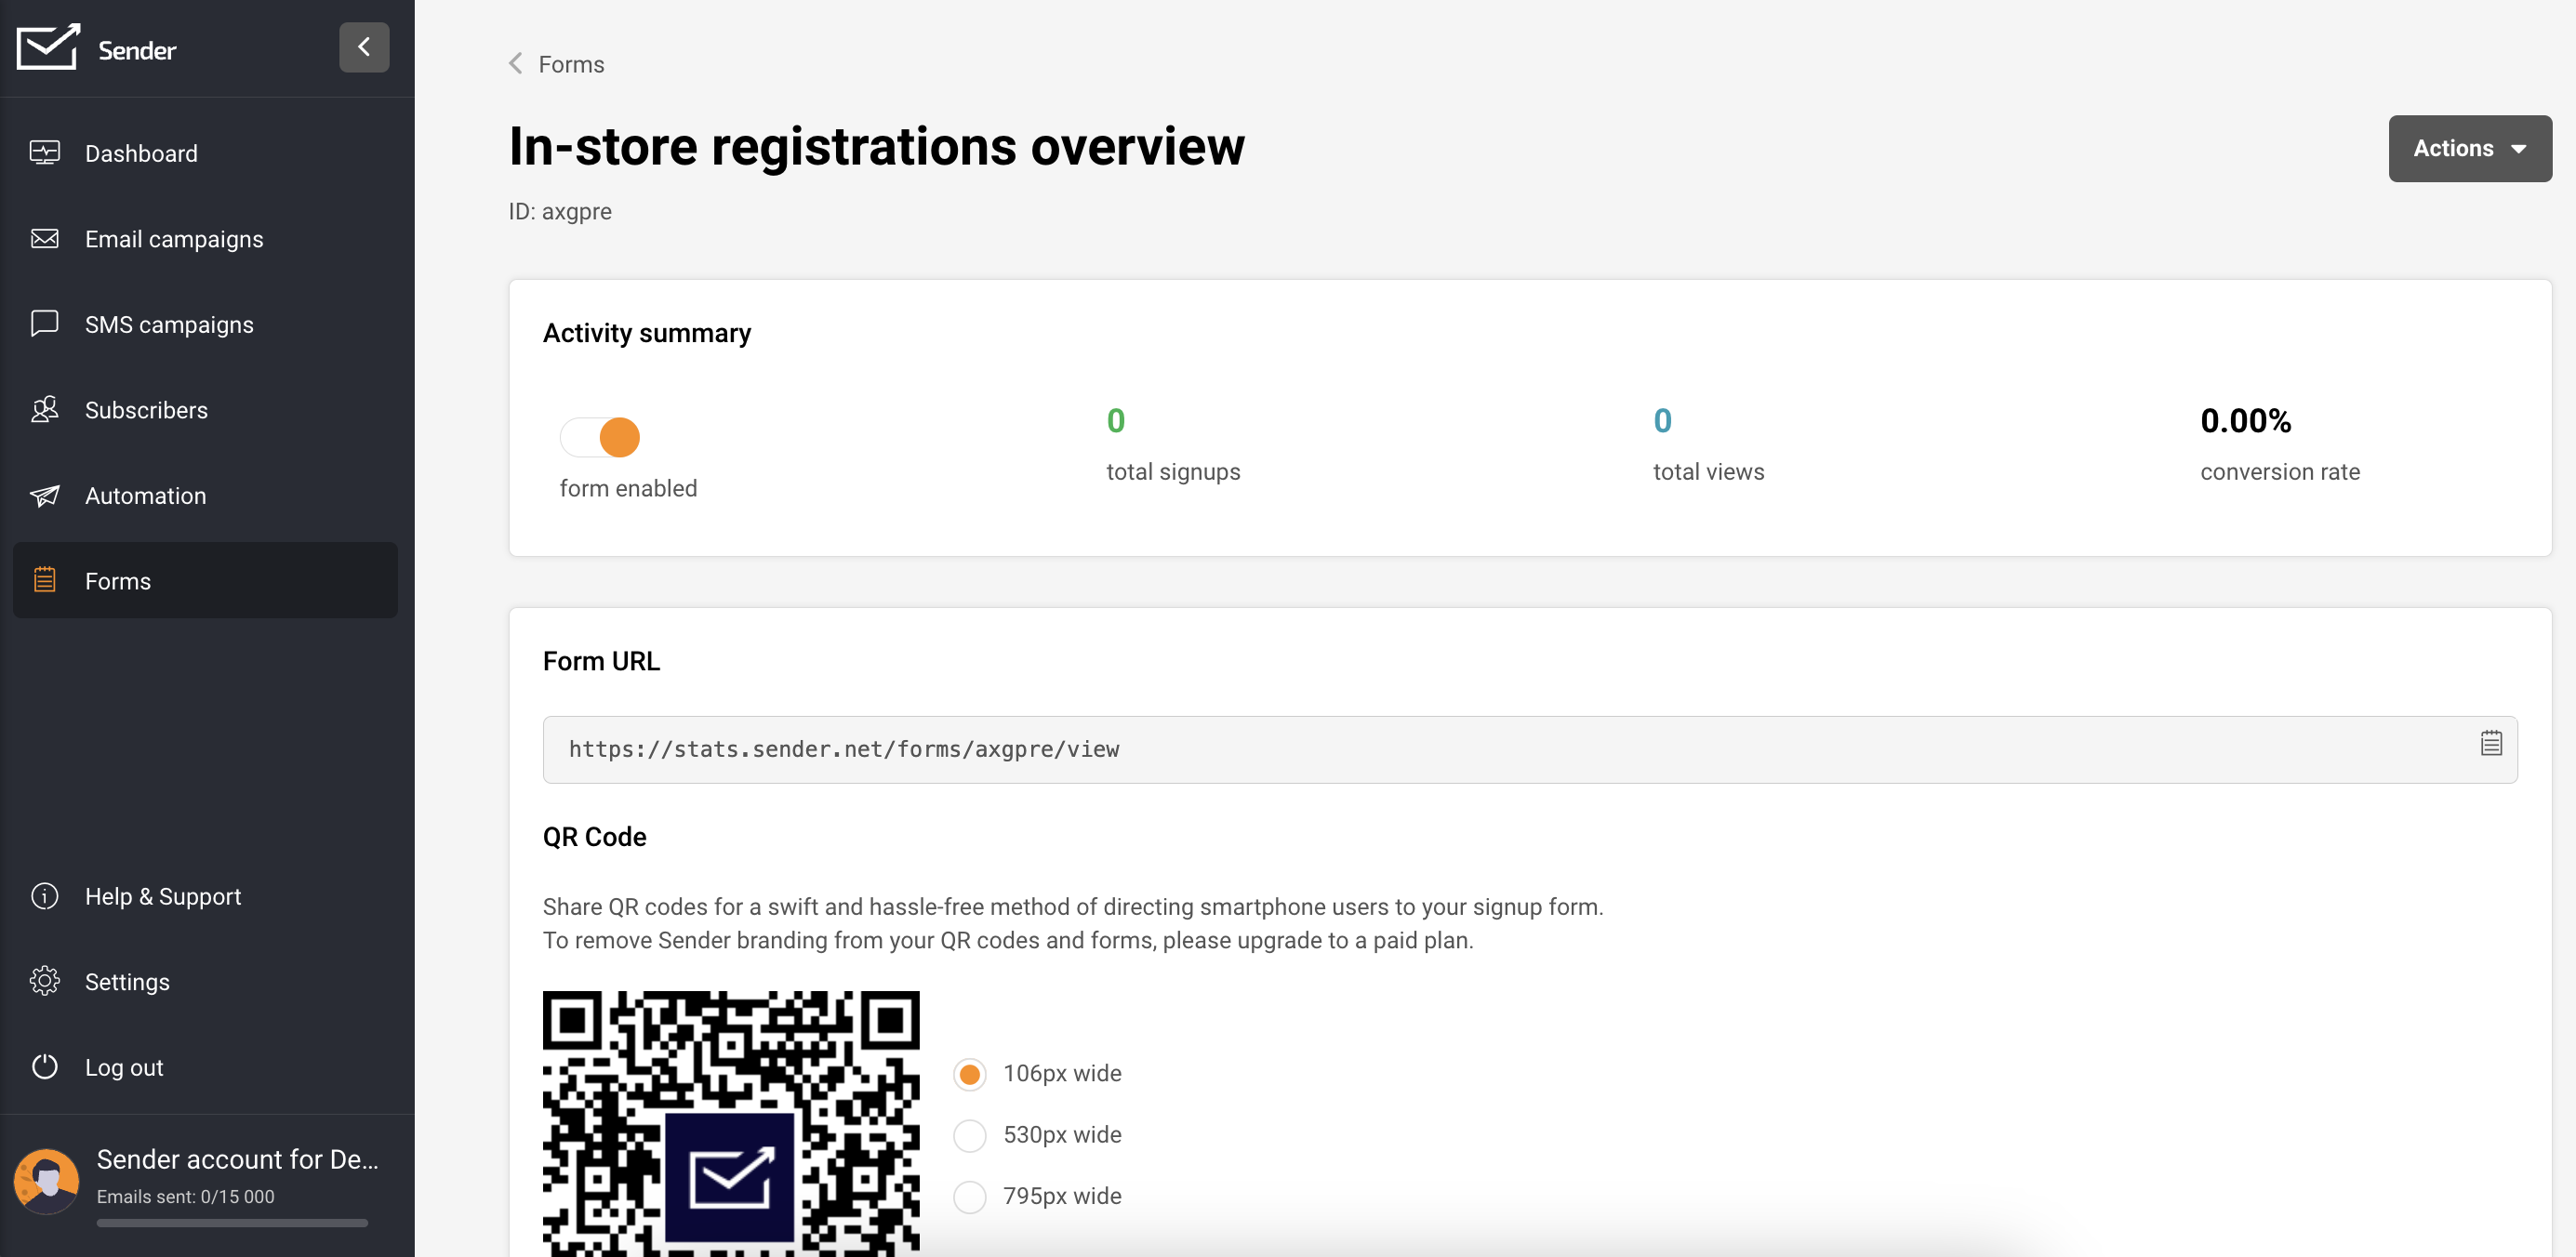
Once you have an embedded form, click the “Overview” button beside it.
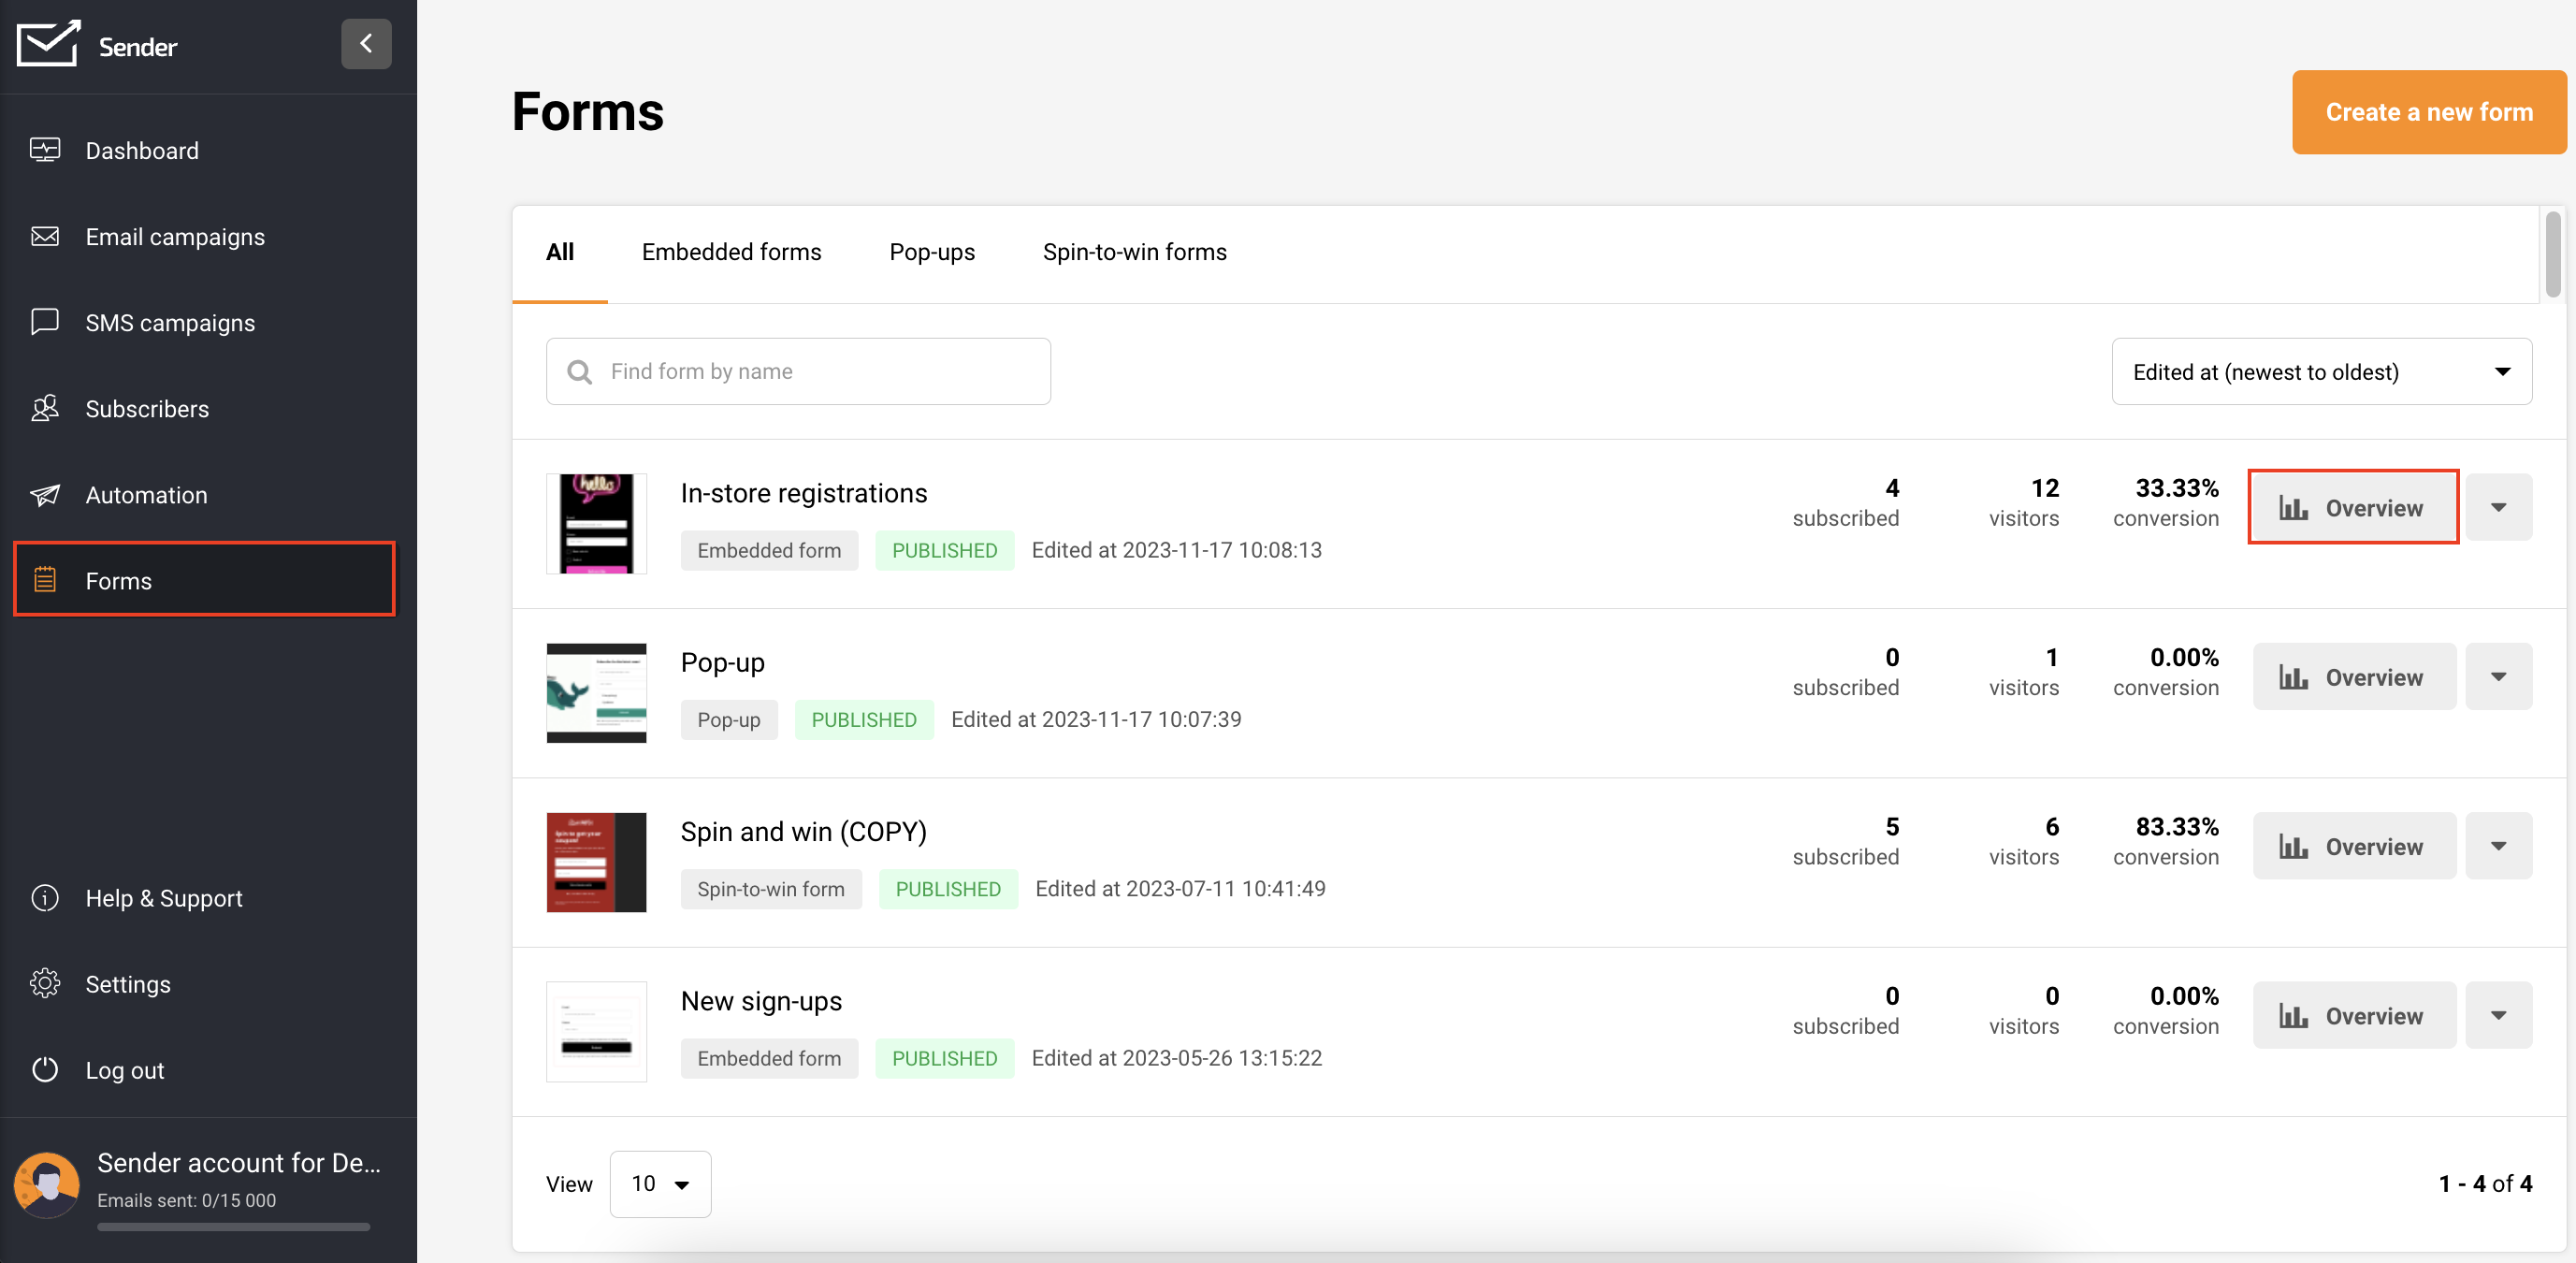
On this page, you’ll find the Activity summary, Form URL, QR code for the form, and integration instructions.
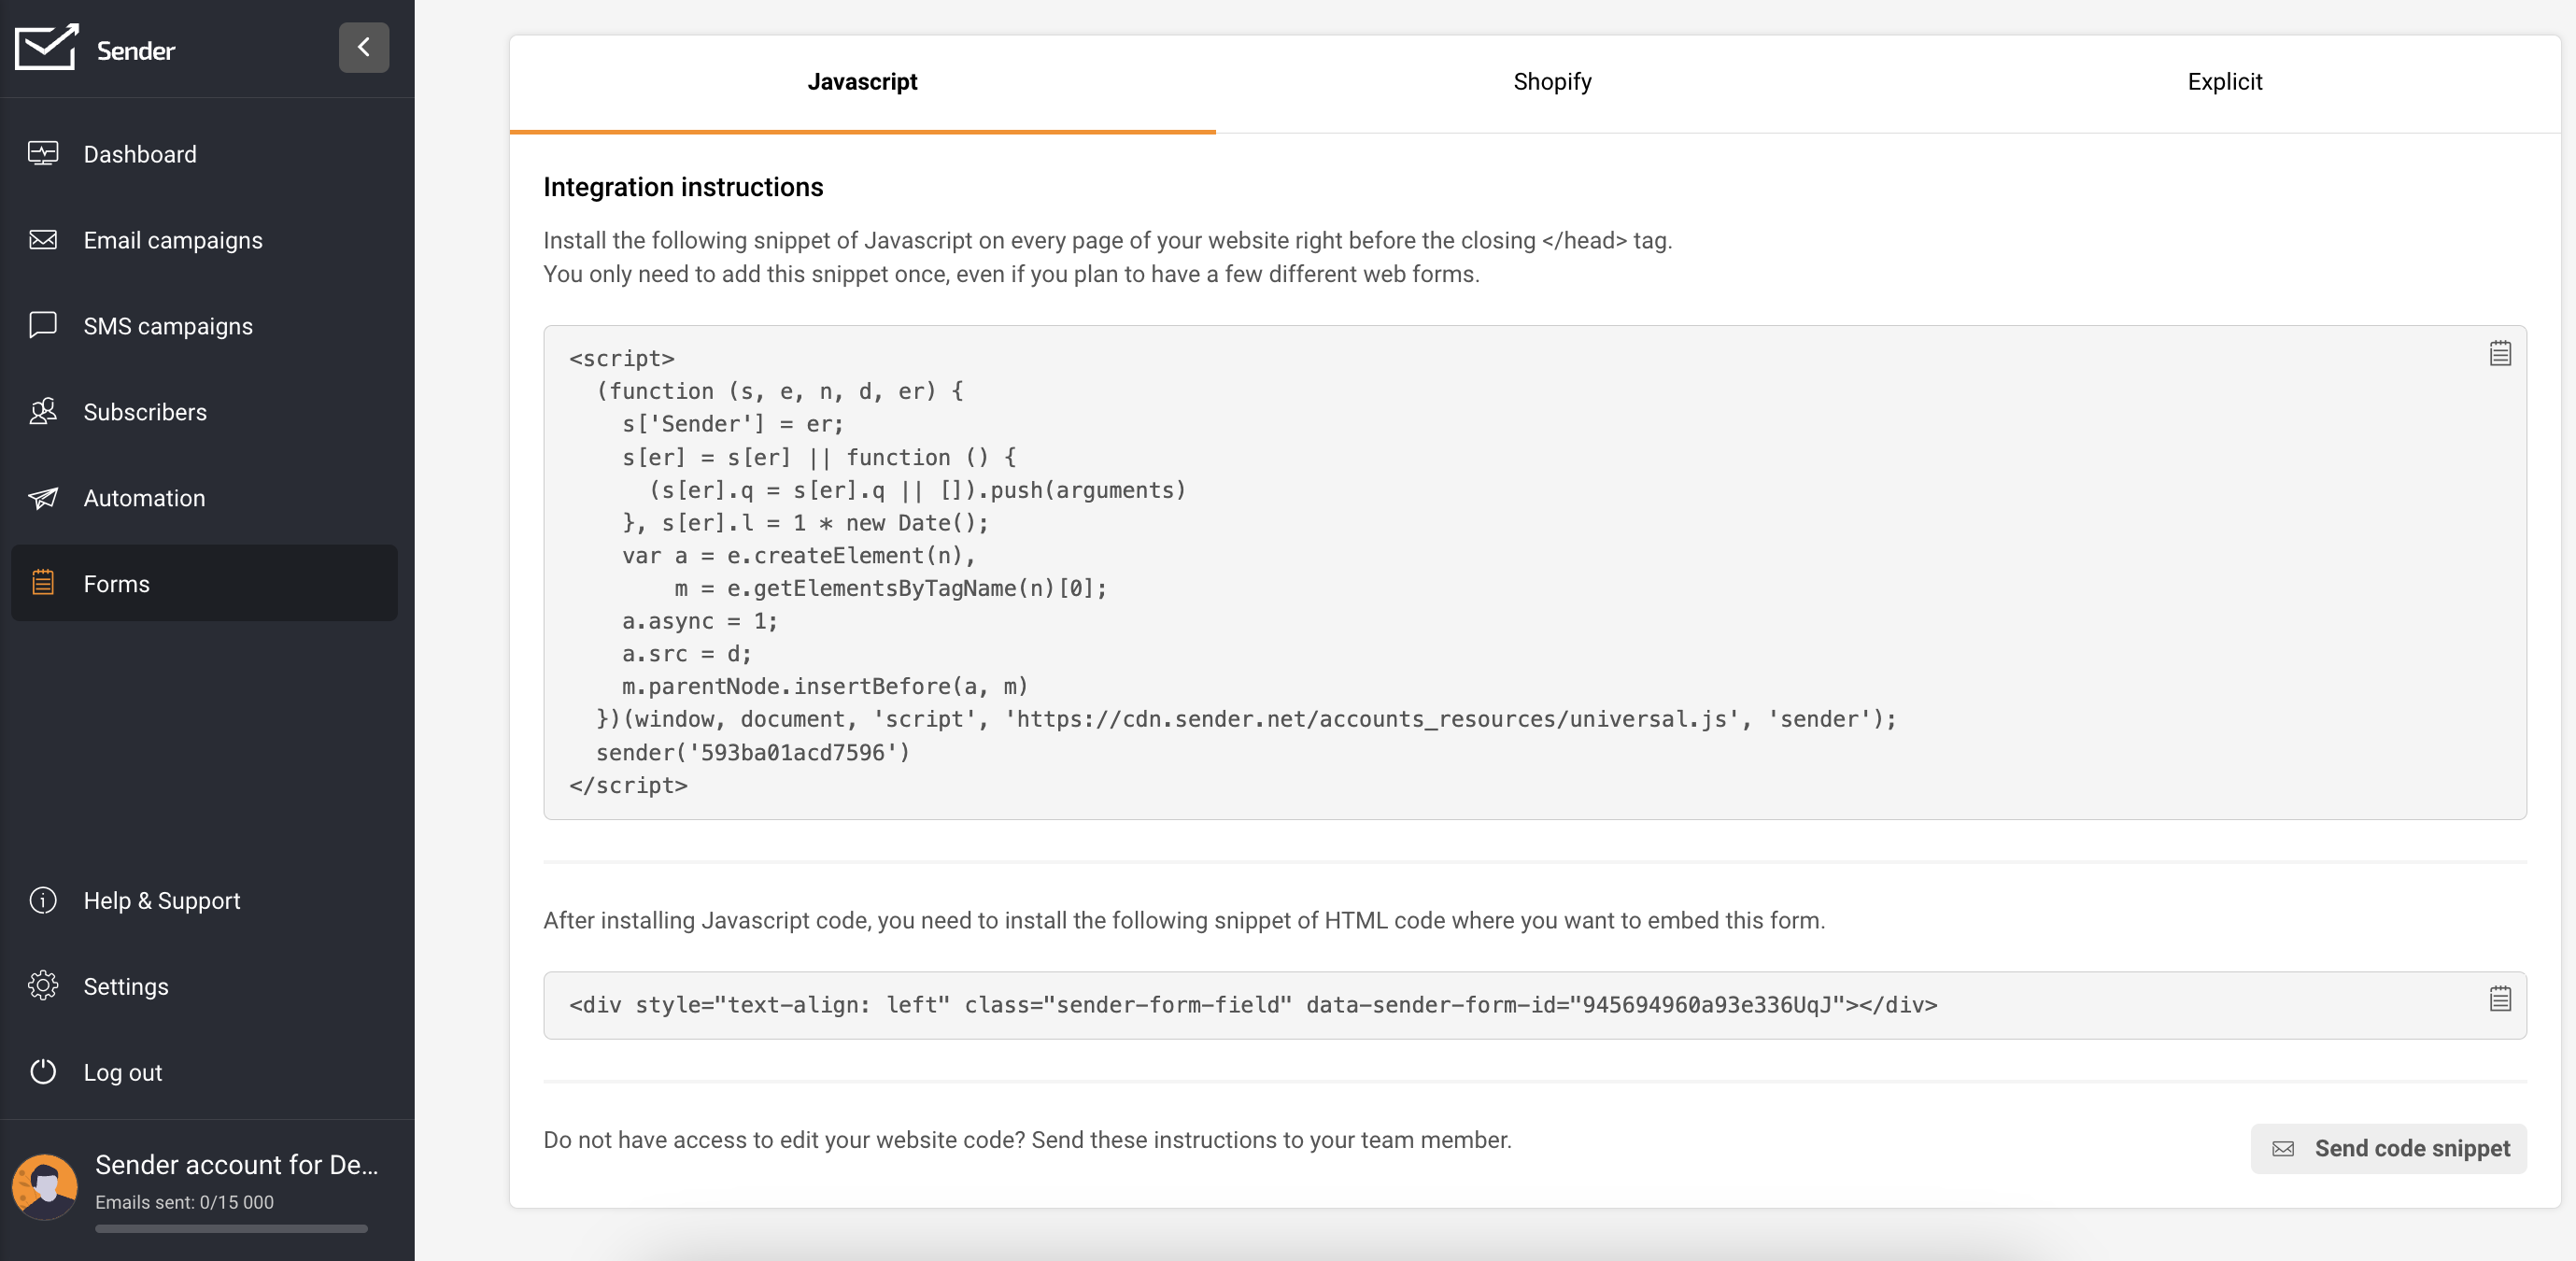
In the integration instructions, find the form’s script (embedded forms have two script parts).
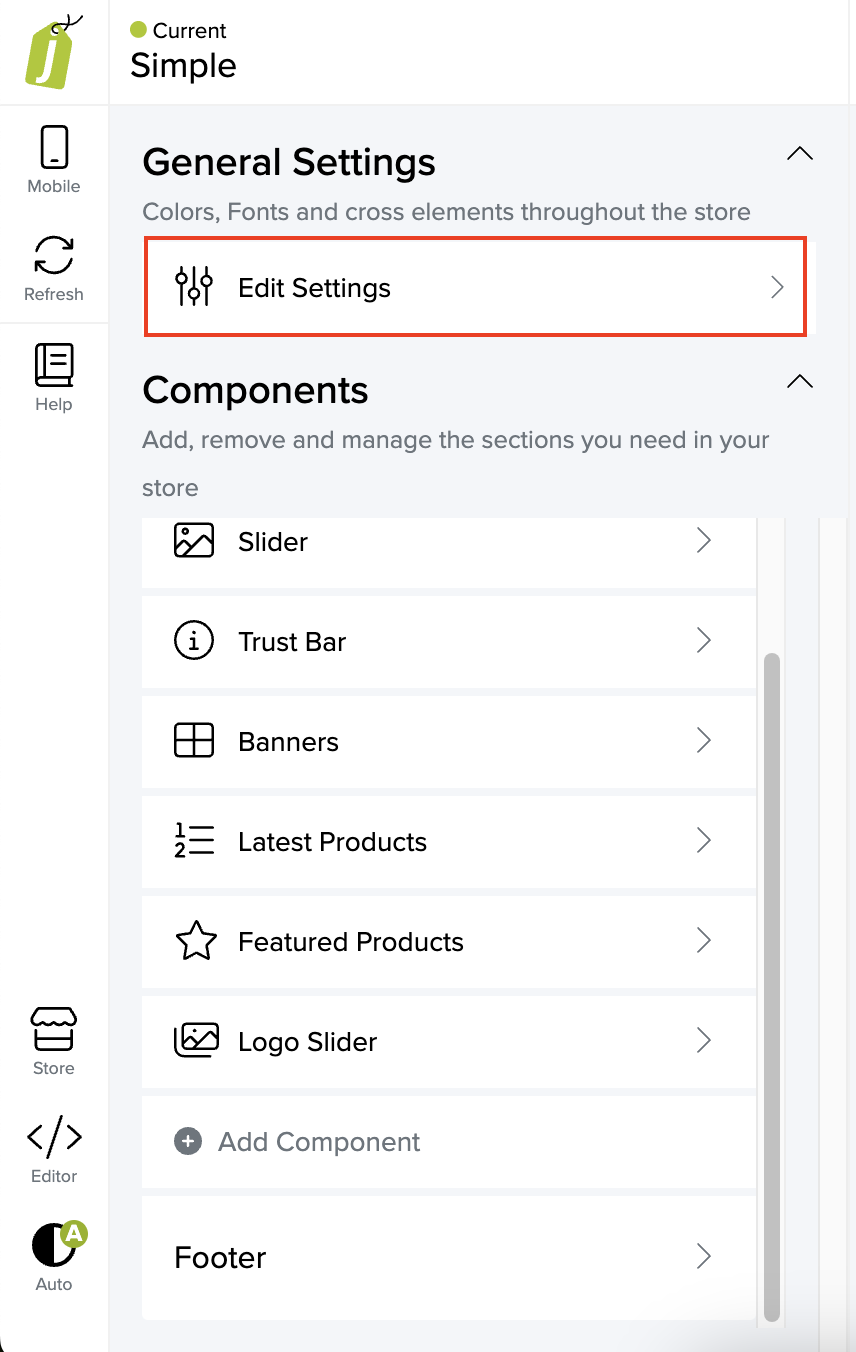
Once you have your scripts prepared, go to your Jumpseller store: Admin Panel -> Themes -> Visual Editor.

Navigate to General settings -> Edit Settings -> Other options.
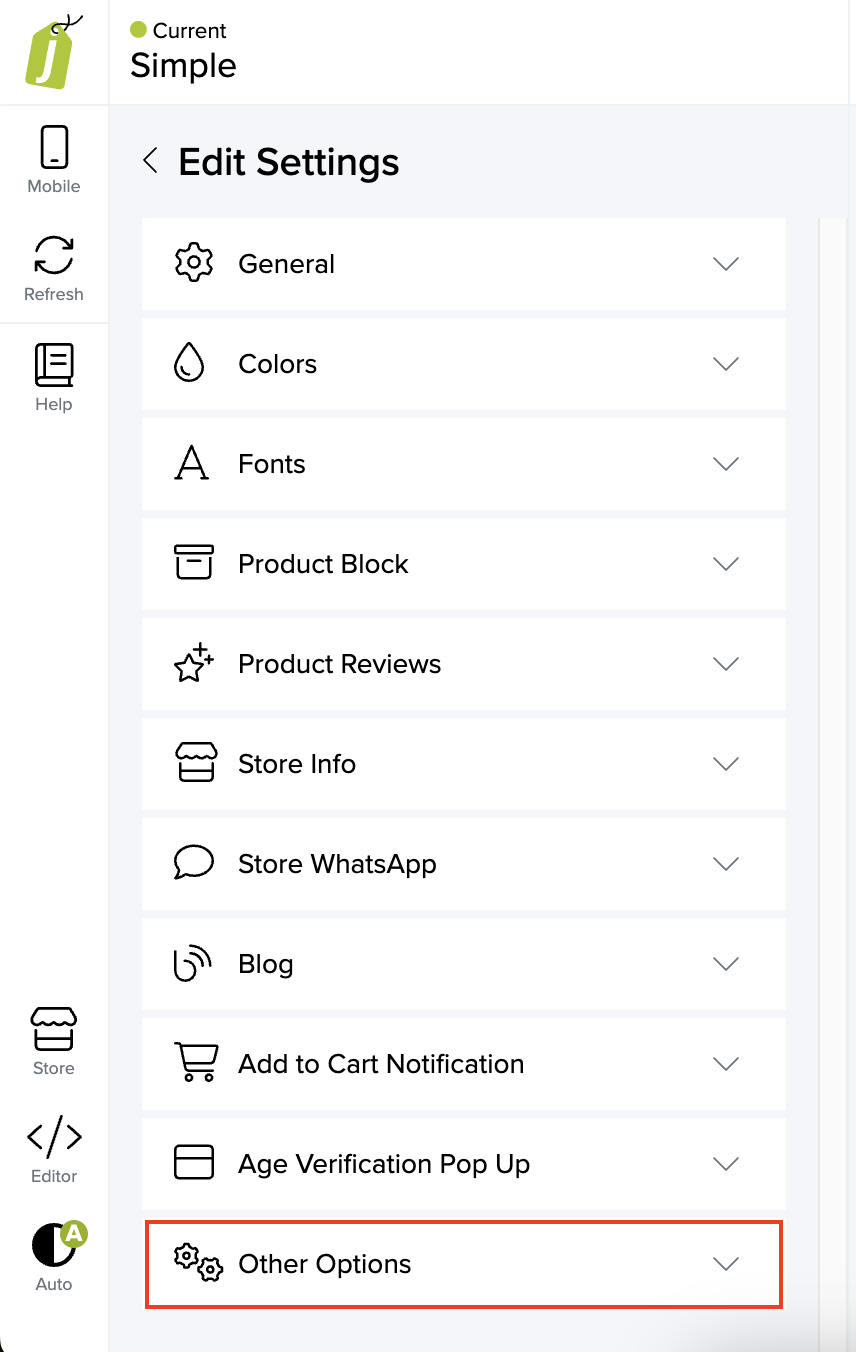
Insert the first script into “Embed code on the end of ” and the second one into “Embed code on the end of .”

Save the changes.
Pop-up forms
Make sure you have already integrated your Jumpseller store with Sender.
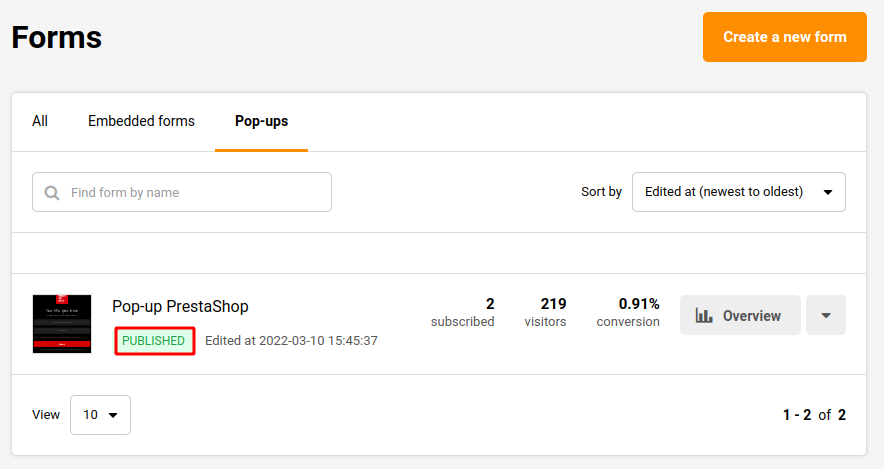
Navigate to the Forms section within your Sender account. If you do not have a form already, choose “Create a new form” by following these instructions.
To modify an existing form, click the arrow button adjacent to “Overview” and select “Edit.”
Before proceeding, ensure to customize the form behavior settings according to your preferences. These can be found on the form editing page, under “Behavior”.
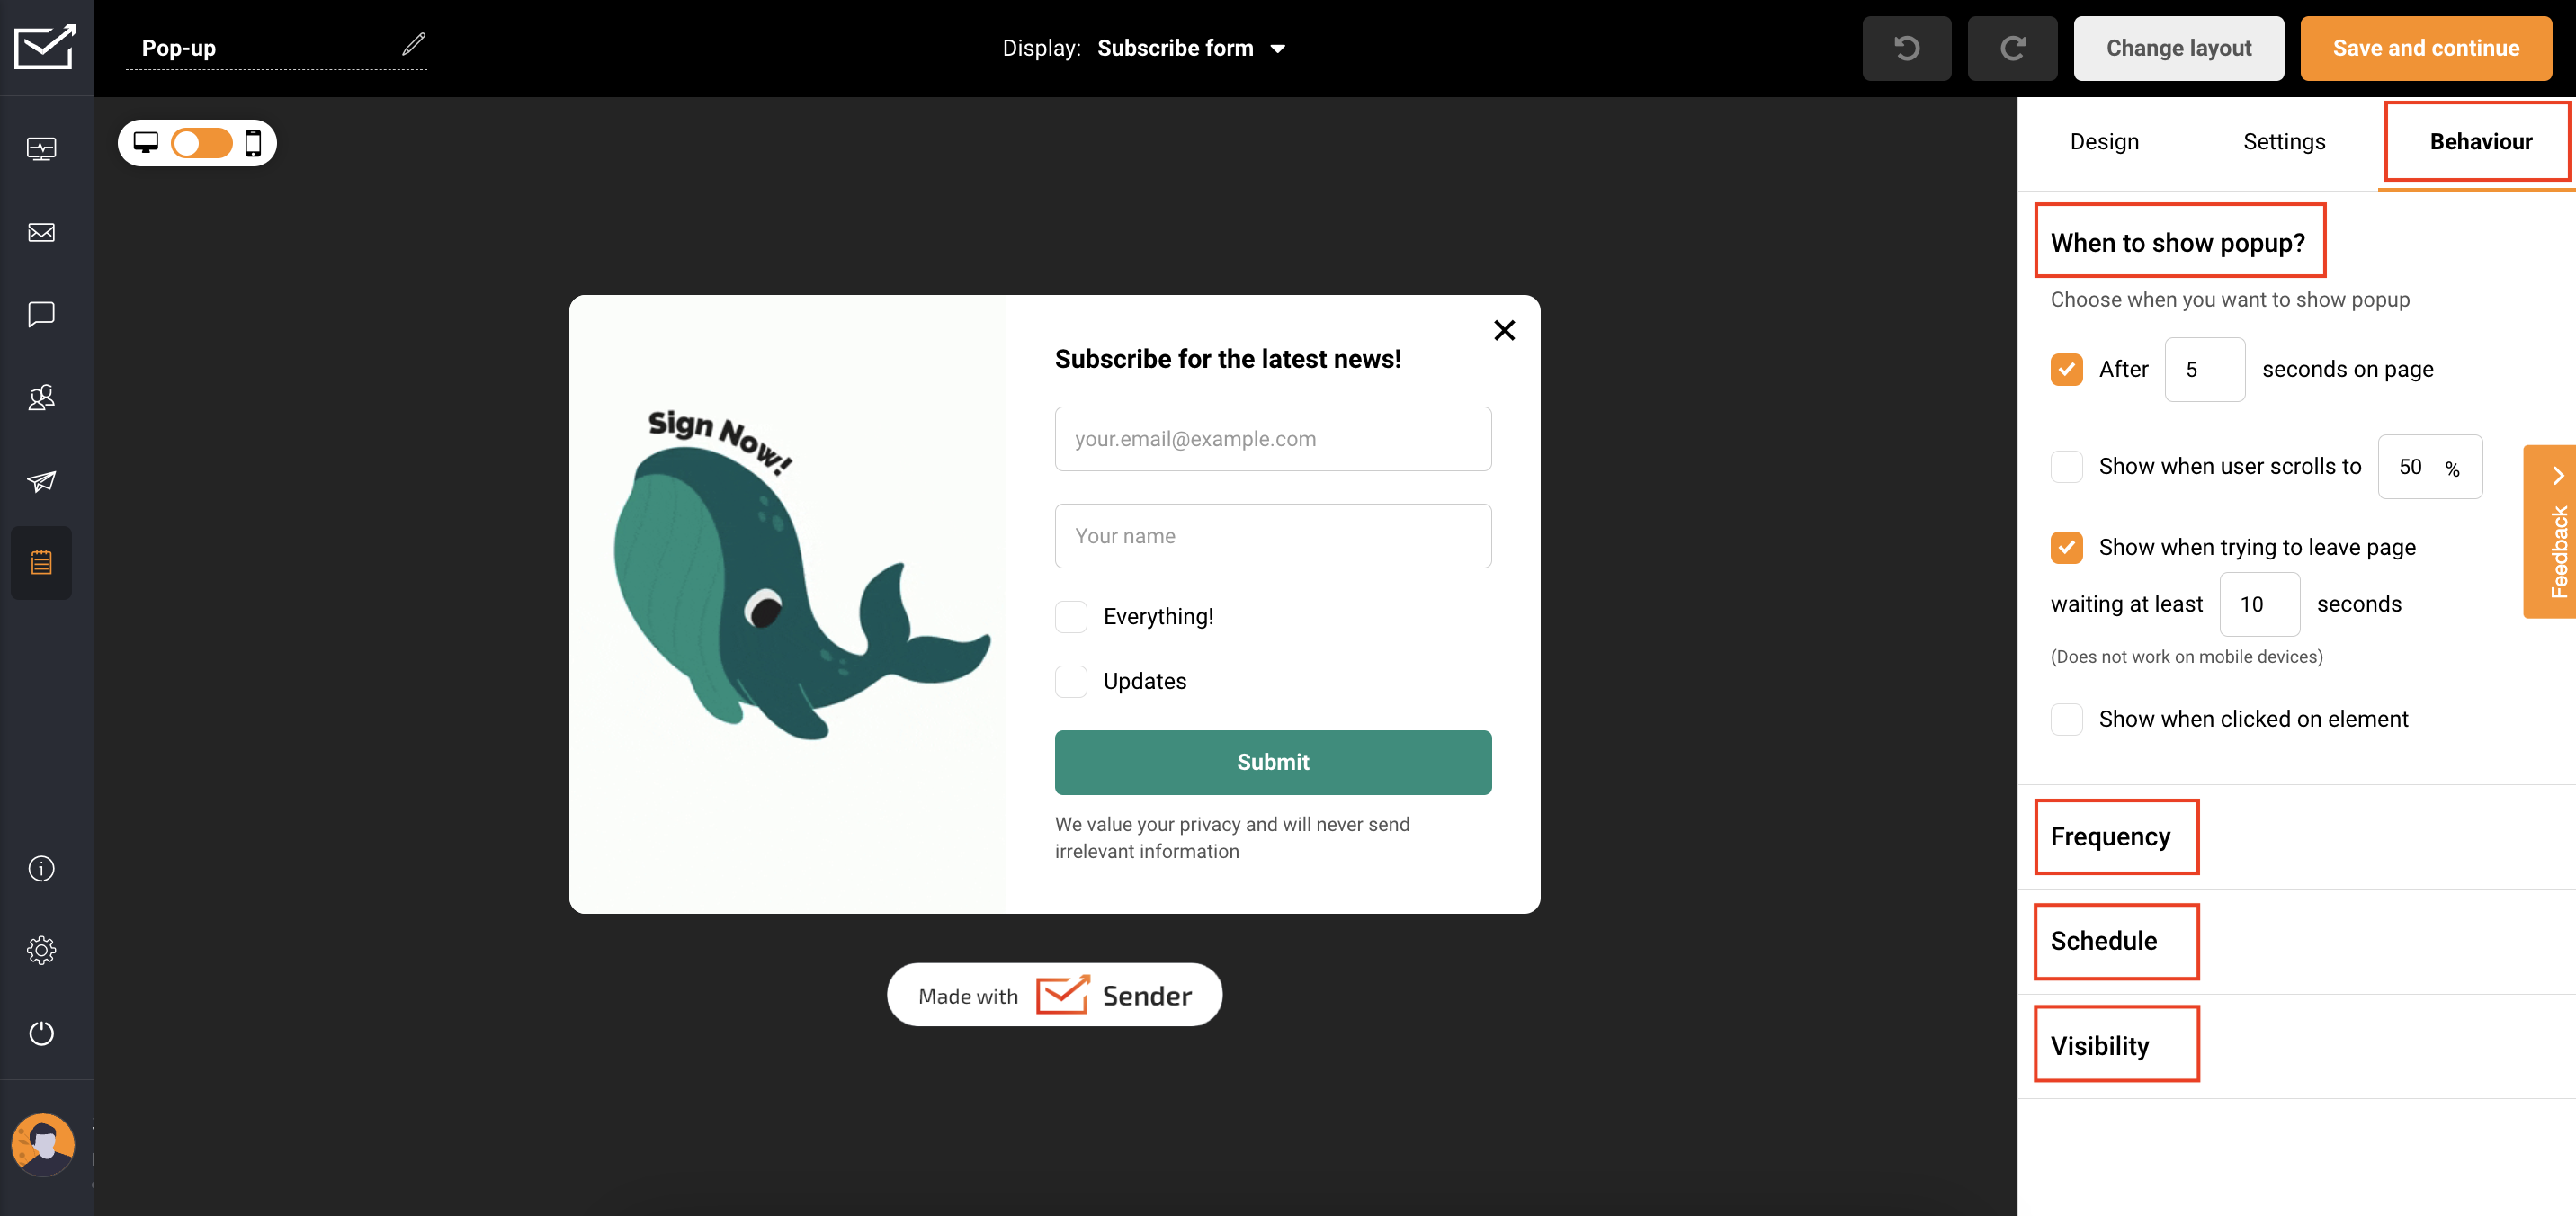
Once you have finished editing, click Save and Continue.
In the Overview page, under Activity summary, enable the form by switching the toggle.
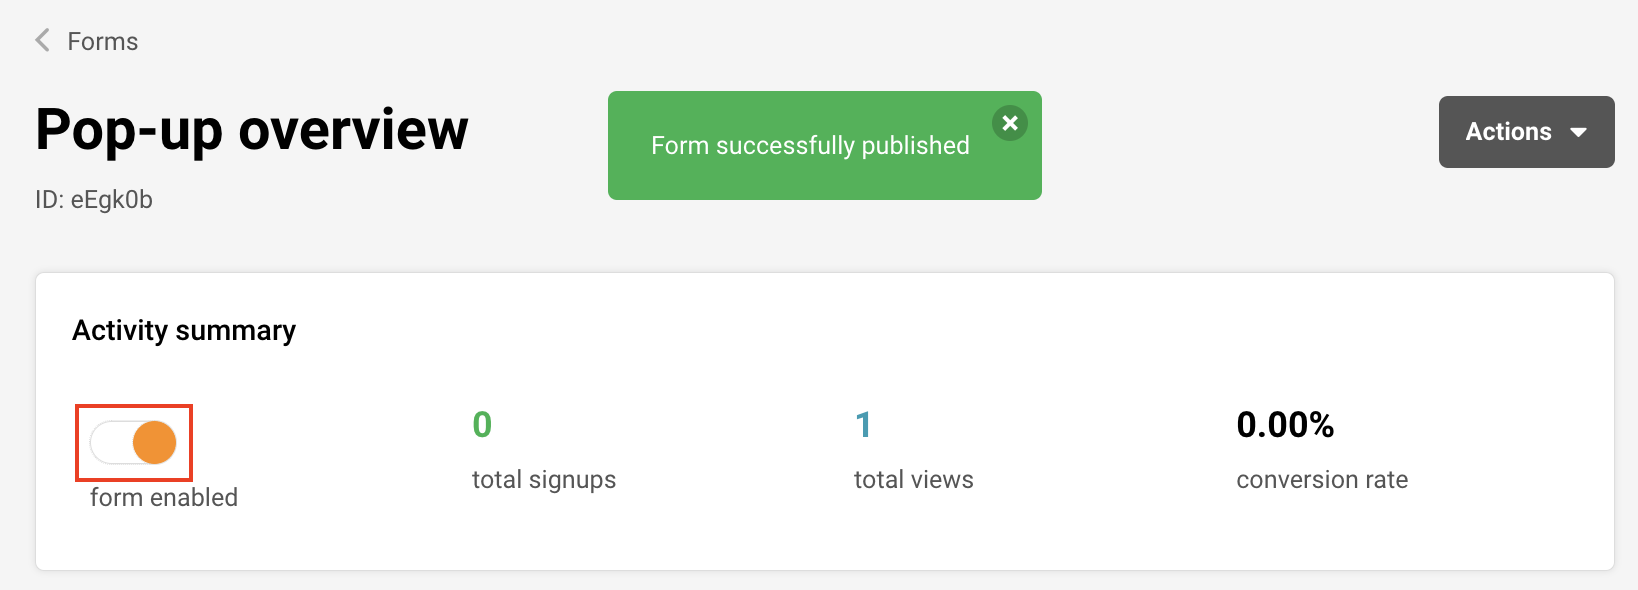
Congratulations! Your form will now be displayed on your website based on the behavior settings you have selected.
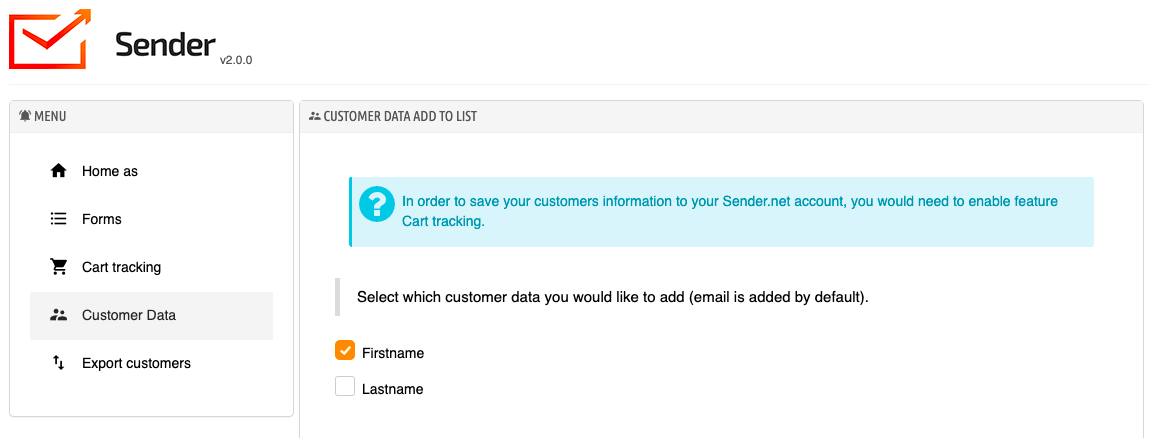
Subscriber management and segmentation
Once you have have your Jumpseller store connected to Sender, your customers will be automatically added to your subscriber list in Sender.
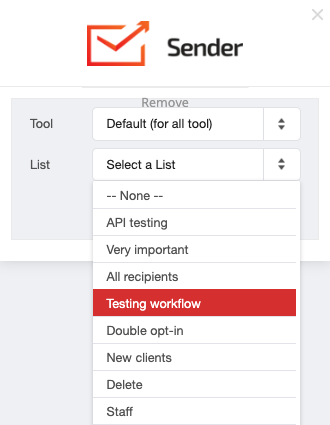
To effectively manage your subscribers, use segmentation and advanced filters.
You can filter subscribers by the following:
- Number of orders (more than, less than, between, equal to, does not equal to);
- Total spend (more than, less than, between, equal to, does not equal to);
- Quantity of products per basket (more than, less than, between, equal to, does not equal to);
- Placed order (before, after, between, on a specific date);
- Ordered specific product (select a store and a product);
- Order refunded (before, after, between, on a specific date);
- Did not purchase anything (before, after, between, on a specific date);
- Abandoned cart: checkout started (before, after, between, on a specific date);
- Abandoned cart: returned through email (before, after, between, on a specific date).
By creating and saving a segment, any upcoming customers within the specified range will be automatically included in that segment, enabling you to send personalized and targeted email/SMS campaigns.
Follow this link to learn how to create a segment.
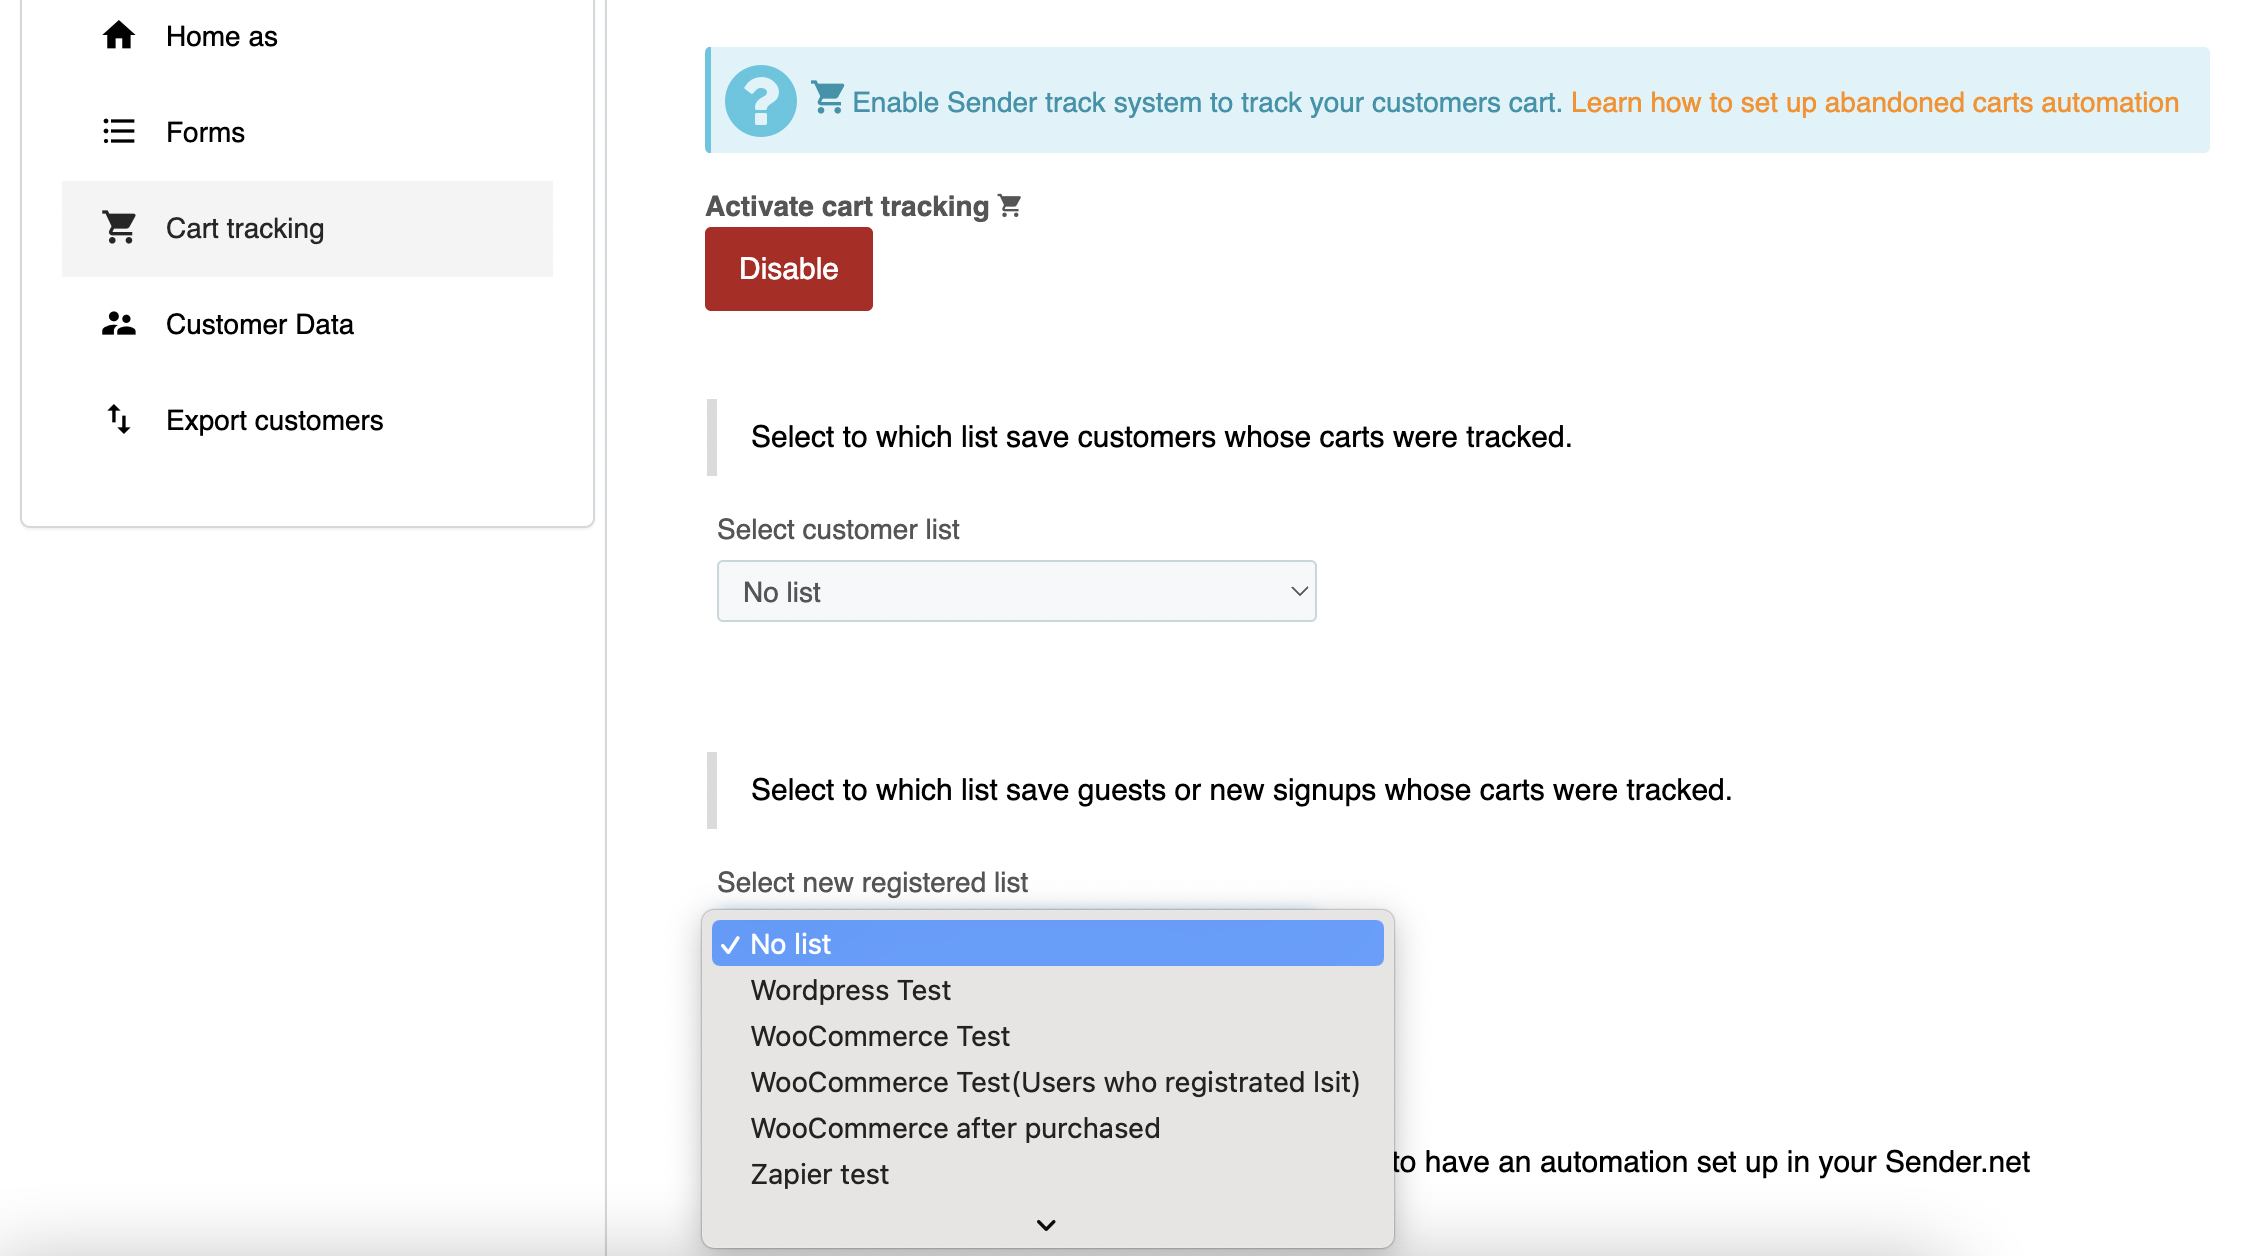
Automation
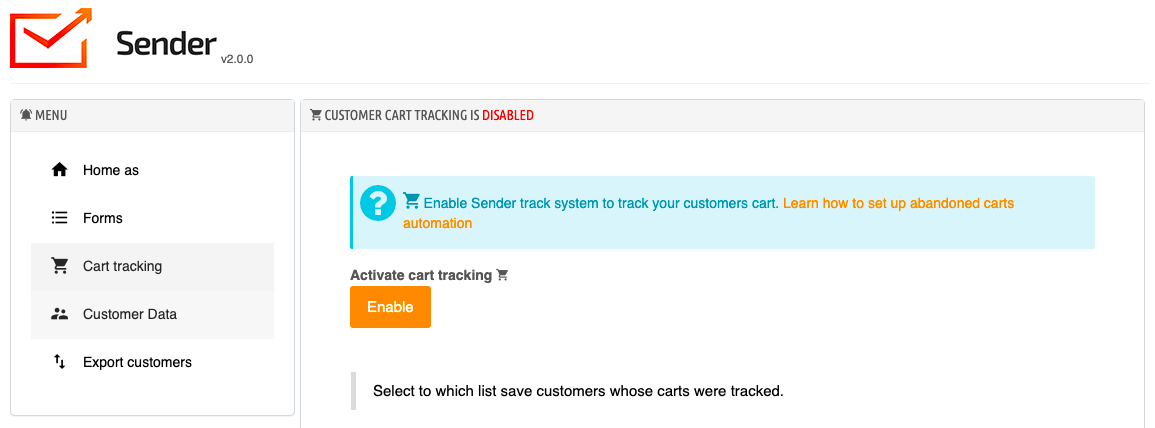
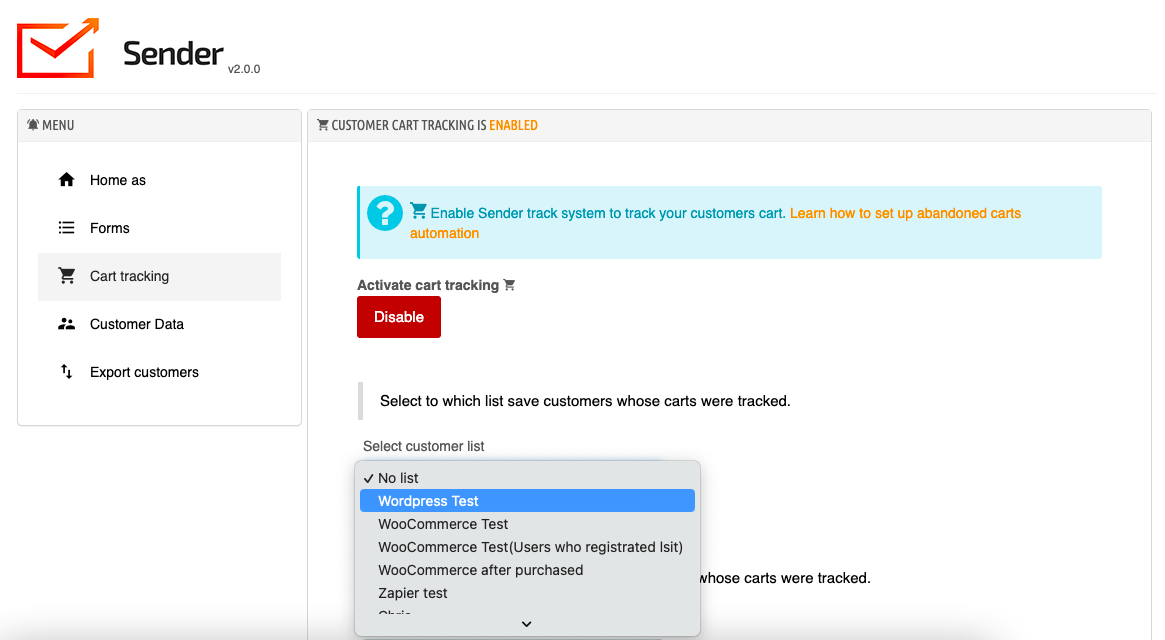
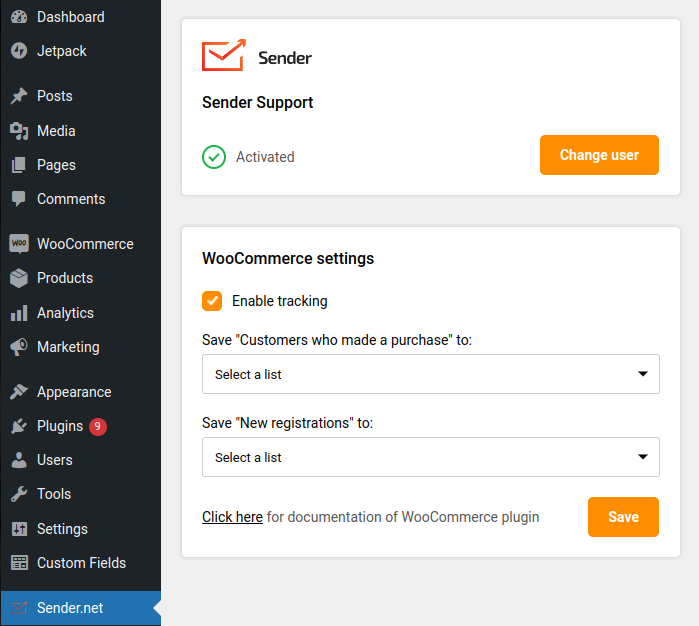
Cart tracking is enabled automatically if you connect your Jumpseller store with Sender.
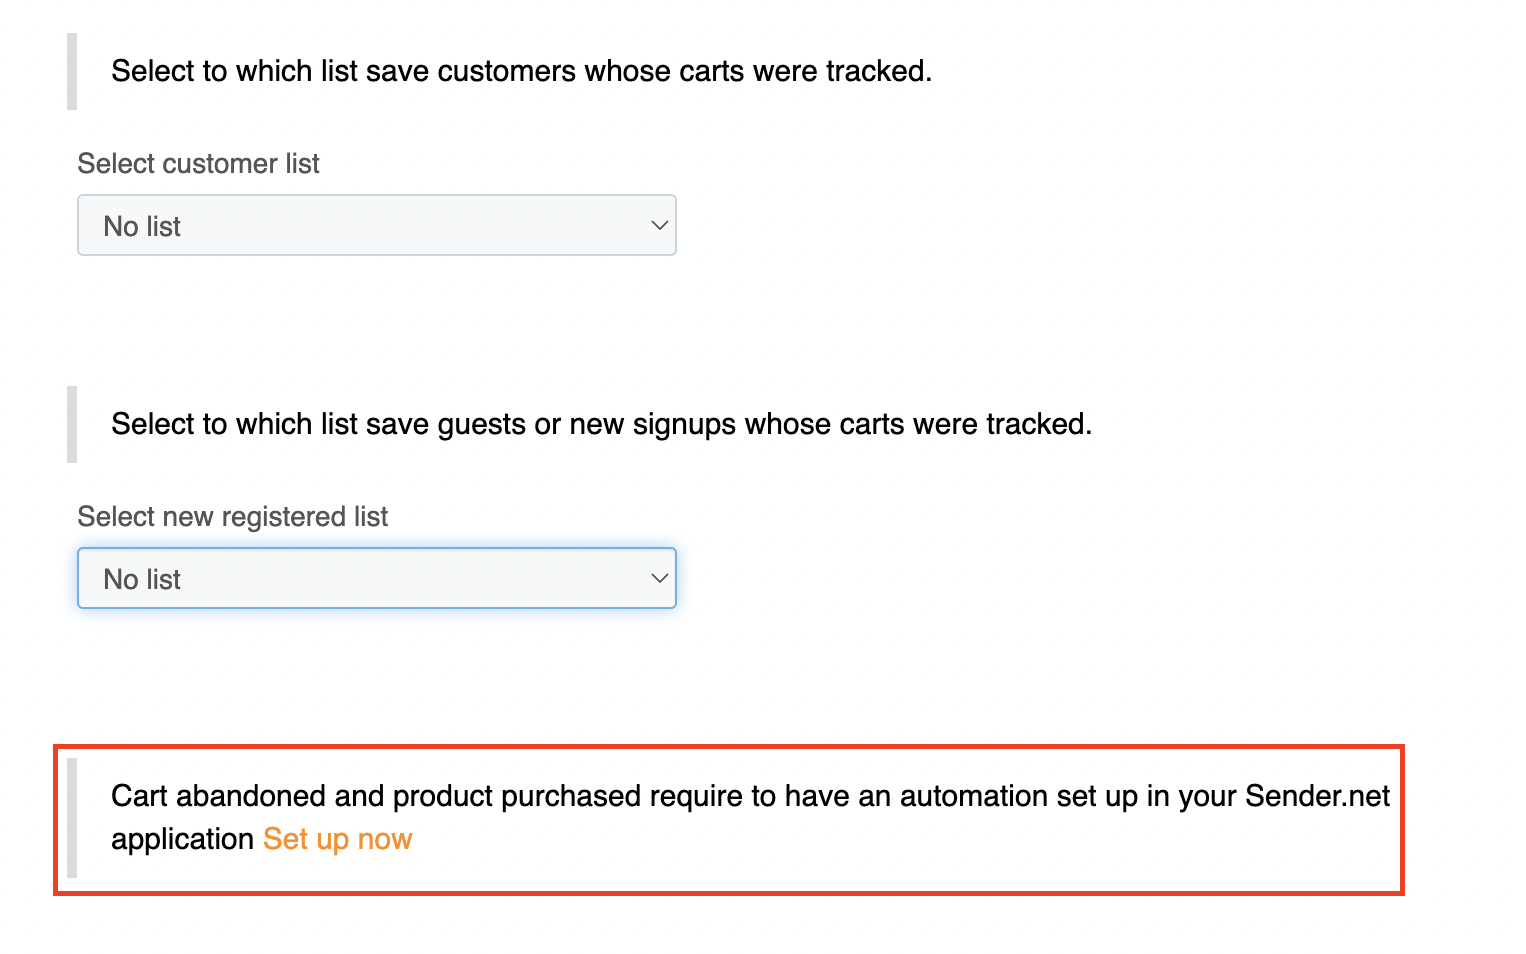
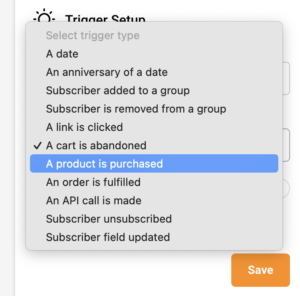
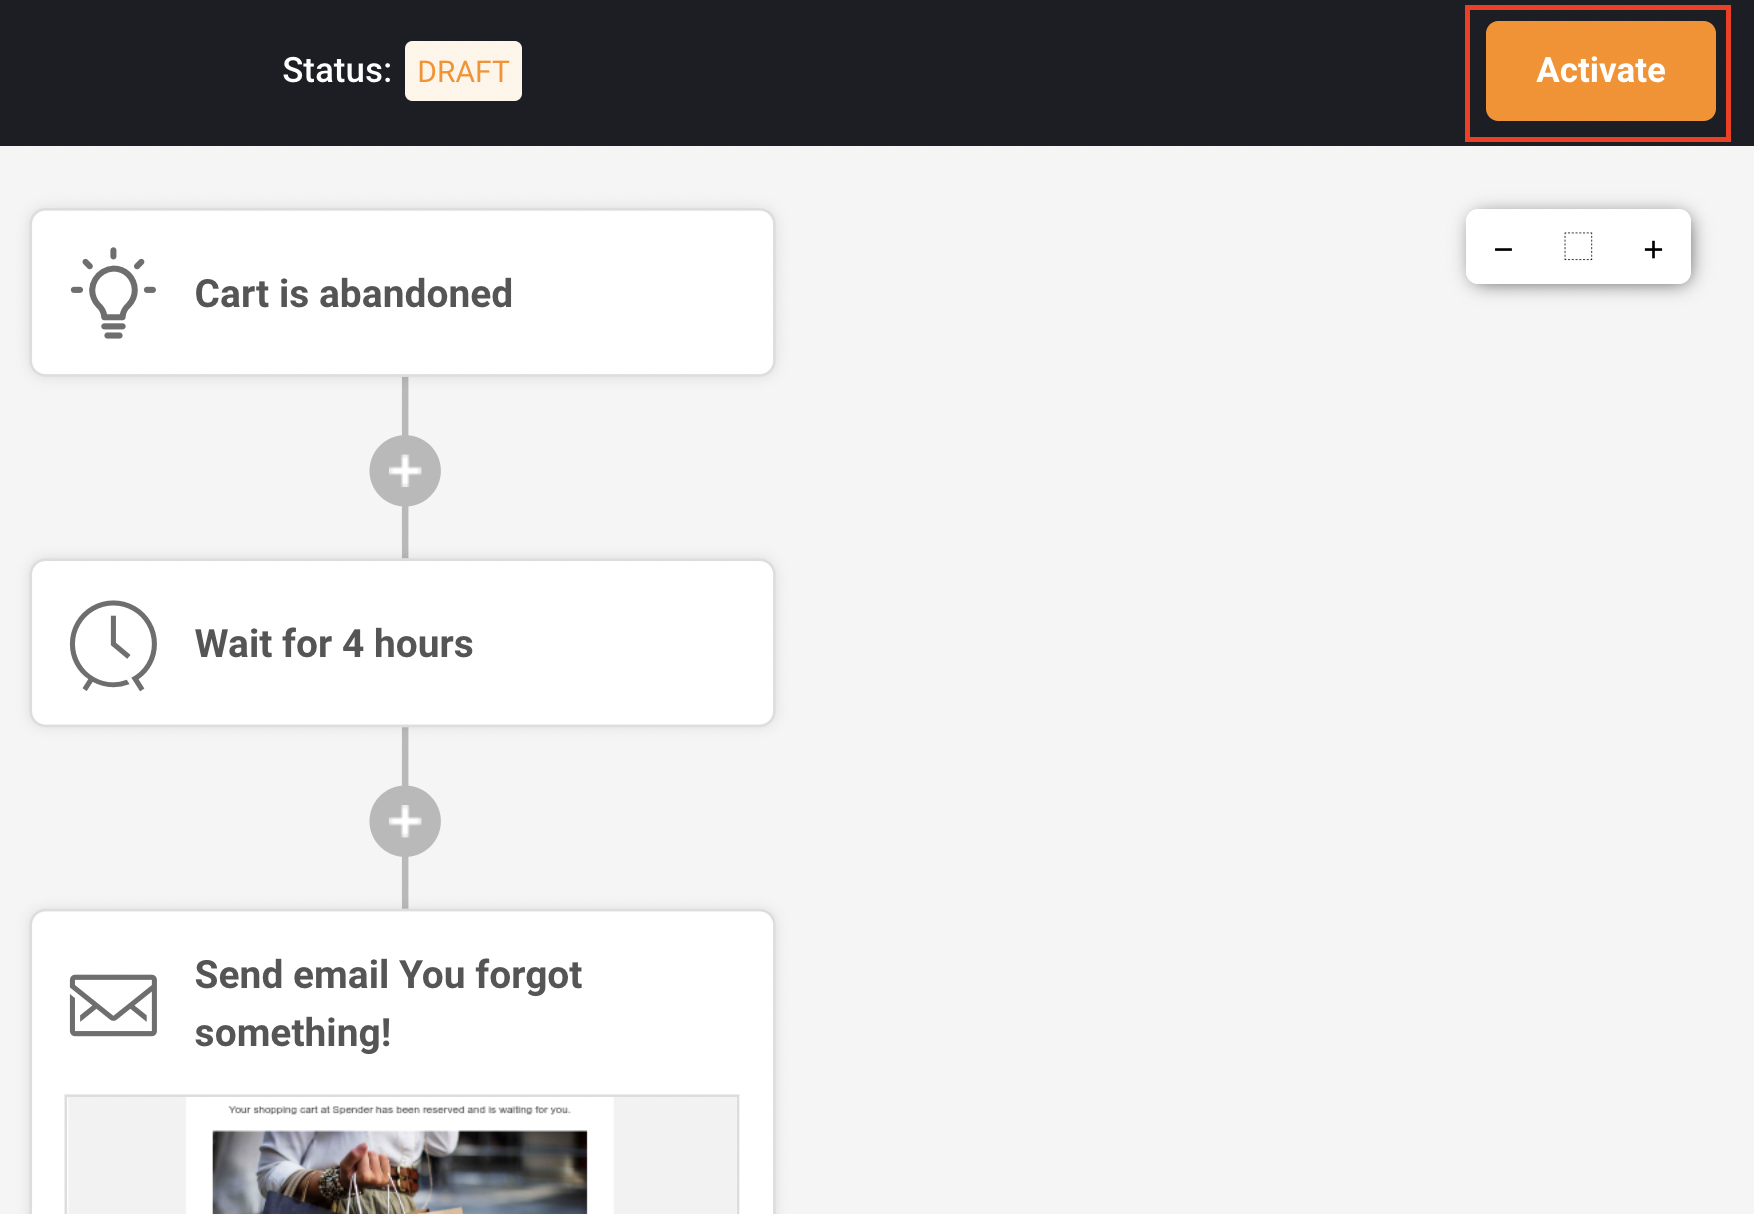
Post-purchase and abandoned cart workflow
Use this feature to set up automated workflows for your e-commerce processes. If you haven’t set up these workflows yet, click here to establish an Abandoned Cart workflow and here to set up a post-purchase automation workflow.
Welcome email workflow
Initiating a warm welcome for your new subscribers not only establishes a meaningful connection but also plays a crucial role in cultivating their loyalty as customers. Sending a personalized greeting creates an engaging experience that encourages them to remain connected with your content.
For insights on implementing this strategy, follow this link to explore a comprehensive guide on setting up a welcome email automation sequence.
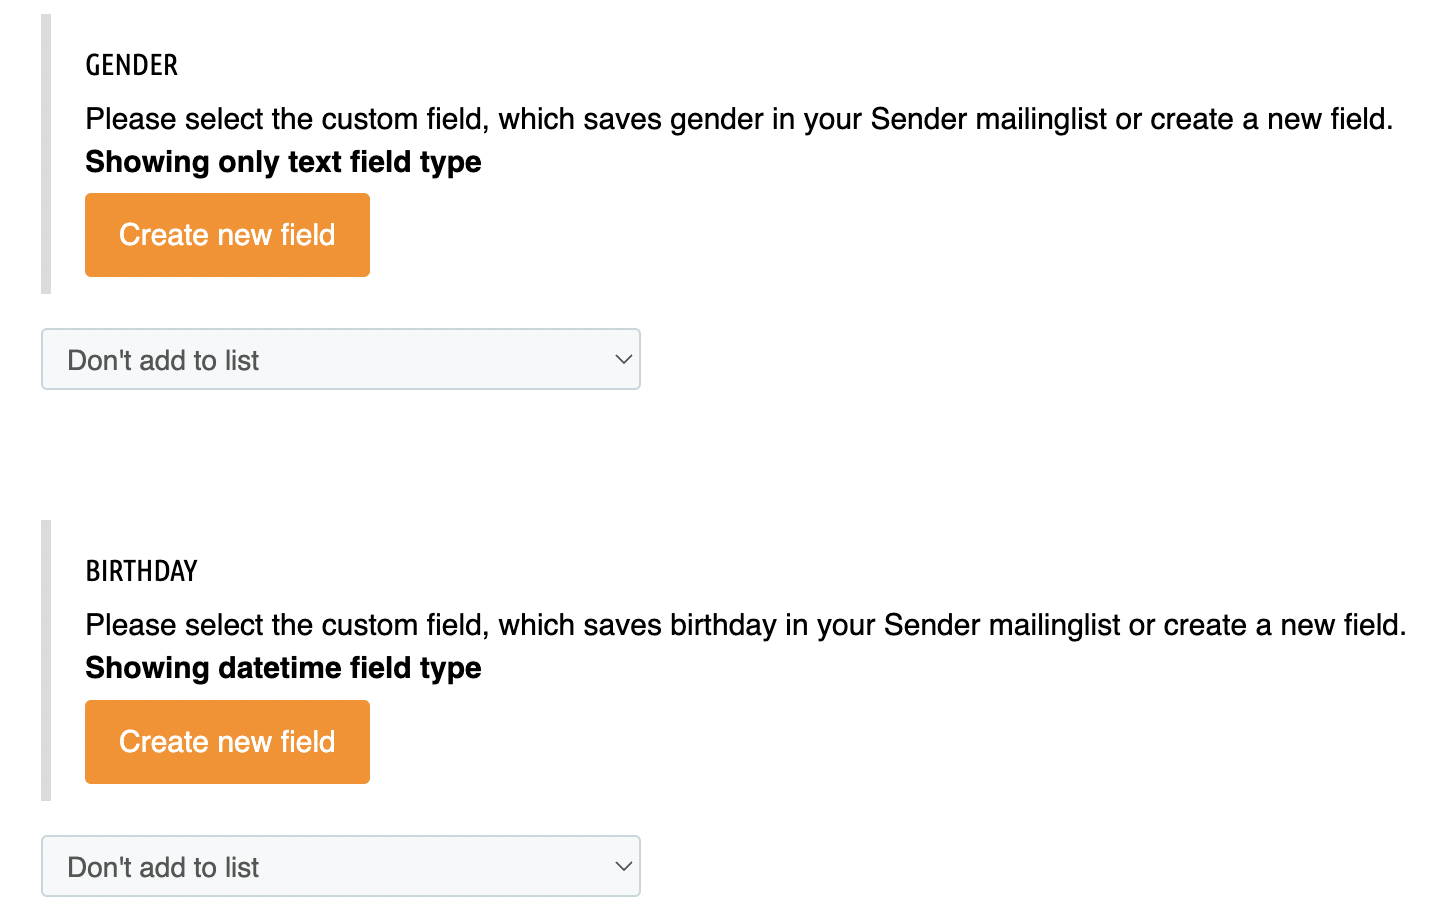
Birthday workflow
If you choose to gather your customers’ birthdates, it opens the door to sending them special birthday codes for enticing purchases on their special day or throughout the birthday week. Explore this tutorial to learn how to establish an effective birthday automation workflow.
That’s it!
If you got stuck on a specific task or can’t find a way to execute a particular job, contact our support team via LiveChat or [email protected] we’re here to help 24/7.