The “Auto resend” option is a great way to reach out to those subscribers that did not open your initial campaign. You can enable the “Auto resend” option in the first step of creating a campaign.
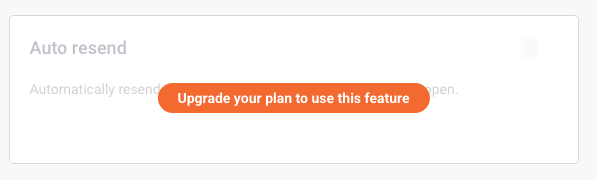
Please note that the “Auto resend” option is available for paid plans only. If you see the following message, note that your account is on the FreeForever plan:
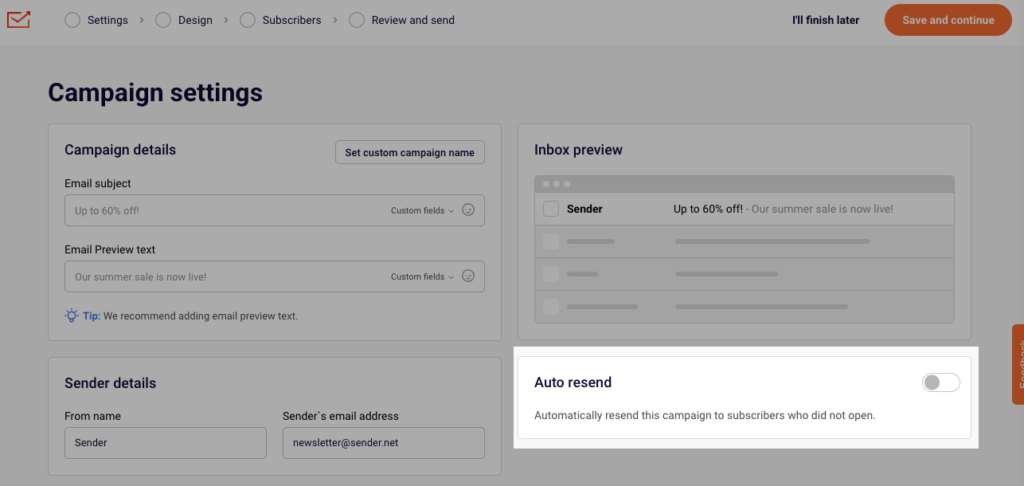
Auto-resend can be enabled on the first step of email campaign creation process.
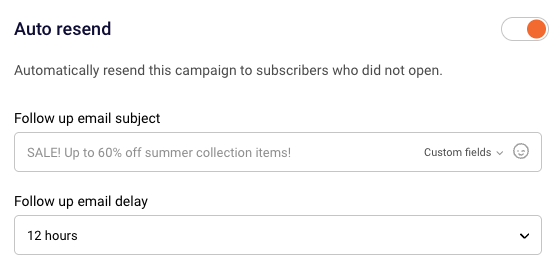
Once you enable it, you have to set the Email subject and the delay for the follow-up email.
If you still struggle with domain verification – contact your support team via LiveChat or [email protected] – we’ll help you with verification. We’re ready to help 24/7.
If you have a paid plan you can always set up the Auto resend to those that did not open the initial campaign before you send it. Enable it in the first step of creating a campaign.
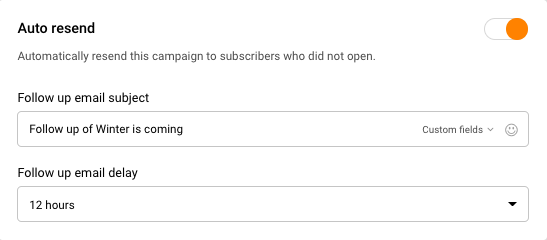
Once you enable the “Auto resend” feature, you will have the option to set a delay from the initial campaign and the follow-up email name.
If, for any reason, you did not set that up, do not worry, there is an easy workaround for it.
Go to Subscribers -> Advanced filter.
Choose “Campaign activity”, “Sent”, “At least once”, “On a specific date” and choose the date of the sent campaign.
Then add another condition, “Opened”, “Zero times”, “Choose campaign” and select the campaign from the list.
Then click “Save as new segment” and type in a name for it.
Please note that you can distinguish a particular campaign that you want to resend by selecting other advanced filter settings, for example, “Sent,” “At least once,” “In the last,” “1 hour,” etc.
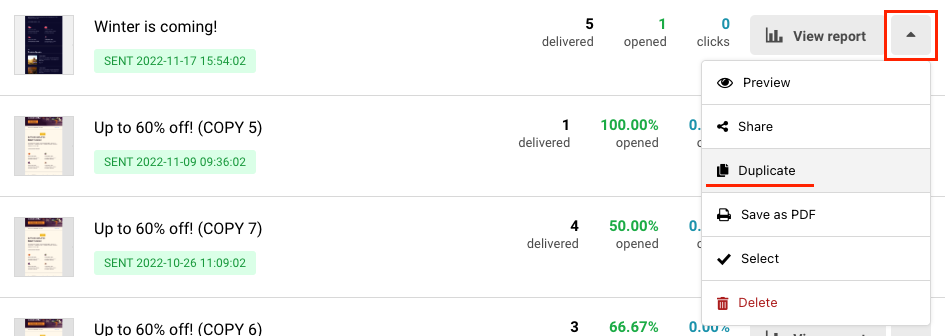
Now go to Email campaigns, click the arrow next to your initial campaign and choose “Duplicate”.
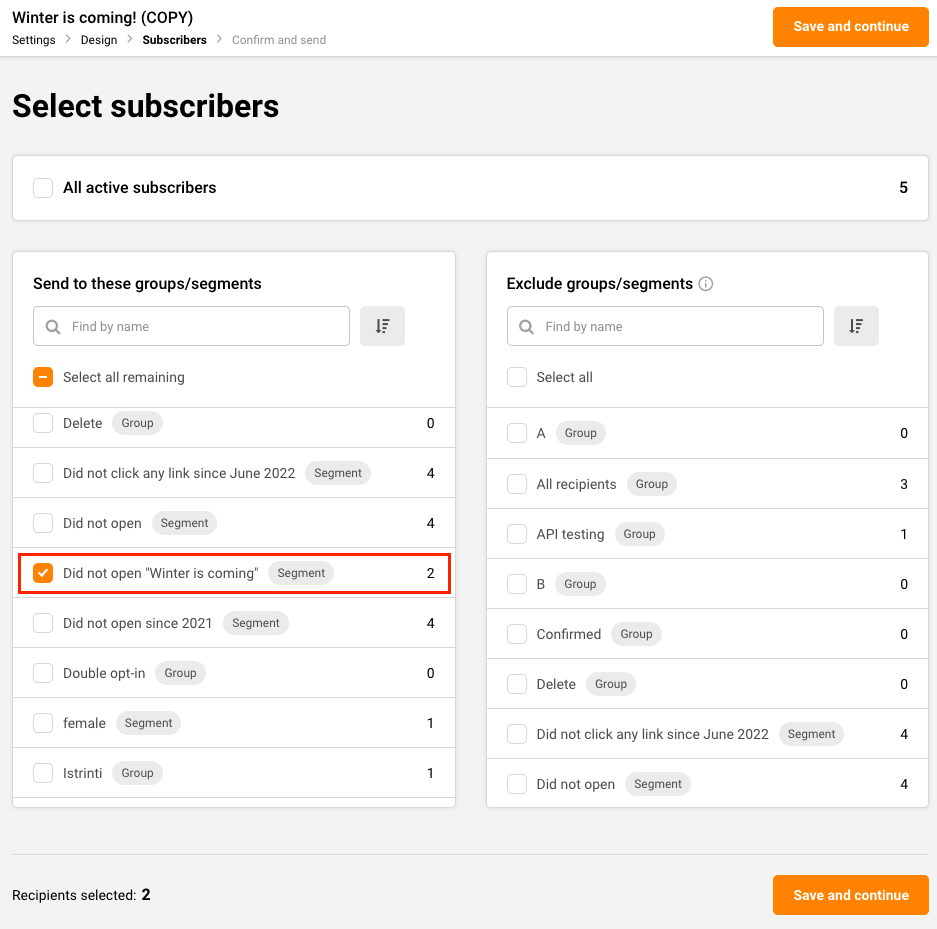
After the copy has been created, click “Edit”, and apply changes to the settings and the campaign itself if you want to. Once you reach the Subscriber section, find and select the segment that you have created. Now finish the necessary steps for sending the campaign as you normally would.
That’s it!
If you still struggle with domain verification – contact your support team via LiveChat or [email protected] – we’ll help you with verification. We’re ready to help 24/7.
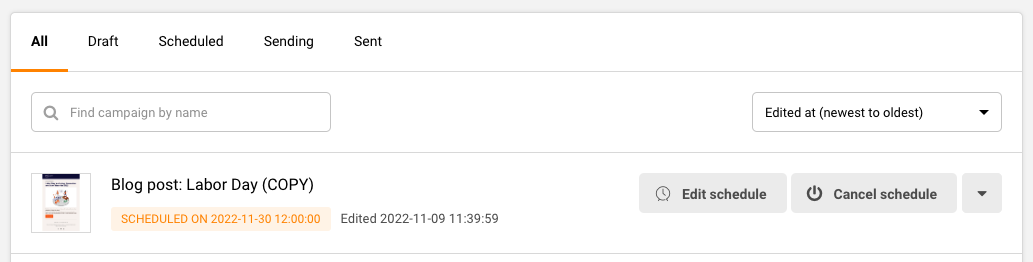
A scheduled campaign can be edited at any time before it gets sent. If you want to edit the time when the campaign gets sent, simply go to Email campaigns and click Edit schedule.
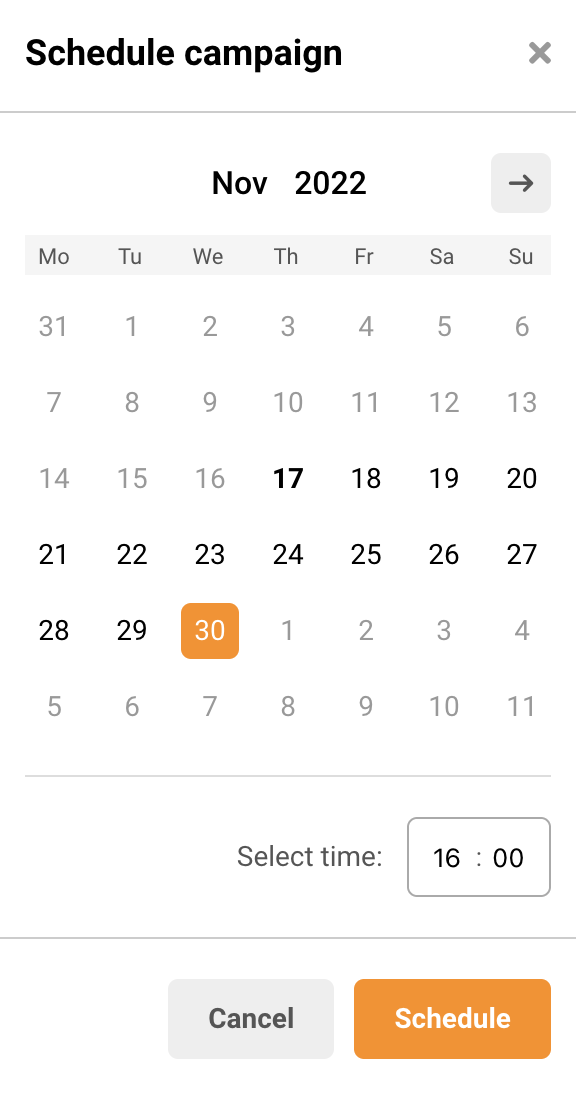
Then choose a new time for the campaign to be sent.
If you want to edit any other part of the campaign, e.g., its title, the preview text, the sender’s email, recipients, or content, you will have to cancel the schedule and edit the campaign as any other draft.
That’s it!
If you got stuck on a specific task or can’t find a way to execute a particular job, contact our support team via LiveChat or [email protected] – we’re here to help 24/7.
Scheduled campaigns have more potential for additional reach – it’s no secret that the delivery date and time plays a significant role in newsletters engagement and opening rates. Therefore, we recommend scheduling campaigns as frequently as possible.
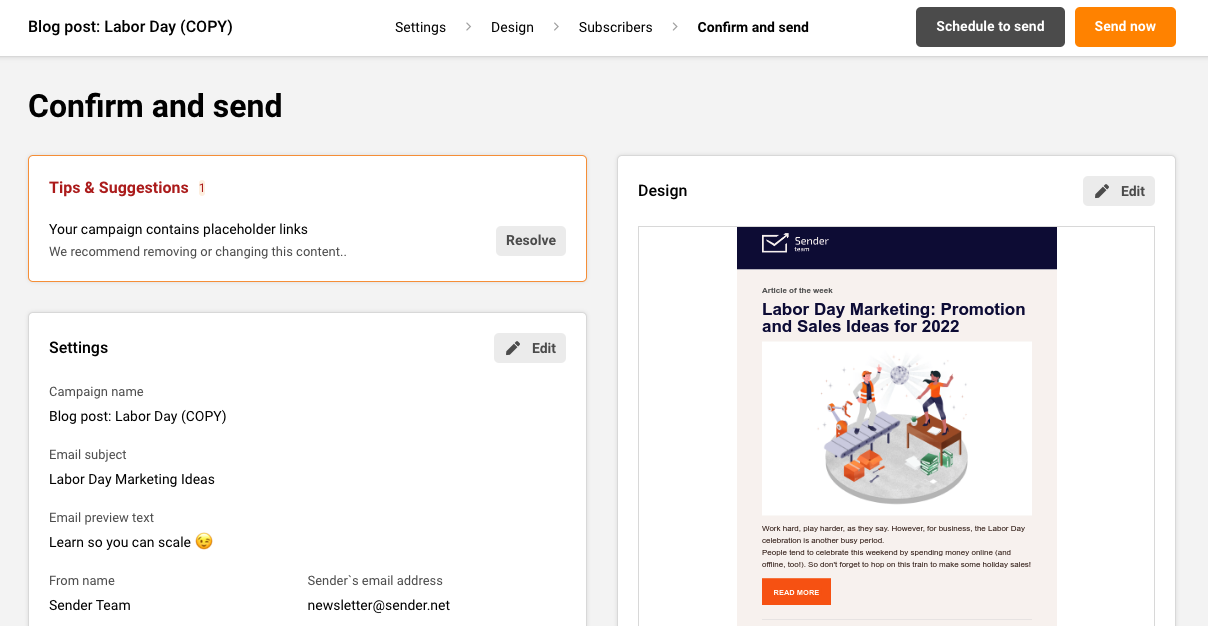
Campaign scheduling is done in the last step of campaign creation – when you’re done with campaign design, continue with the following steps until you reach the final stage.
When the schedule button is clicked, a calendar will appear – pick a date and time on which the email will be delivered. Campaigns are sent according to your account’s timezone.
Scheduled newsletters appear in the campaign section with included delivery time.
Please note that any changes made to the subscribers’ composition of the group(s) you selected for the campaign will impact which subscribers receive the campaign.
If you are stuck on a specific task or can’t find a way to execute a particular job, contact our support team via LiveChat or [email protected] – we’re here to help 24/7.
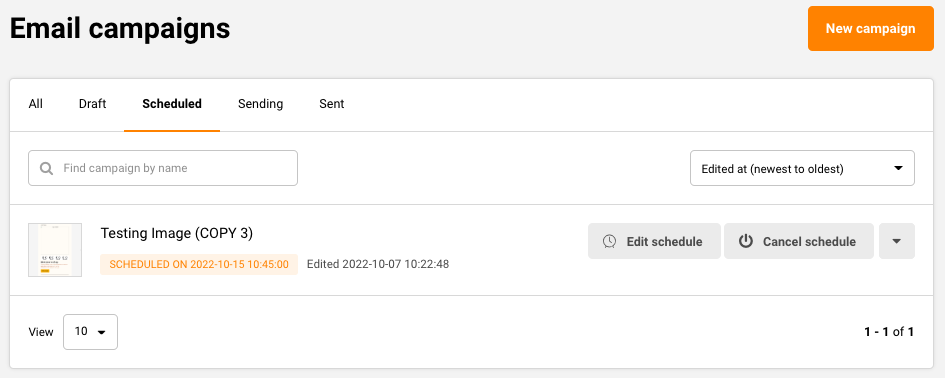
Unfortunately, it’s impossible to cancel a regular campaign after it has been sent – unless it’s a scheduled campaign. Scheduled campaigns can be canceled in a few clicks.
Open the Campaign section, select the “Scheduled” tab, and hit the “Cancel schedule” button on the right side.
Thats it!
If you got stuck on a specific task or can’t find a way to execute a particular job, contact our support team via LiveChat or [email protected] – we’re here to help 24/7.