Category: Contact fields and personalization

  • Create custom contact attributes

    Learn how to set up and organize custom fields to store additional contact information in Sender.

    Creating Custom Fields

    During Import

    The easiest way to create custom attributes is by adding them to your import file:

    • Open your CSV or Excel file
    • Add a new column with your custom field name as the header
    • Fill in the data for each contact
    • Import the file to Sender

    Example:

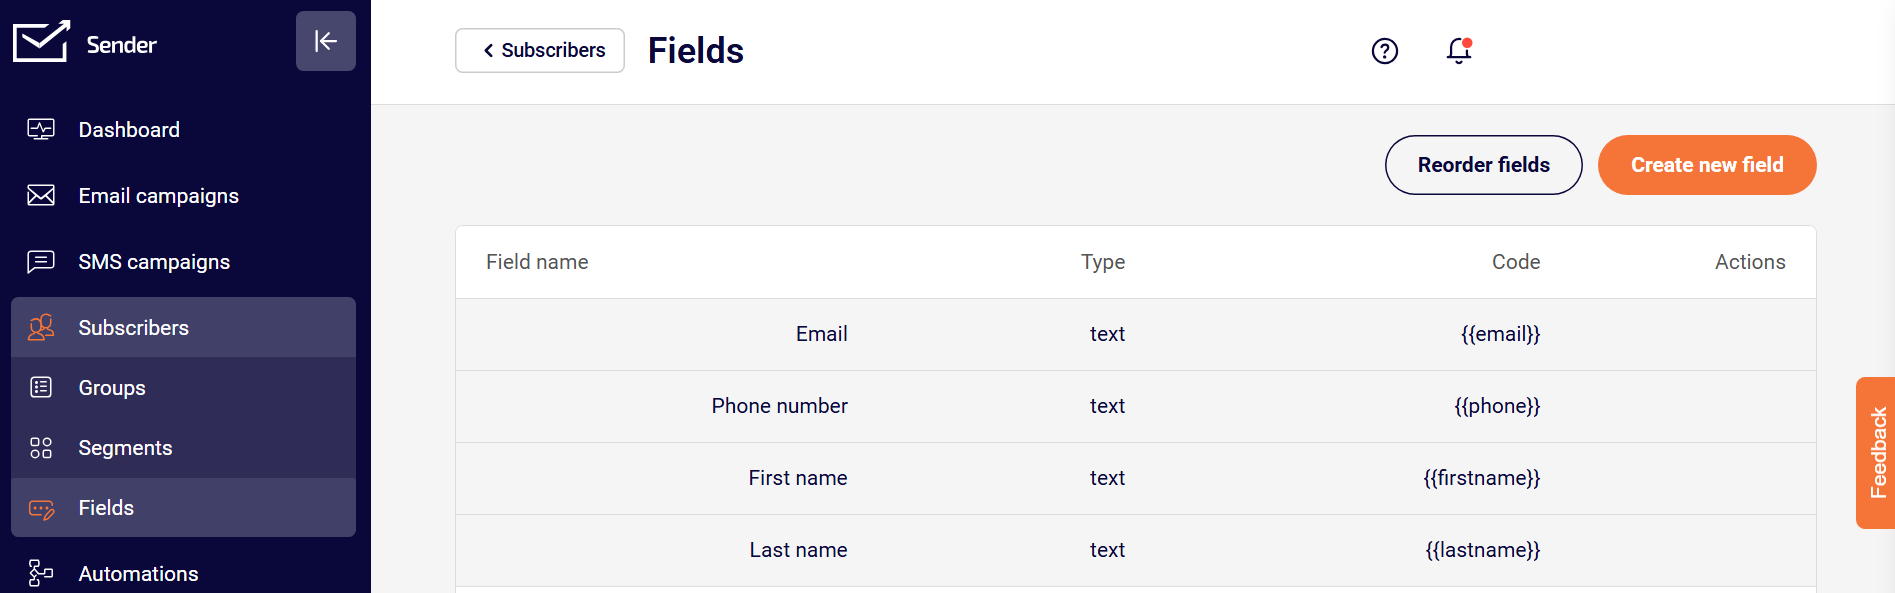
    When you import this file, “Phone number” automatically becomes a custom attribute under the subscriber’s details.

    Via Copy/Paste

    You can also add custom attributes when manually adding contacts:

    [email protected], First name, Last name, Custom field 1, Custom field 2
    [email protected], John, Doe, Acme Corp, +1 234-567-8910

    Manually Add to Individual Contacts

    When viewing a contact’s profile:

    • Click on the subscriber you want to edit
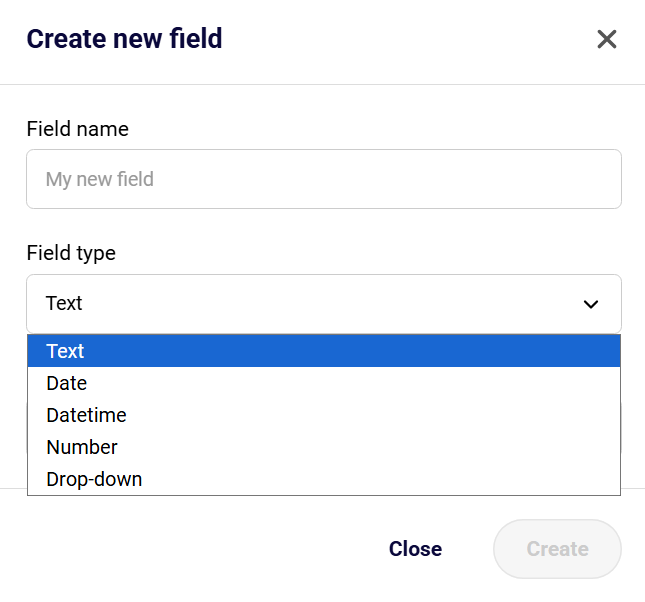
    • Click “Add custom field”
    • Enter the field name and value
    • Click “Save”

    Naming Custom Attributes

    Best Practices for Field Names

    • Be descriptive – Use clear names like “Company Name” instead of “CN”
    • Keep it short – Avoid overly long field names
    • Use consistent formatting – Stick to one naming style (e.g., “Job Title” not “job_title”)
    • Avoid special characters – Use letters, numbers, and spaces only
    • Make it memorable – Choose names you’ll easily recognize later

    Good Examples:

    • Phone Number
    • Company Name
    • Job Title
    • Birthday
    • Country

    Avoid:

    • PN
    • field_1
    • Info@123
    • Contact_Detail_Information_Field

    Managing Existing Attributes

    Editing Custom Fields

    You can edit custom field values directly from a contact’s profile:

    • Click on the subscriber from your list
    • Click the edit icon next to the custom field you want to change
    • Update the value
    • Click “Save” to apply changes

    You can also delete custom fields by clicking the delete icon next to the field.

    Updating Custom Field Data in Bulk

    To update information in existing custom fields for multiple contacts:

    • Export your current contact list
    • Update the values in the custom field columns
    • Re-import the file

    Sender will update existing contacts based on their email addresses.

    Organizing Your Custom Attributes

    Group Related Fields

    Keep similar information together for easier management:

    • Contact Info: Phone, Address, City
    • Professional: Company, Job Title, Industry
    • Preferences: Language, Frequency, Interests

    Plan Your Structure

    Before creating many custom fields:

    • List what information you need
    • Determine which fields are essential
    • Organize fields into logical groups
    • Document your field names and purposes

    Using Custom Attributes Effectively

    For Segmentation

    Create targeted lists based on custom attribute values:

    • All contacts from a specific company
    • Contacts with a particular job title
    • Customers in a certain location
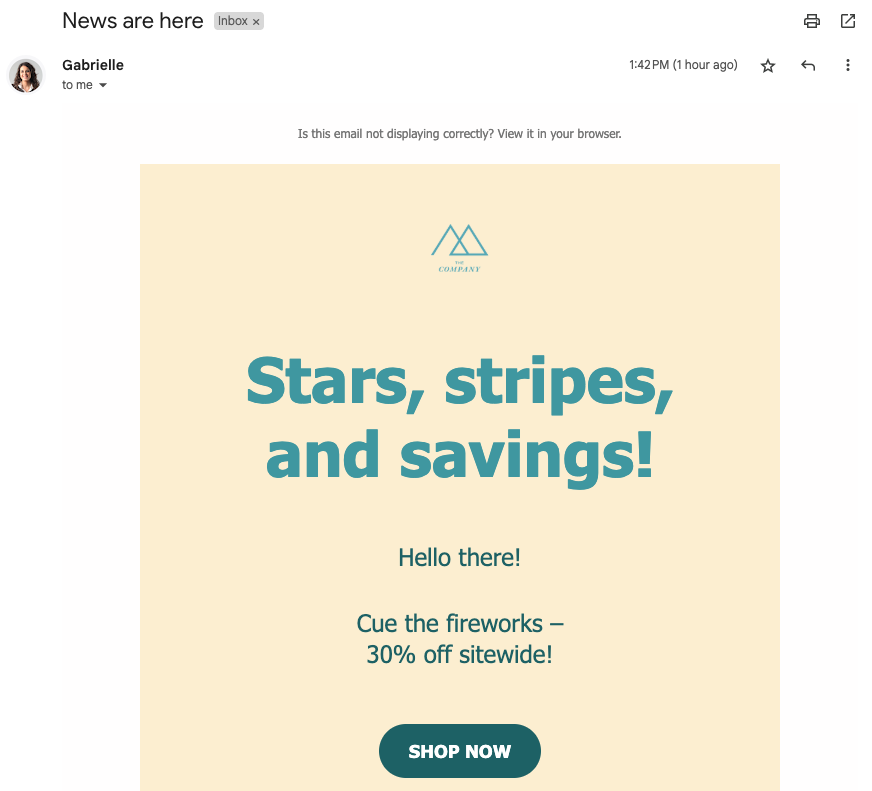
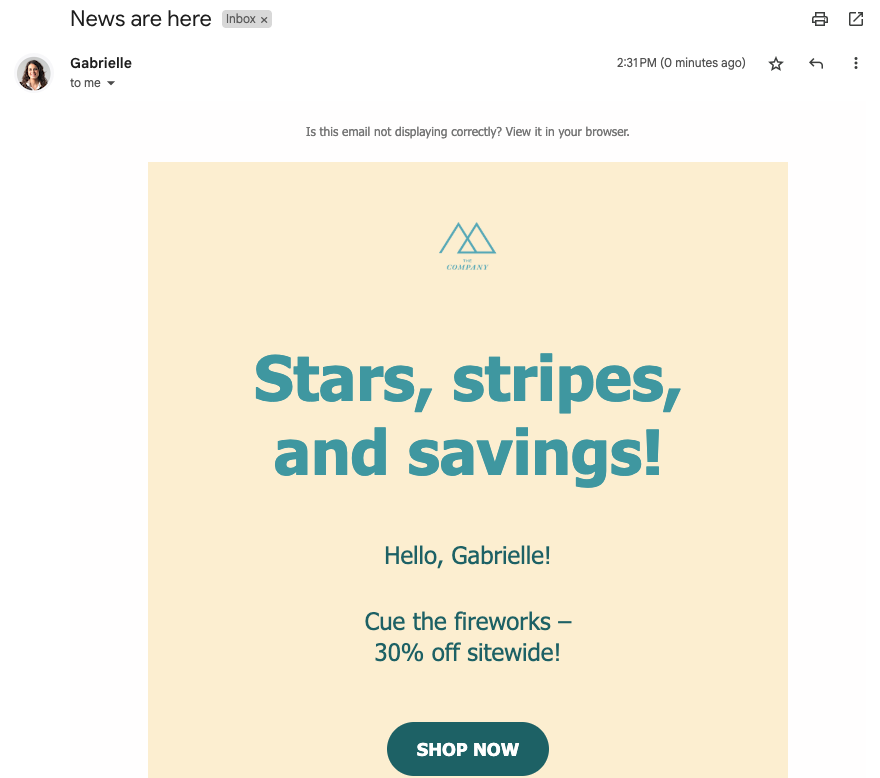
    For Personalization

    Use custom attributes in your email content:

    • Reference their company name
    • Mention their job title
    • Include location-specific information

    Tips for Success

    • Start with essentials – Don’t create fields you won’t use
    • Keep data consistent – Use the same format across all contacts
    • Regular maintenance – Periodically review and clean up your custom fields
    • Document your fields – Keep a list of what each custom attribute represents
    • Test before full import – Try importing a small sample first

    If you got stuck on a specific task or can’t find a way to execute a particular job, contact our support team via LiveChat or [email protected] – we’re here to help 24/7.

  • Manage custom fields and attributes

    Discover the different types of custom fields you can use to store contact information in Sender.

    Standard vs. Custom Fields

    Standard Fields are built-in and available by default:

    • Email address
    • First name
    • Last name

    Custom Fields are additional attributes you create based on your needs.

    Common Types of Custom Fields

    Contact Information

    • Phone numbers – Mobile, office, or home numbers
    • Address – Street, city, state, postal code
    • Country – For location-based targeting
    • Time zone – For optimal send times

    Professional Details

    • Company name – Where the contact works
    • Job title – Their position or role
    • Industry – Type of business or sector
    • Department – Specific team or division

    Personal Information

    • Birthday – For birthday campaigns and offers
    • Anniversary date – Customer or subscription milestones
    • Gender – For gender-specific content
    • Age or age range – For demographic targeting

    Behavioral Data

    • Purchase history – What they’ve bought
    • Last purchase date – When they last ordered
    • Total spent – Customer lifetime value
    • Product preferences – Favorite categories or items

    Engagement Preferences

    • Communication frequency – How often they want to hear from you
    • Content interests – Topics they care about
    • Language preference – For multilingual campaigns
    • Subscription source – Where they signed up

    Business-Specific Fields

    • Customer ID – Your internal reference number
    • Account tier – Free, premium, enterprise, etc.
    • Renewal date – For subscription businesses
    • Support tickets – Number of support interactions

    How to Add Custom Fields

    When importing contacts, simply add extra columns to your file with the custom field name as the header:

    Choosing the Right Custom Fields

    Consider these questions:

    • What information will help you segment your audience?
    • What details do you need for personalization?
    • What data will improve your targeting?
    • What attributes align with your business goals?

    Best Practices

    • Start simple – Begin with a few essential custom fields
    • Use consistent naming – Keep field names clear and standardized
    • Avoid overcomplicating – Only add fields you’ll actually use
    • Plan for scalability – Think about future needs
    • Keep data clean – Use consistent formats for similar data types

    That’s it!

    If you got stuck on a specific task or can’t find a way to execute a particular job, contact our support team via LiveChat or [email protected] – we’re here to help 24/7.

  • Understand contact details and attributes

    Learn about the different types of information you can store for each contact in your Sender account.

    Standard Contact Fields

    These are the basic fields available for every contact:

    Email Address (Required)

    • The primary identifier for each contact
    • Must be unique and valid
    • Format: [email protected]

    First Name

    • The contact’s given name
    • Used for email personalization
    • Optional but recommended

    Last Name

    • The contact’s surname or family name
    • Helps with better personalization
    • Optional but recommended

    Custom Attributes

    Beyond standard fields, you can add custom attributes to store additional information about your contacts:

    • Phone numbers
    • Company name
    • Job title
    • Location or address
    • Birthday or anniversary dates
    • Purchase history
    • Preferences
    • Any other relevant data

    Why Use Contact Attributes?

    Better Segmentation

    Group contacts based on specific attributes for targeted campaigns.

    Personalization

    Use contact details to create more personalized email content.

    Organization

    Keep all relevant information in one place for easy access.

    Campaign Targeting

    Send the right message to the right people based on their attributes.

    Adding Attributes During Import

    You can include custom attributes when importing contacts:

    Please keep in mind that each additional column becomes a custom attribute for that contact.

    Best Practices

    • Keep it relevant – Only collect information you’ll actually use
    • Stay consistent – Use the same format for similar data across all contacts
    • Respect privacy – Only store information contacts have consented to share
    • Update regularly – Keep contact information current and accurate

    That’s it!

    If you got stuck on a specific task or can’t find a way to execute a particular job, contact our support team via LiveChat or [email protected] – we’re here to help 24/7.

  • Use liquid tags

    Liquid tags help you personalize your emails by inserting dynamic content like the subscriber’s name, location, product history, or cart items—automatically. They’re a powerful way to create meaningful, relevant, and engaging messages for every individual on your list, without manually customizing each email.

    Whether you’re welcoming a new subscriber or nudging someone to complete their purchase, liquid tags make your emails feel personal, timely, and smart.

    What are Liquid Tags?

    Liquid tag is a templating language that uses placeholders and logic to insert dynamic content into your emails.

    {{ … }} → Outputs data (e.g. a name, a product, a price)

    {% … %} → Controls logic (e.g. if/else conditions, loops)

    | → Applies filters to format or modify data (e.g. upcase, default)

    Example:

    Hello {{ firstname | default: "there" }}

    Inserts a subscriber’s first name, or “there” if the name is missing.

    Result:

    If the subscriber’s name exists in the subscriber list → Hello Gabrielle!

    If the subscriber’s name does not exist in the subscriber list → Hello there!

    Why Use Liquid Tags?

    • Personalize at scale (no manual editing)

    • Improve open rates and conversions

    • Make subscribers feel seen and understood

    • Adapt content to location, behavior, or preferences

    • Keep your campaigns efficient and relevant

    Top use cases & examples

    1. Personalized subject lines with fallbacks

    Use a subscriber’s first name—or provide a friendly default if it’s missing.

    Example:

    Subject: 

    {{ firstname | default: "Hey" }}, your exclusive offer is inside!

    Why it works:

    • Adds a personal touch to the inbox

    • Increases open rates

    • Makes your message feel written just for them

    2. Show relevant products based on interest or segment

    If you don’t have real-time product tracking, no problem—you can still create relevant product suggestions by using custom fields or behavioral tags like favorite categories or past clicks.

    Example: Let’s say you collect a custom field like favorite_category during signup or through a quiz.

    Subject: 

    Explore more in {{ favorite_category | default: "our bestsellers" }}

    Email body:

    Hi {{ firstname | default: "there" }}

    We thought you might like these picks from our {{ favorite_category | default: "latest collection" }}:

    Why it works:

    • Feels personalized even without product tracking

    • Easy to implement with custom fields or tag-based segmentation

    • Allows you to highlight relevant products for each group

    3. Insert cart details into recovery emails

    Display the items they left behind—complete with name and price.

    Example:

    Hi {{ firstname | default: "there" }}

    You left this in your cart: 

    {% for item in cart_items %} 

    {{ item.name }} for {{ item.price }}
    {% endfor %} 

    Finish your purchase before it’s gone!

    Why it works:

    • Creates urgency with real product details

    • No manual entry needed

    • Increases cart recovery with context

    4. Recommend products based on behavior

    Show personalized product suggestions based on what the subscriber liked or purchased.

    Example:

    Based on what you liked, you might also love: 

    {% for product in recommended_products limit: 3 %} 

    {{ product.name }} – only {{ product.price }}
    {% endfor %}

    Why it works:

    • Feels like a curated recommendation

    • Encourages discovery and upsells

    • Works well in post-purchase or re-engagement campaigns

    5. Location-based content

    Change messaging based on the subscriber’s country or region.

    Example:

    {% if country == "USA" %}
    Free shipping across the US! 

    {% elsif country == "Germany" %}
    Versandkostenfrei in Deutschland!
    {% else % }
    Check your local rates at checkout.
    {% endif %}

    Why it works:

    • Helps global brands adapt content by market

    • Builds trust with regionally specific details

    • Improves clarity around shipping, pricing, or offers

    Most commonly used tags

    Here’s a quick list of the most popular Liquid tags and what they do — copy & paste as needed!

    {{ firstname }} → inserts first name

    {{ firstname | default: "there" }} → fallback if name is missing

    {{ country }} → inserts the subscriber’s country

    {% if country == "US" %} ... {% endif %} → shows a section only to US subscribers

    {% if customfield == "yes" %} ... {% endif %} → shows a section if a field is set

    {% for item in cart_items %} ... {% endfor %} → loops through cart products

    {{ product.name | upcase }} → transforms product name to uppercase

    {{ product.price | round }} → rounds the price number


    If you got stuck on a specific task or can’t find a way to execute a particular job, contact our support team via LiveChat or [email protected] – we’re here to help 24/7.

  • Reorder subscriber fields

    The ability to reorder subscriber custom fields, provides enhanced customization and organization for your management process. It allows you to move and rearrange custom fields as per your preference.

    Email, first name, last name, and contact number are fixed fields, however, all user-generated fields can be rearranged.

    To reorder the subscriber fields, navigate to ‘Subscribers’, select ‘Fields’, and then choose ‘Reorder Fields’. 

    Then, move each field to your preferred location and secure the alterations made. This reordering modifies the display of subscriber information within your main subscribers’ list.

    That’s it!

    If you got stuck on a specific task or can’t find a way to execute a particular job, contact our support team via LiveChat or [email protected] – we’re here to help 24/7.

  • Edit a Contact’s Email Address

    Editing user’s email address is a very easy process. Simply go to “Settings”, click on “Users,” and “Edit” next to the user that you want to change.

    After that, click the email address field and enter the new email address for that user.

    Once you are happy with the email address, make sure to save the changes.


    If you are stuck on a specific task or can’t find a way to execute a particular job, contact our support team via LiveChat or [email protected] – we’re here to help 24/7.

  • Manage subscriber fields

    Fields

    Fields are also known as custom fields and are generally used for email personalization and segmentation or filtration processes.  It’s one of the ways to attach additional information to the subscriber, such as name, surname, location, etc. Custom fields are usually imported with recipients’ email addresses, although fields can be attached later in the system. 

    Fields can be created and managed in the “Fields” tab. 

    Let’s continue by clicking the “Create new field” button. 

    Next, you will need to enter the field’s name and select a type: 

    • Text (letters and digits)
    • Date (YYYY-MM-DD hh:mm:ss OR YYYY-MM-DD format)
    • Datetime (choosing a specific date and time)
    • Number (only digits)
    • Drop-down (choosing specific values that you input)

    When you create an additional custom field, it appears next to each subscriber with no data in it, yet.

    You can add the information by opening the subscribers’ section, clicking on the “Toggle columns” button, and selecting the custom field you created. In this case, “Gender” is selected. Simply click the empty field and type in the relevant information.

    That’s it!

    If you got stuck on a specific task or can’t find a way to execute a particular job, contact our support team via LiveChat or [email protected] – we’re here to help 24/7.