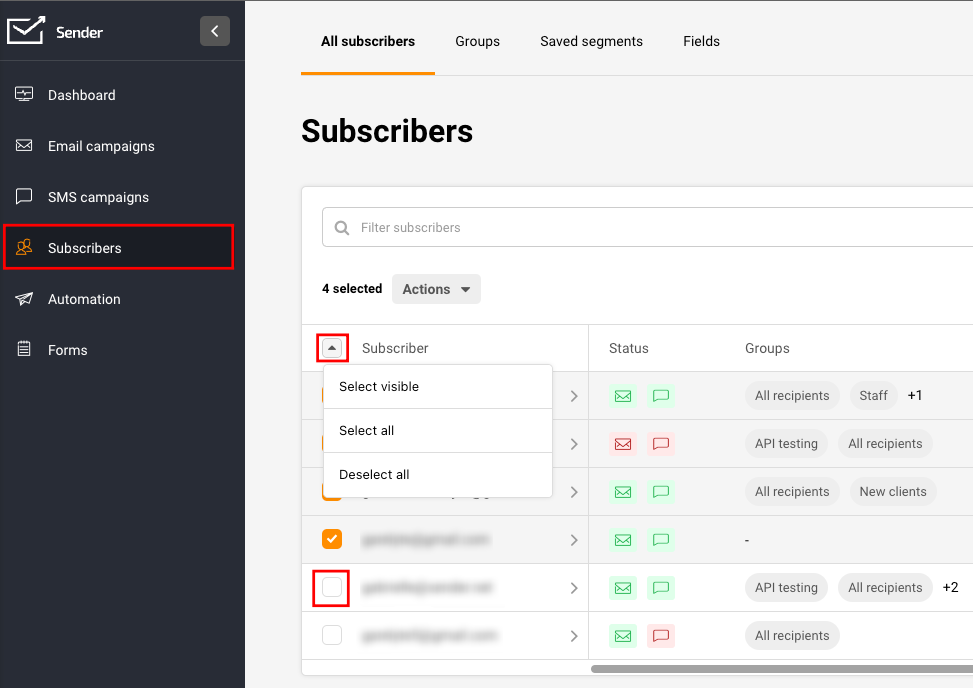
Whether you want to remove one, multiple, or all subscribers, that can be easily achieved by going to Subscribers, ticking the box next to an email address, or selecting all subscribers at once.
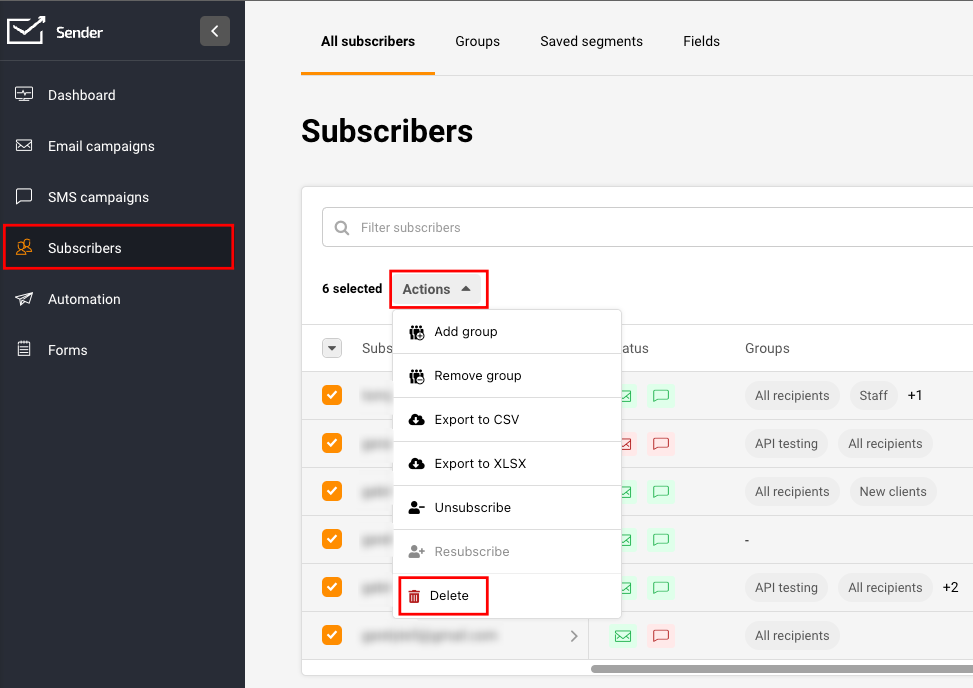
Once you select all the subscribers you want to remove, click “Actions” and “Delete”.
That’s it!
If you got stuck on a specific task or can’t find a way to execute a particular job, contact our support team via LiveChat or [email protected] – we’re here to help 24/7.
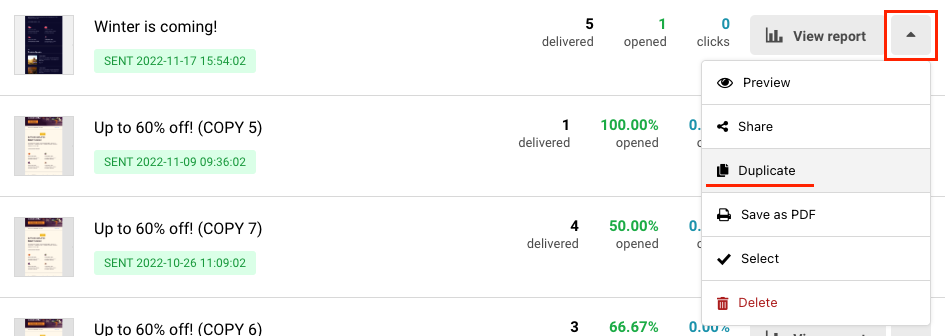
To create a copy of a campaign, go to Email campaign, click the arrow next to the campaign in question and select “Duplicate”. An exact copy of a selected campaign has been created.
If you got stuck on a specific task or can’t find a way to execute a particular job, contact our support team via LiveChat or [email protected] – we’re here to help 24/7.
There is no direct way to change the email address of a subscriber within a system. You will have to upload the new email address as a new subscriber.
If you want to maintain additional subscriber data and change only the email address, you need to export the subscriber, change the email address in the exported file and reupload it into the system.
Please note that this action will not preserve subscriber actions within your past campaigns, only the information that has been provided alongside their email address or/and phone number.
If you got stuck on a specific task or can’t find a way to execute a particular job, contact our support team via LiveChat or [email protected] – we’re here to help 24/7.
Setting up a celebratory email can be a great way to surprise and congratulate a customer on their birthday or another occasion. The setup takes little time.
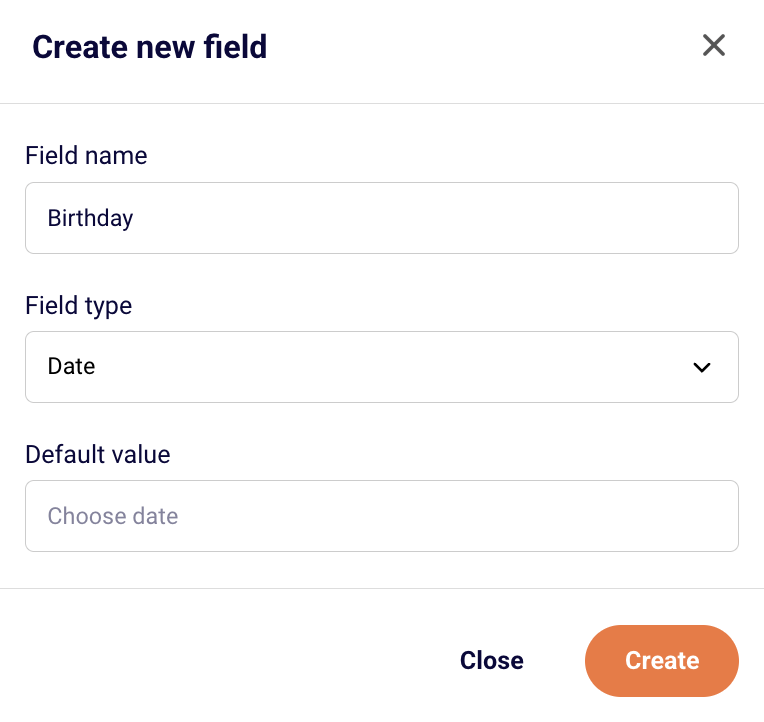
Firstly, go to Subscribers -> Fields and create a date type field for Birthday.
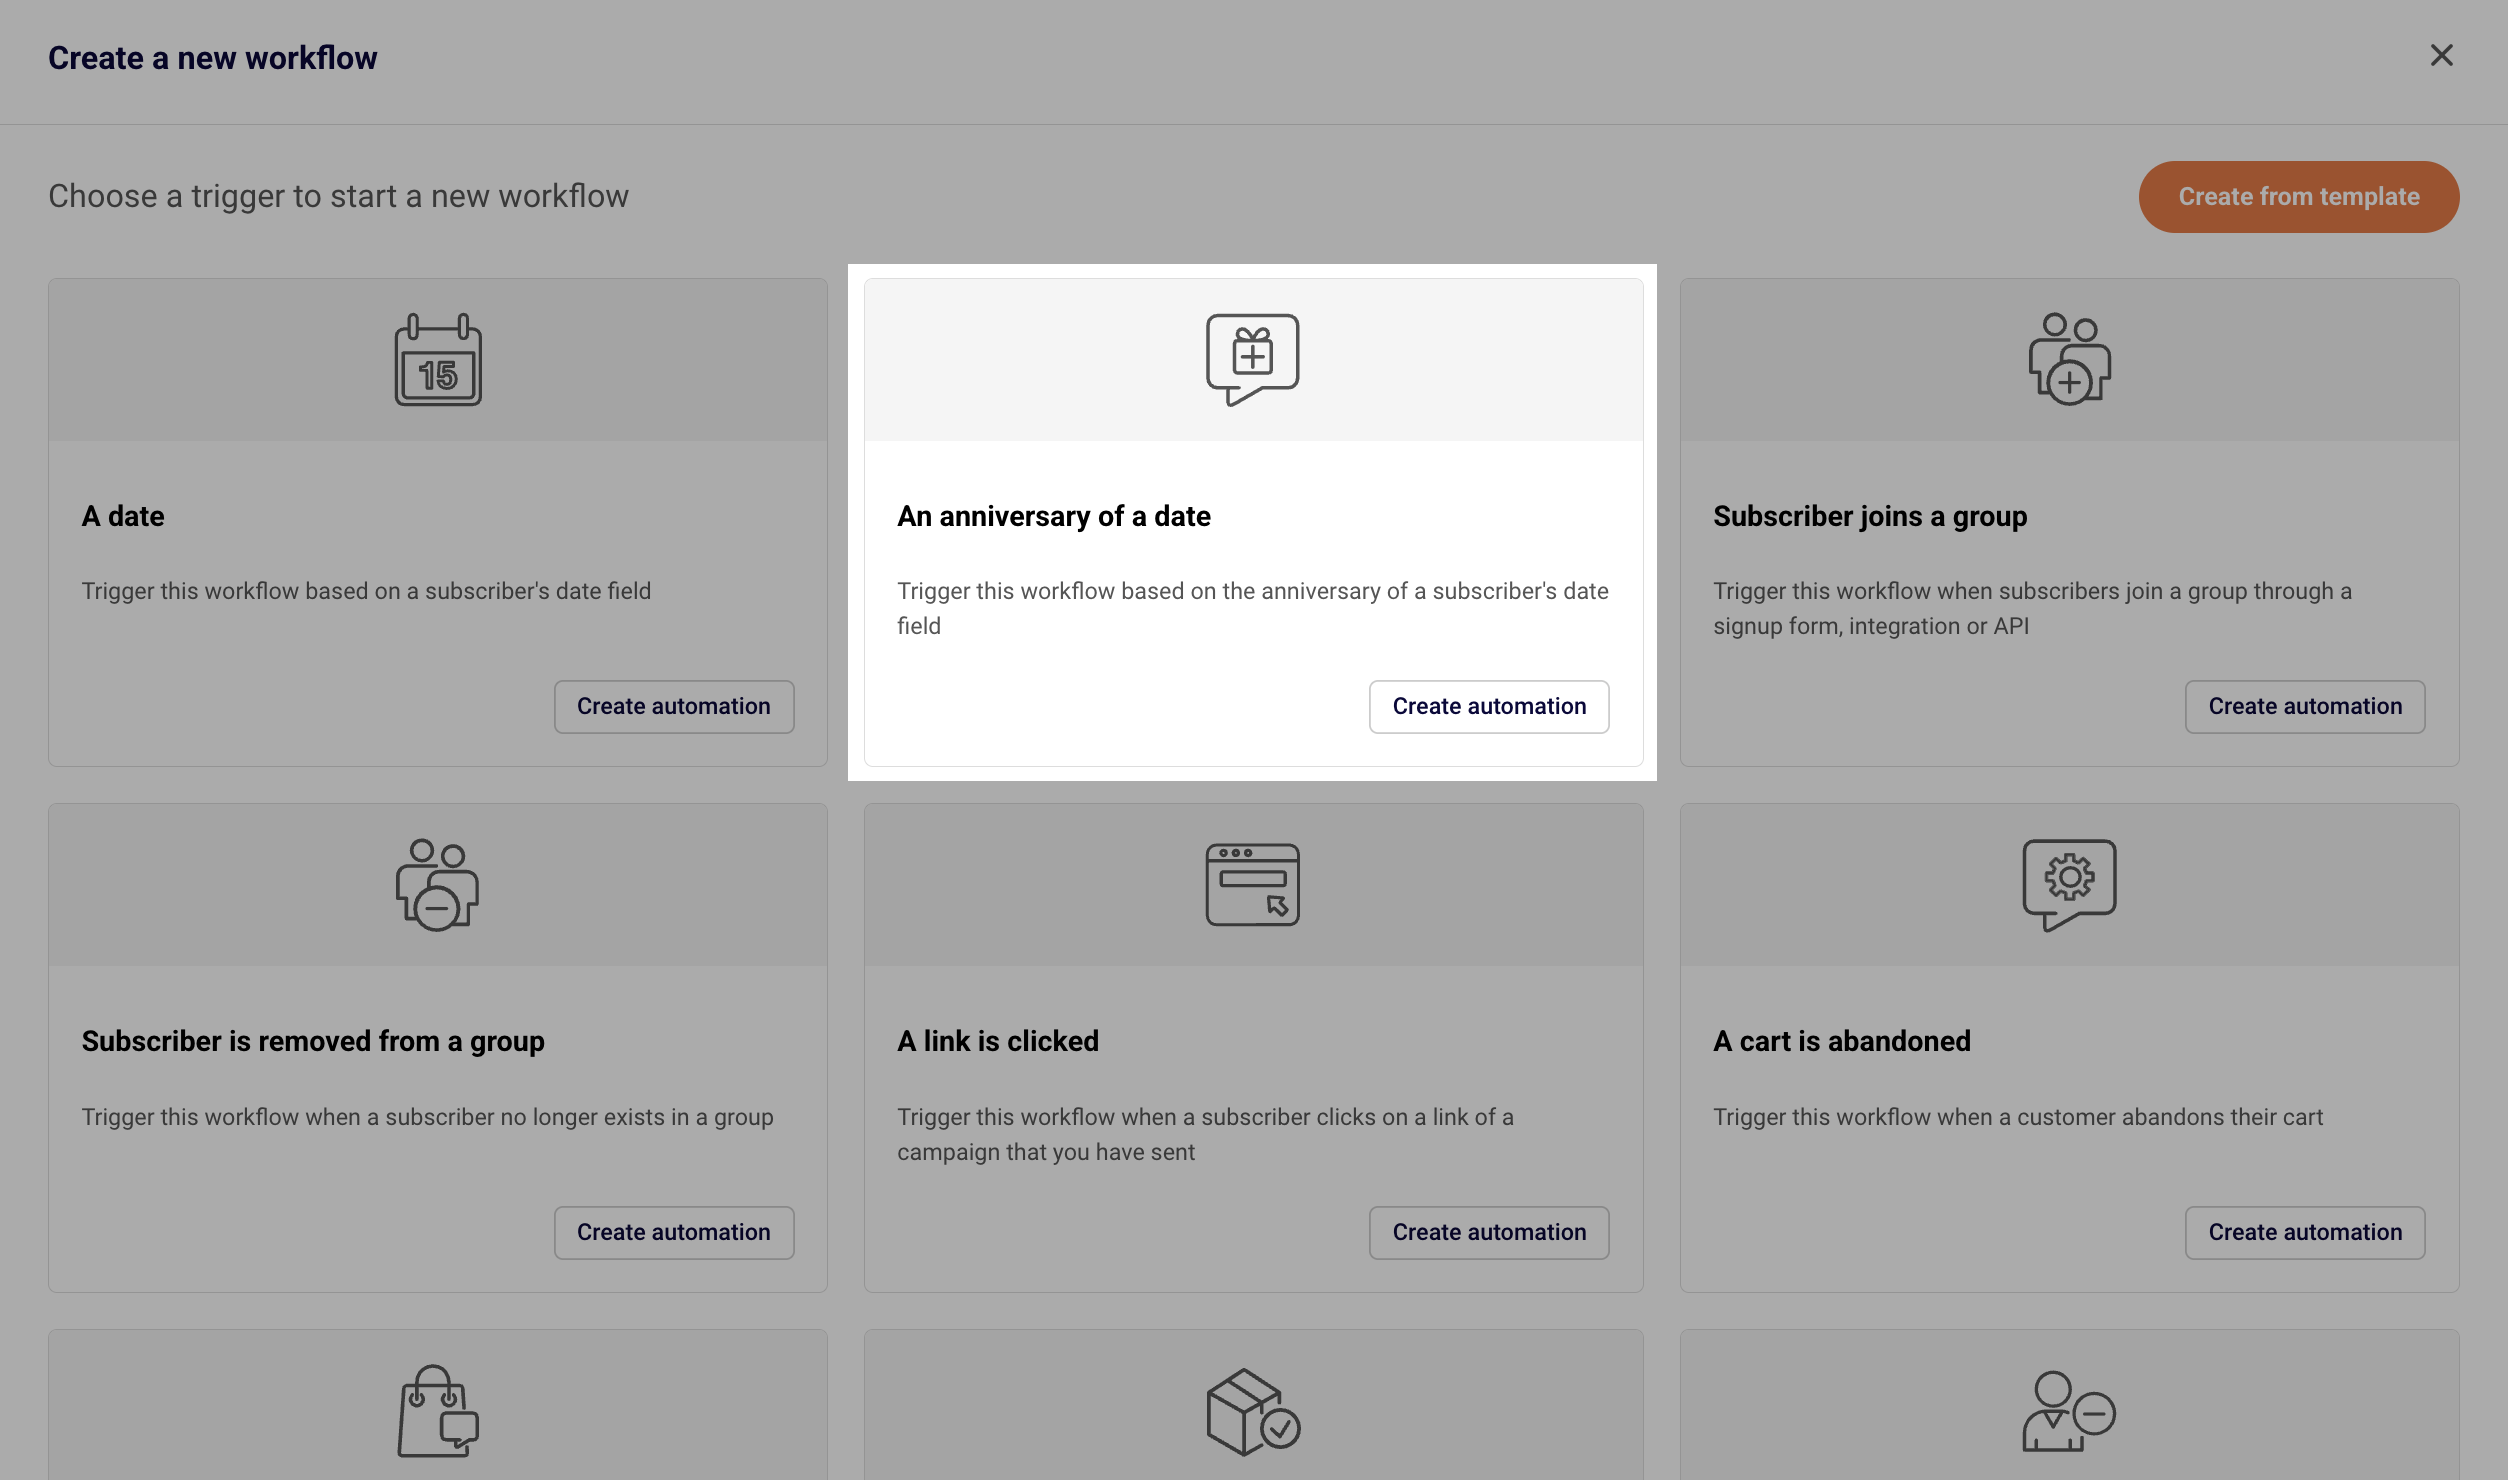
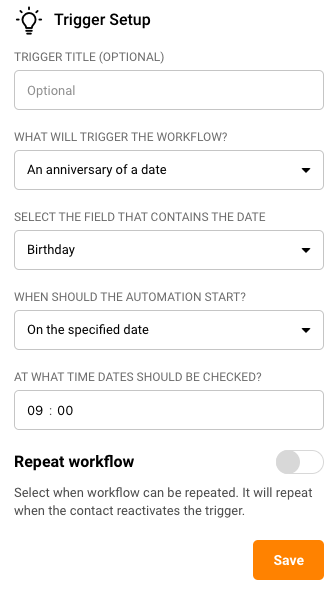
Secondly, go to Automations -> Create new workflow -> Create from scratch and choose the “Anniversary of a date” trigger.
Name your workflow accordingly and click Create.
Fill in the trigger setup and choose the Custom Field you created initially. This trigger will check the set field every day at the set time, and if the date is today, the automation will start.
Enable the “Repeat workflow” if you want the same subscriber to receive their birthday celebration email more than once (every year).
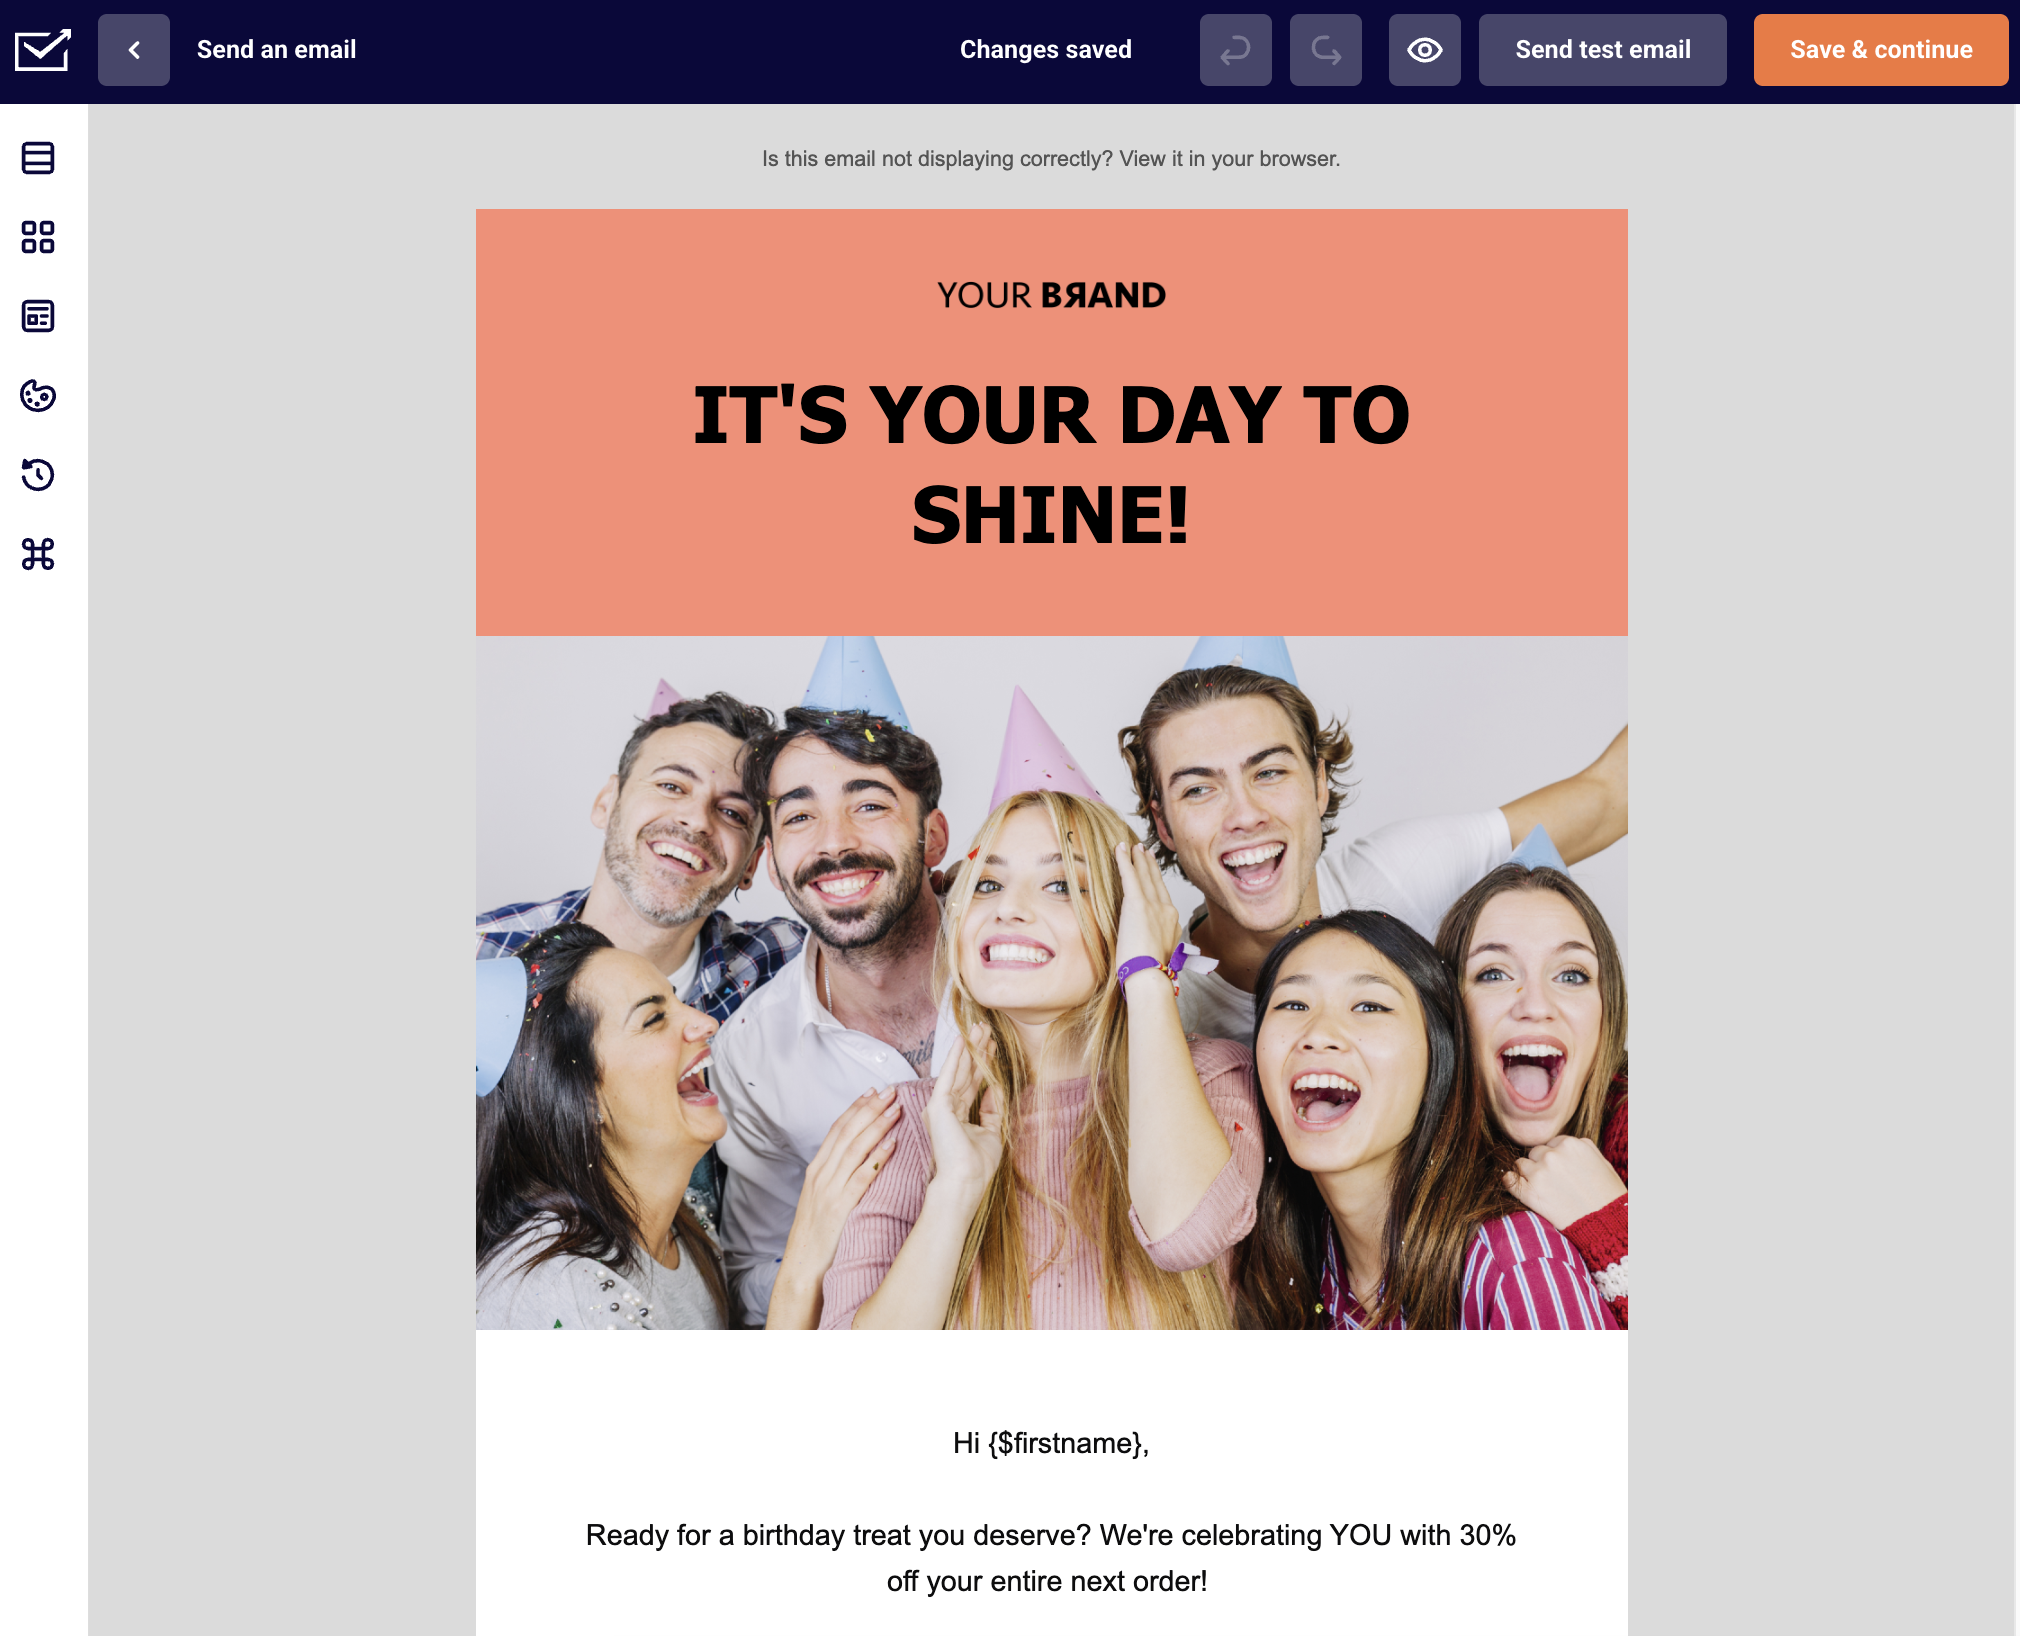
After setting the trigger, you can add any additional steps, e.g. a congratulatory email to be sent. It can include a message with personalization and a discount code or some other perk to surprise the recipient.
Do not forget to activate the automation workflow!
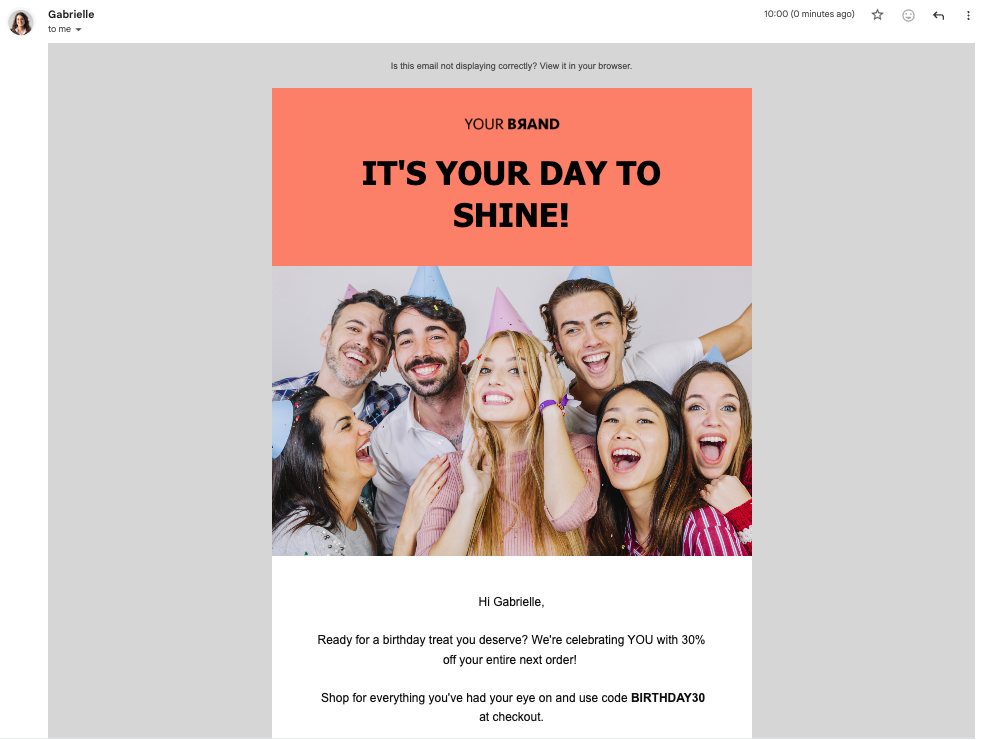
Once everything is set up, you can import your subscribers’ birthdays data or other anniversaries into the created field, and the automation will do its magic! Here is what the email might look in subscriber’s inbox:
If you got stuck on a specific task or can’t find a way to execute a particular job, contact our support team via LiveChat or [email protected] – we’re here to help 24/7.
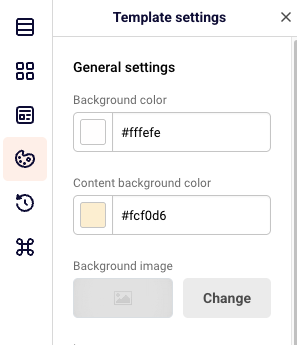
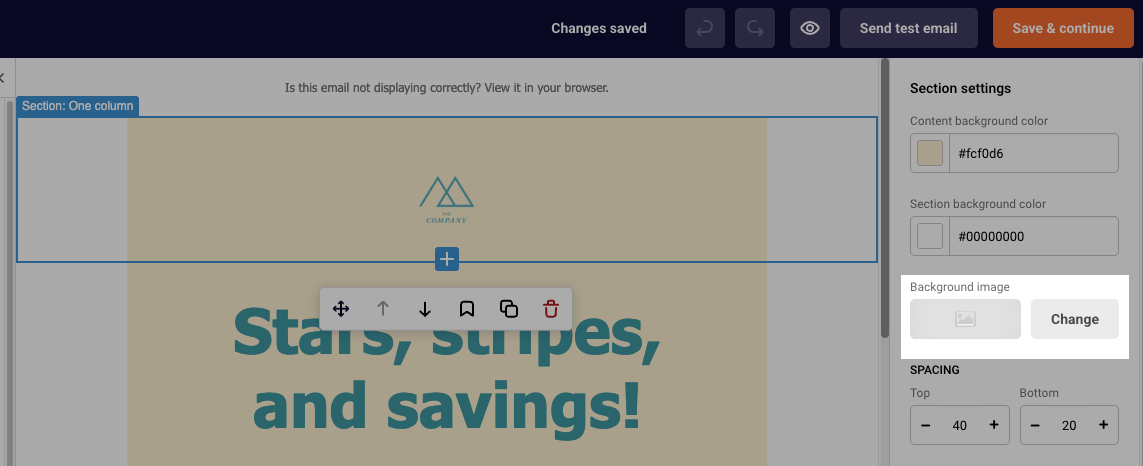
A background image can be added to the whole campaign or to a particular section.
To add a background image to the whole campaign, click “Template settings” icon. Click “Change” and choose an image that you want.
To add a background image to a section of the campaign, click on the section that you want to add the image to. On the right side, you will see the ” Background image option in the “Section settings” section. Click “Change” and choose an image that you want.
If you are stuck on a specific task or can’t find a way to execute a particular job, contact our support team via LiveChat or [email protected] – we’re here to help 24/7.
Do not worry! Make sure you know the exact date your subscribers got deleted and get in touch with us via LiveChat or [email protected] and we will recover your removed contacts.
If you are stuck on a specific task or can’t find a way to execute a particular job, contact our support team via LiveChat or [email protected] – we’re here to help 24/7.
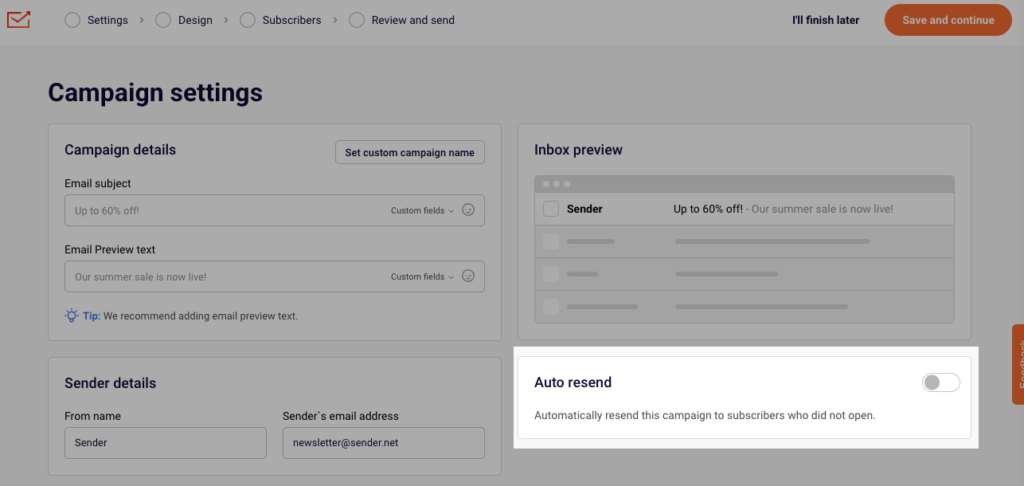
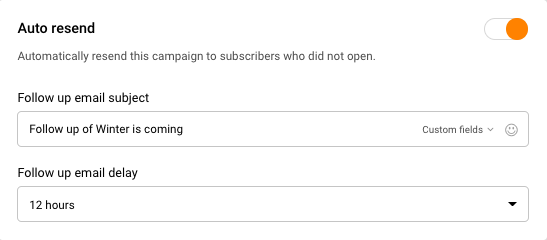
The “Auto resend” option is a great way to reach out to those subscribers that did not open your initial campaign. You can enable the “Auto resend” option in the first step of creating a campaign.
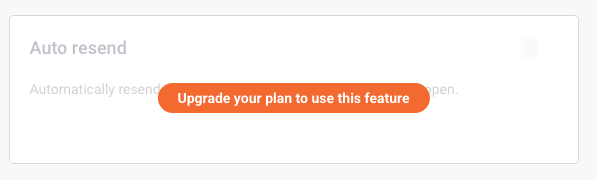
Please note that the “Auto resend” option is available for paid plans only. If you see the following message, note that your account is on the FreeForever plan:
Auto-resend can be enabled on the first step of email campaign creation process.
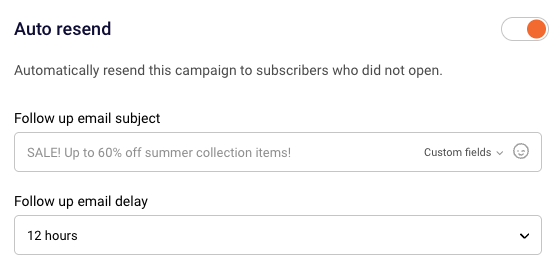
Once you enable it, you have to set the Email subject and the delay for the follow-up email.
If you still struggle with domain verification – contact your support team via LiveChat or [email protected] – we’ll help you with verification. We’re ready to help 24/7.
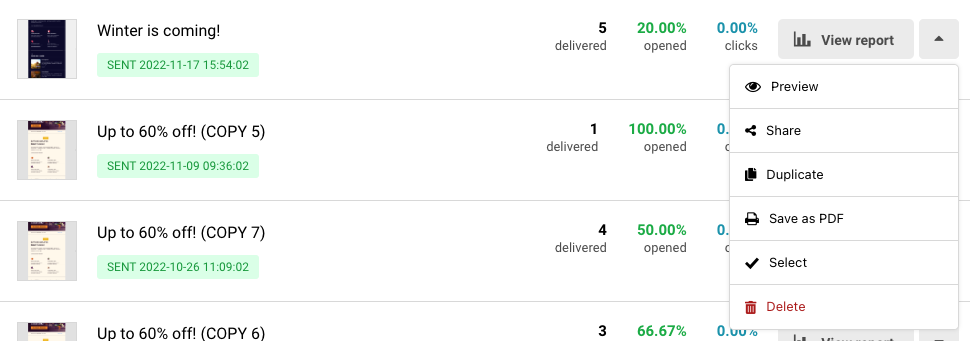
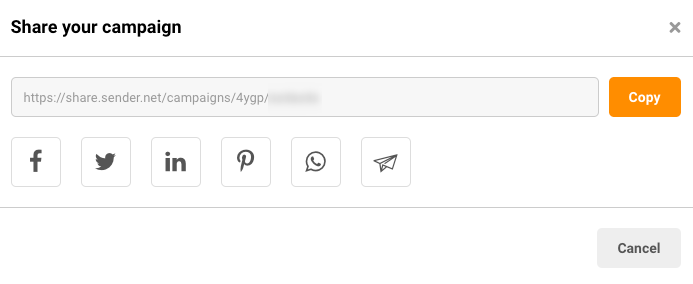
After you send your campaign, you have the option to obtain a link to send it to whomever you want or you can share it straight from Sender.
Go to Email campaigns, click the arrow next to the campaign in question and choose “Share”.
You can copy the link or choose a social platform that you want to share your email campaign to.
If you still struggle with domain verification – contact your support team via LiveChat or [email protected] – we’ll help you with verification. We’re ready to help 24/7.
The short answer is no. But you can easily access all the features using a mobile internet browser. Creating a campaign might be challenging (yet possible!), but other than that, you do a lot via your mobile phone.
Here is a short video on how the platform looks on a mobile device:
That’s it!
If you are stuck on a specific task or can’t find a way to execute a particular job, contact our support team via LiveChat or [email protected] – we’re here to help 24/7.
If you have a paid plan you can always set up the Auto resend to those that did not open the initial campaign before you send it. Enable it in the first step of creating a campaign.
Once you enable the “Auto resend” feature, you will have the option to set a delay from the initial campaign and the follow-up email name.
If, for any reason, you did not set that up, do not worry, there is an easy workaround for it.
Go to Subscribers -> Advanced filter.
Choose “Campaign activity”, “Sent”, “At least once”, “On a specific date” and choose the date of the sent campaign.
Then add another condition, “Opened”, “Zero times”, “Choose campaign” and select the campaign from the list.
Then click “Save as new segment” and type in a name for it.
Please note that you can distinguish a particular campaign that you want to resend by selecting other advanced filter settings, for example, “Sent,” “At least once,” “In the last,” “1 hour,” etc.
Now go to Email campaigns, click the arrow next to your initial campaign and choose “Duplicate”.
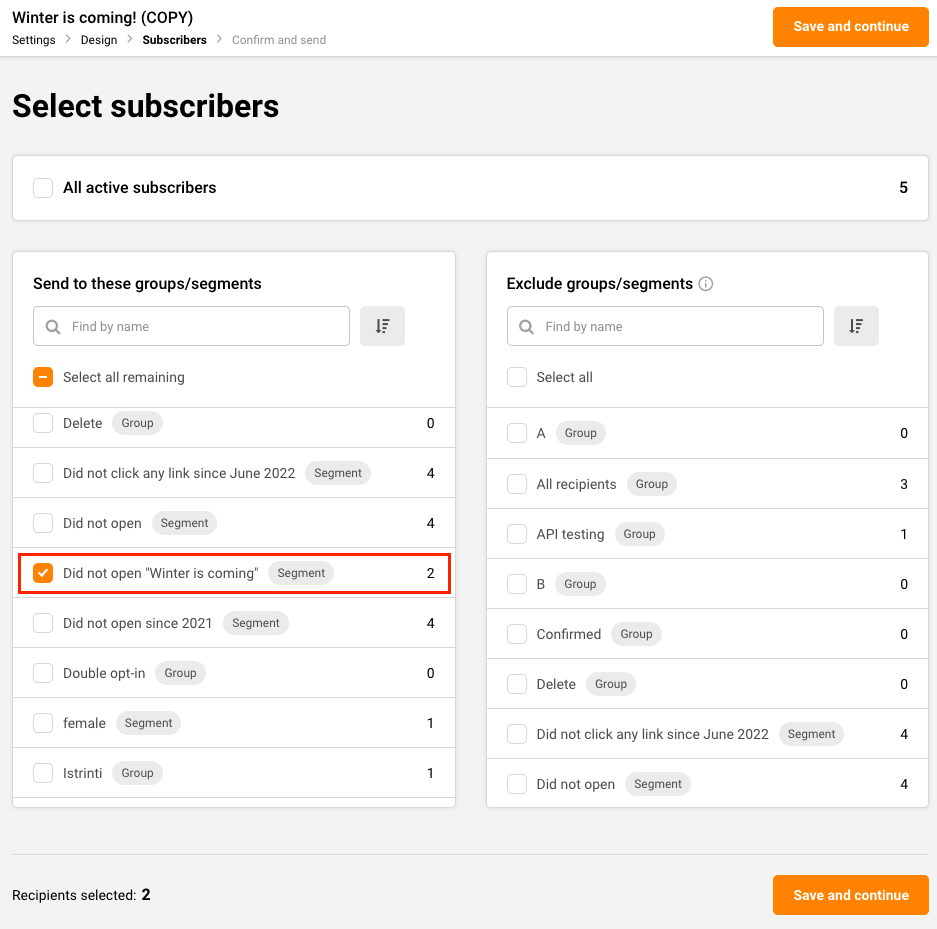
After the copy has been created, click “Edit”, and apply changes to the settings and the campaign itself if you want to. Once you reach the Subscriber section, find and select the segment that you have created. Now finish the necessary steps for sending the campaign as you normally would.
That’s it!
If you still struggle with domain verification – contact your support team via LiveChat or [email protected] – we’ll help you with verification. We’re ready to help 24/7.