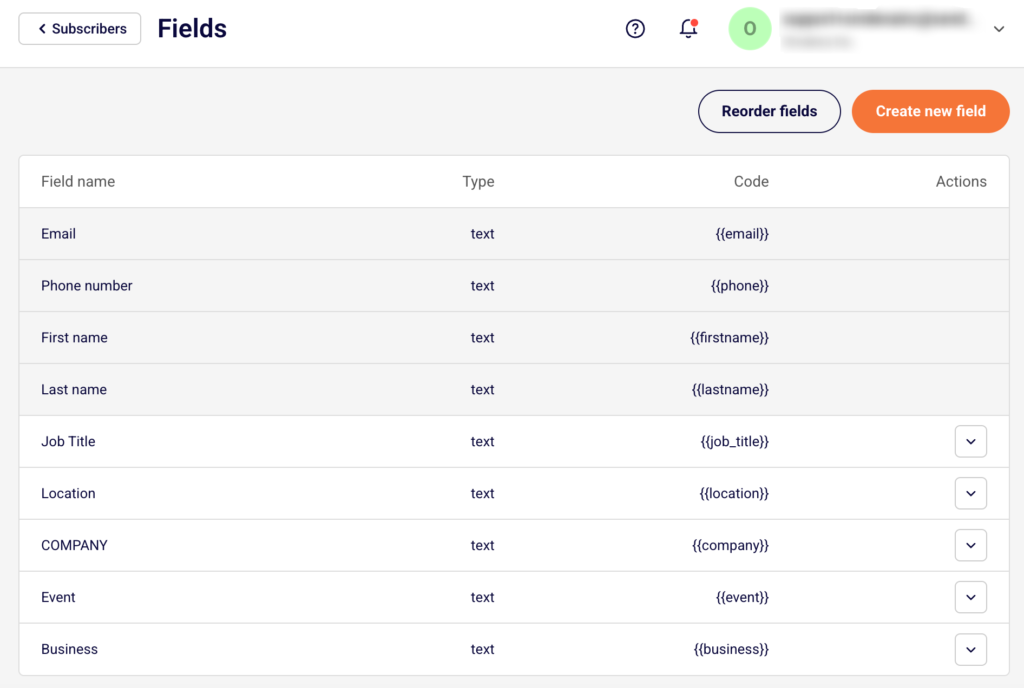
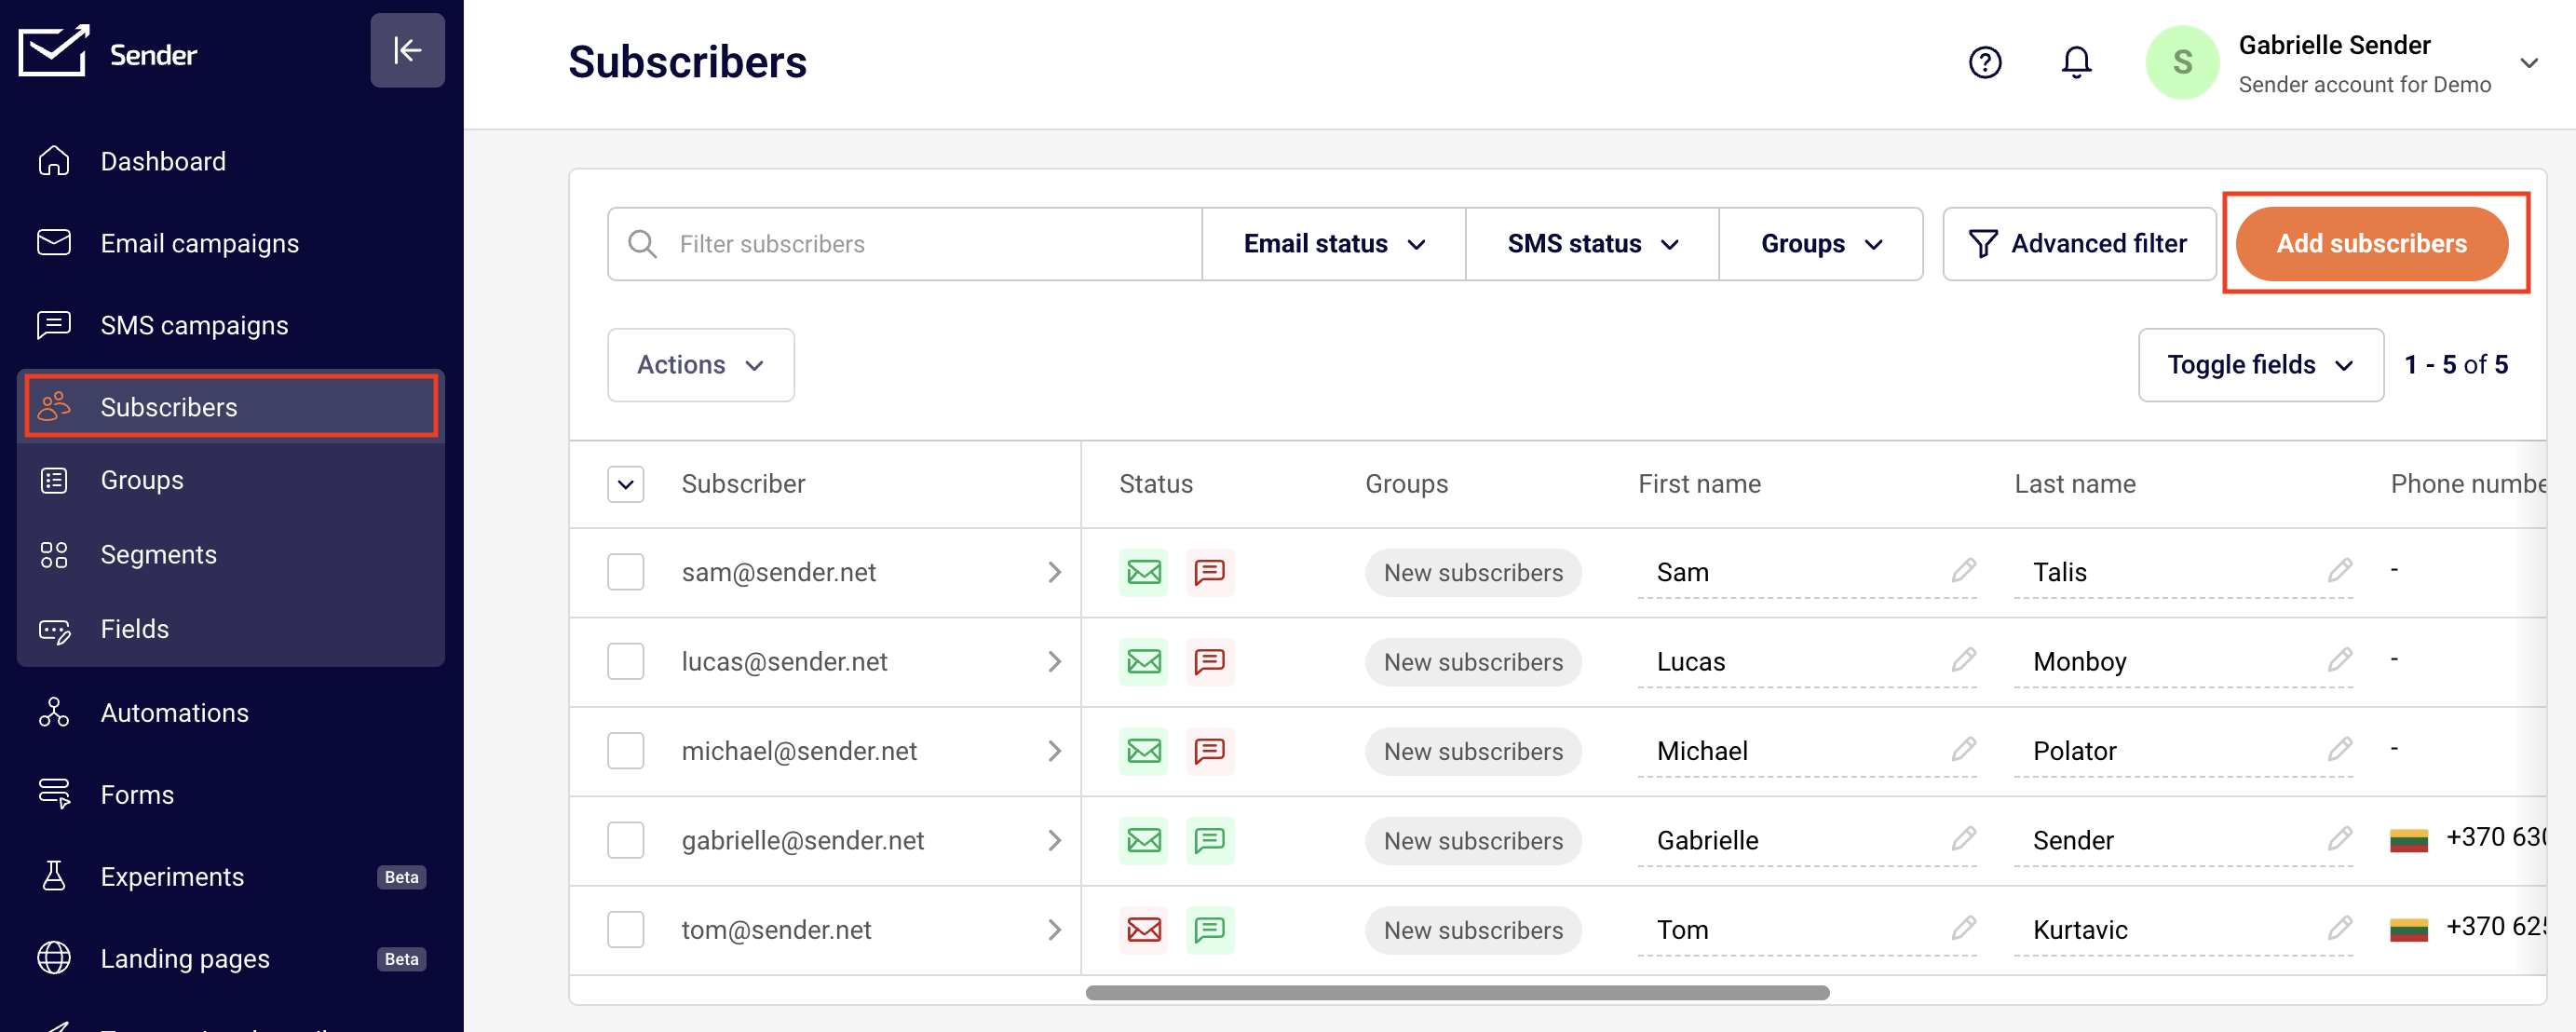
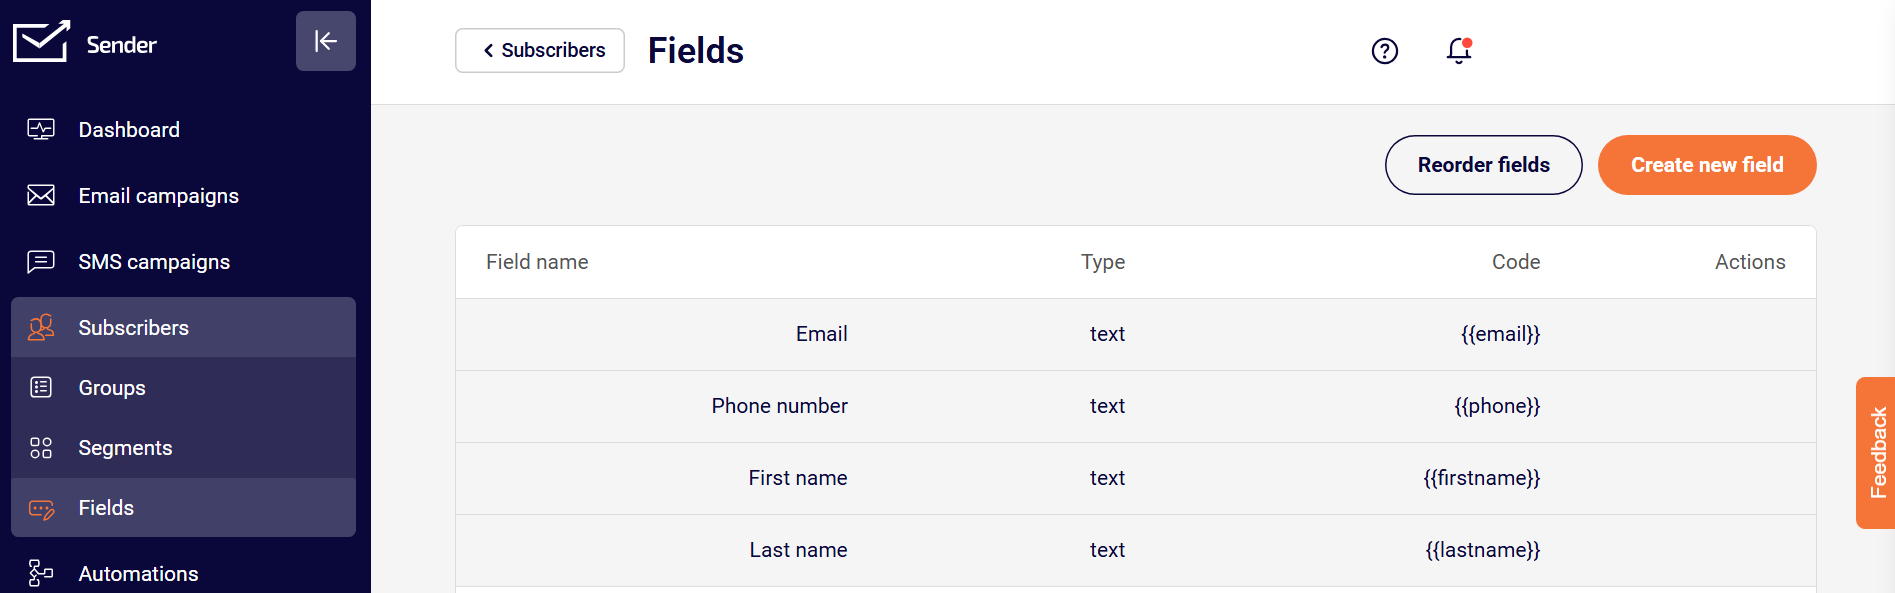
Author: admin

  • Manage subscriber fields

    Fields

    Fields are also known as custom fields and are generally used for email personalization and segmentation or filtration processes.  It’s one of the ways to attach additional information to the subscriber, such as name, surname, location, etc. Custom fields are usually imported with recipients’ email addresses, although fields can be attached later in the system. 

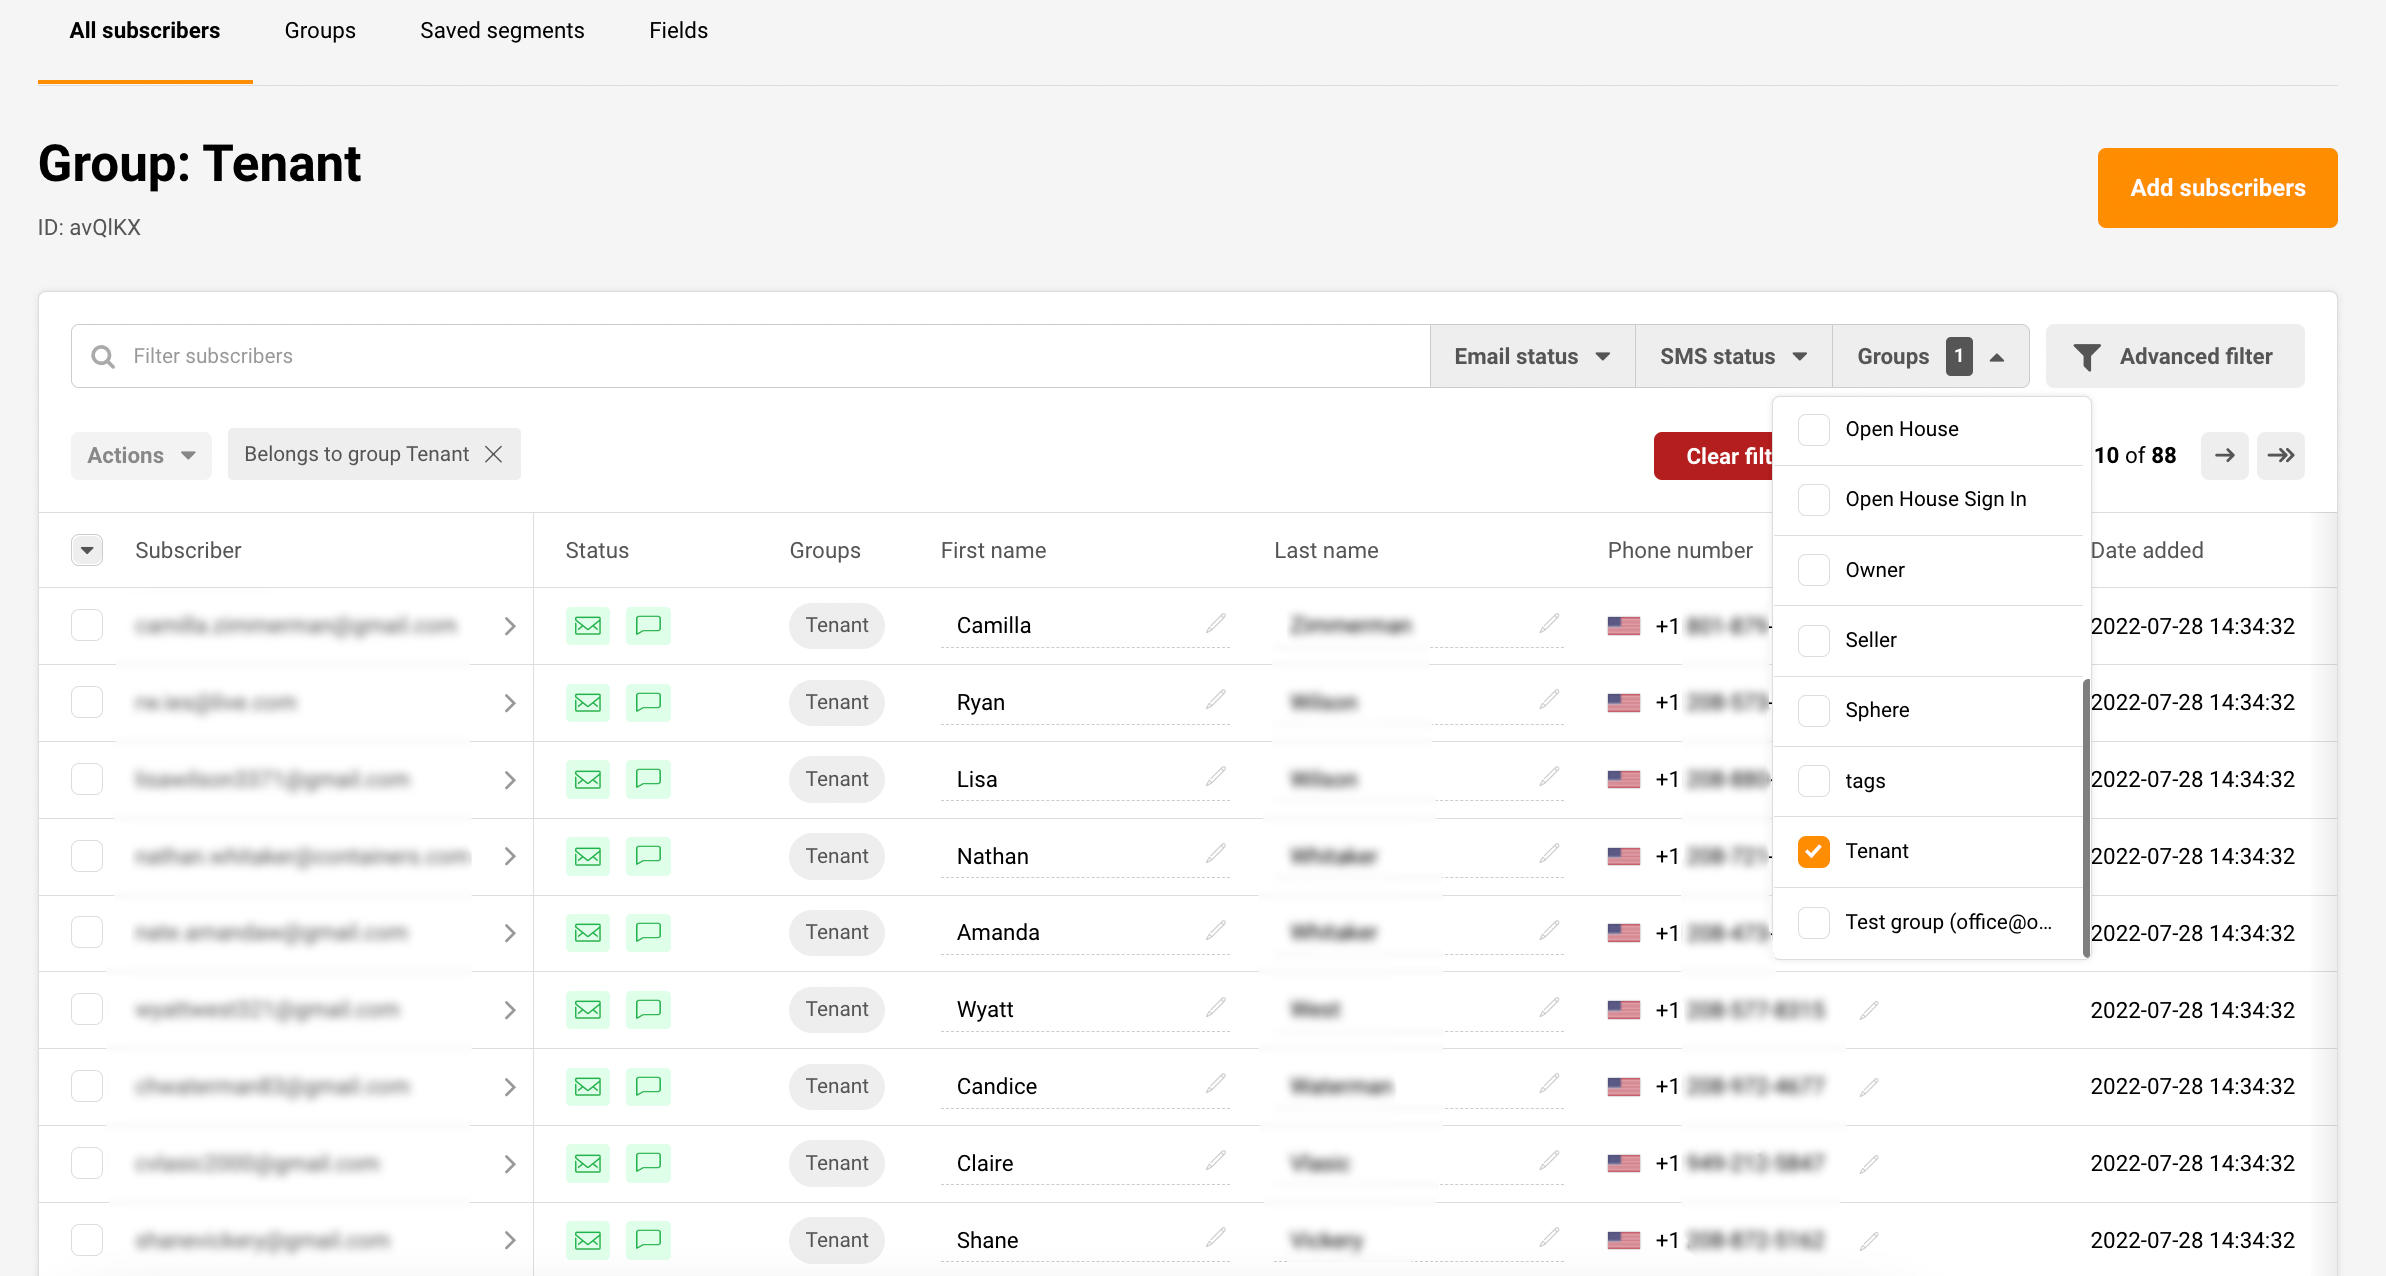
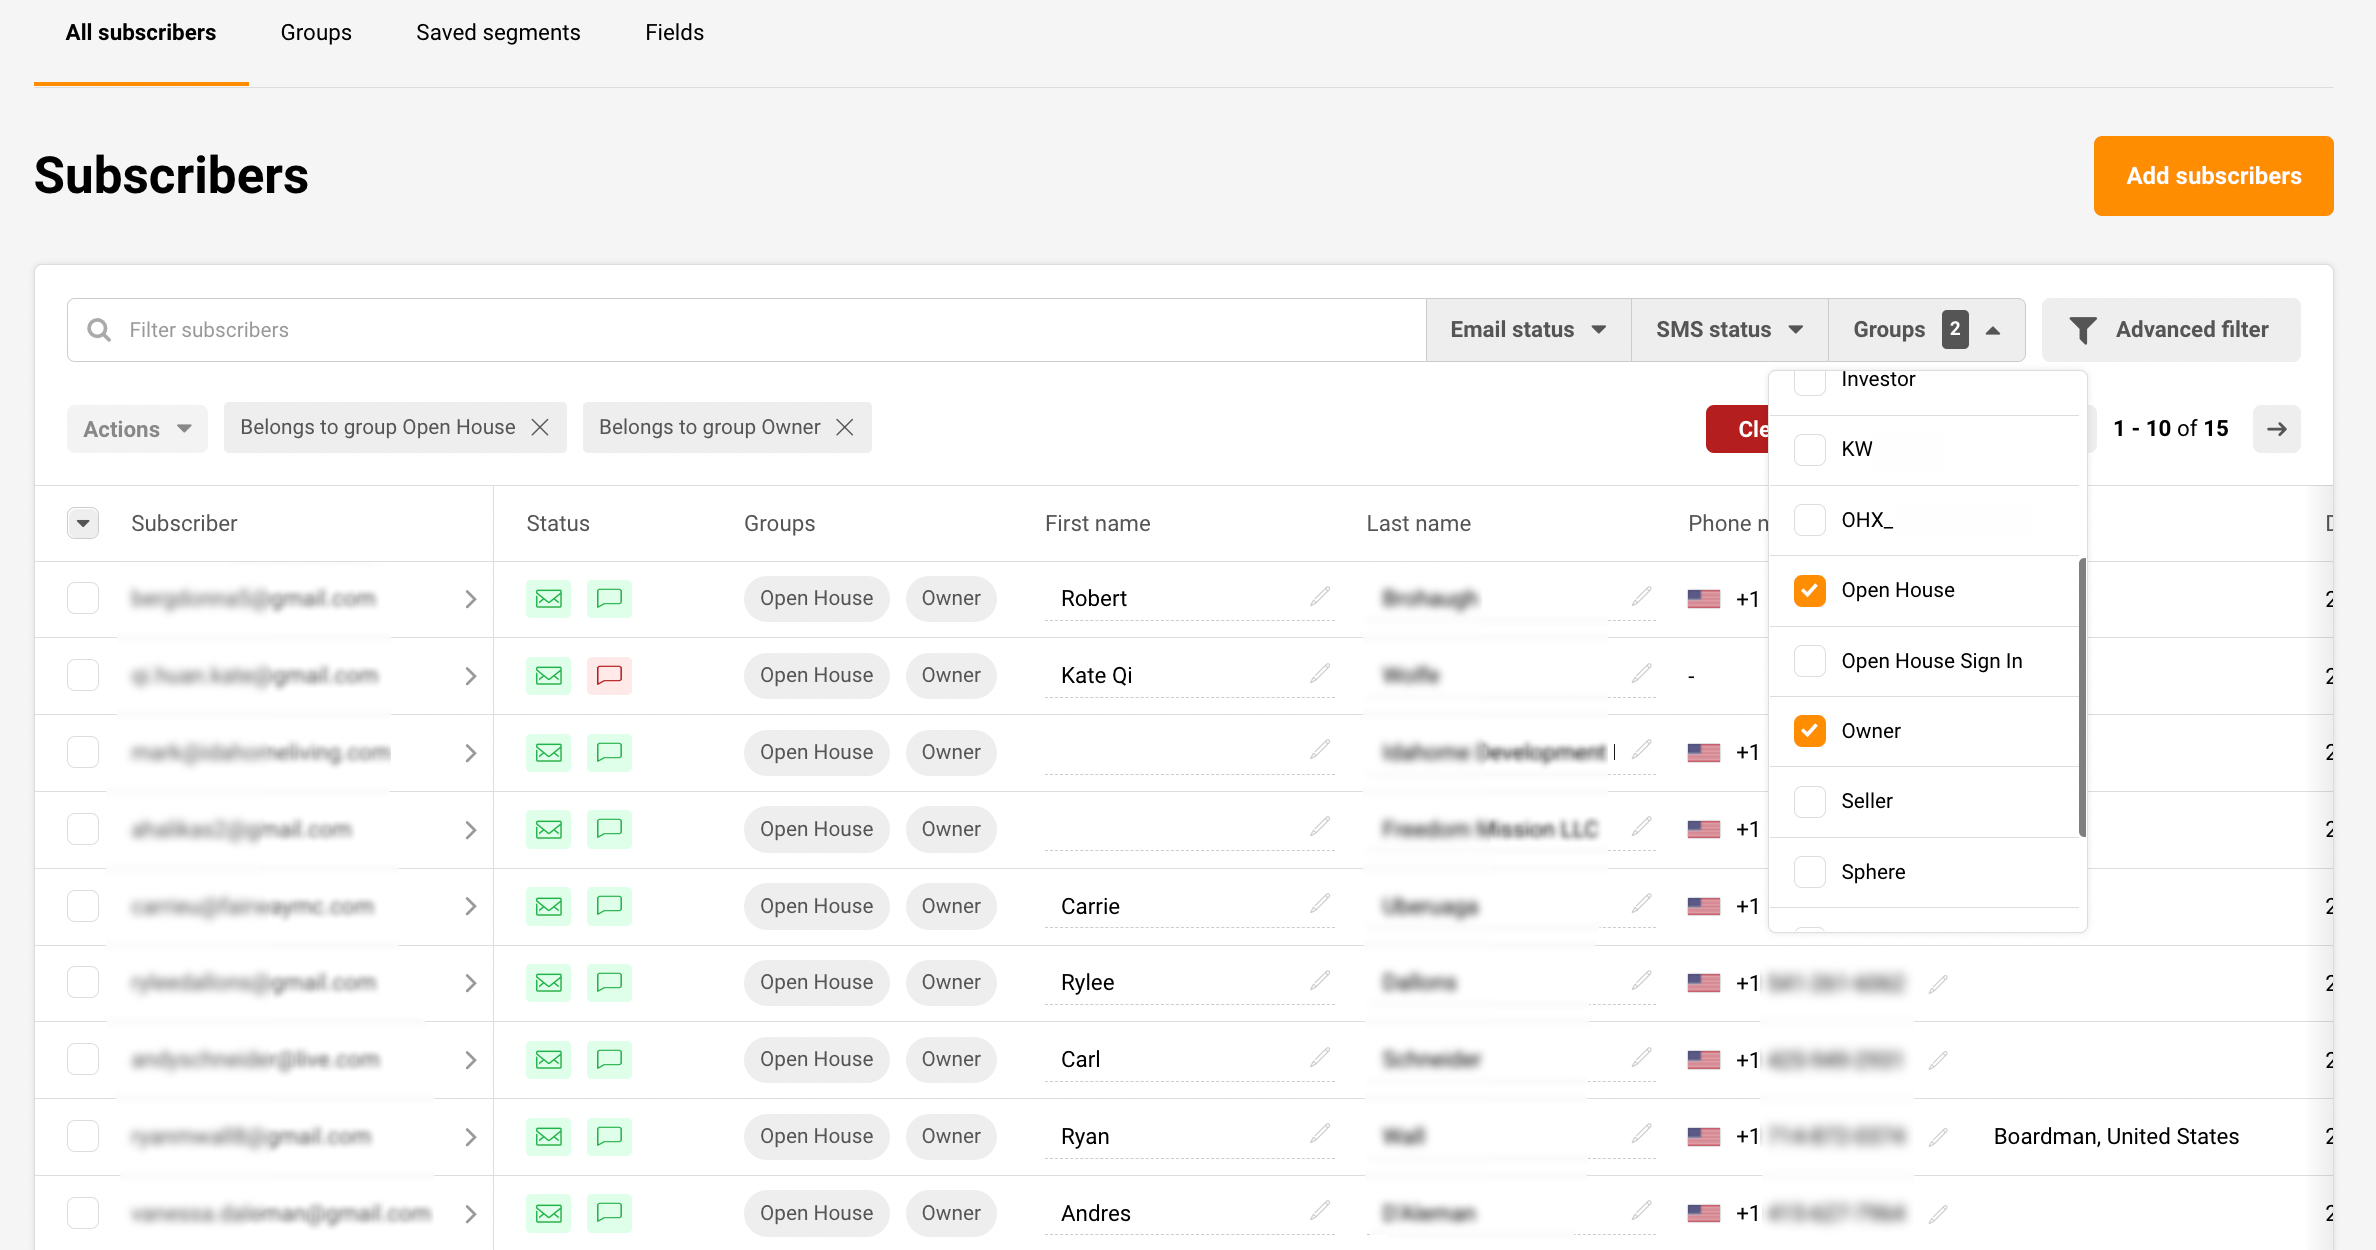
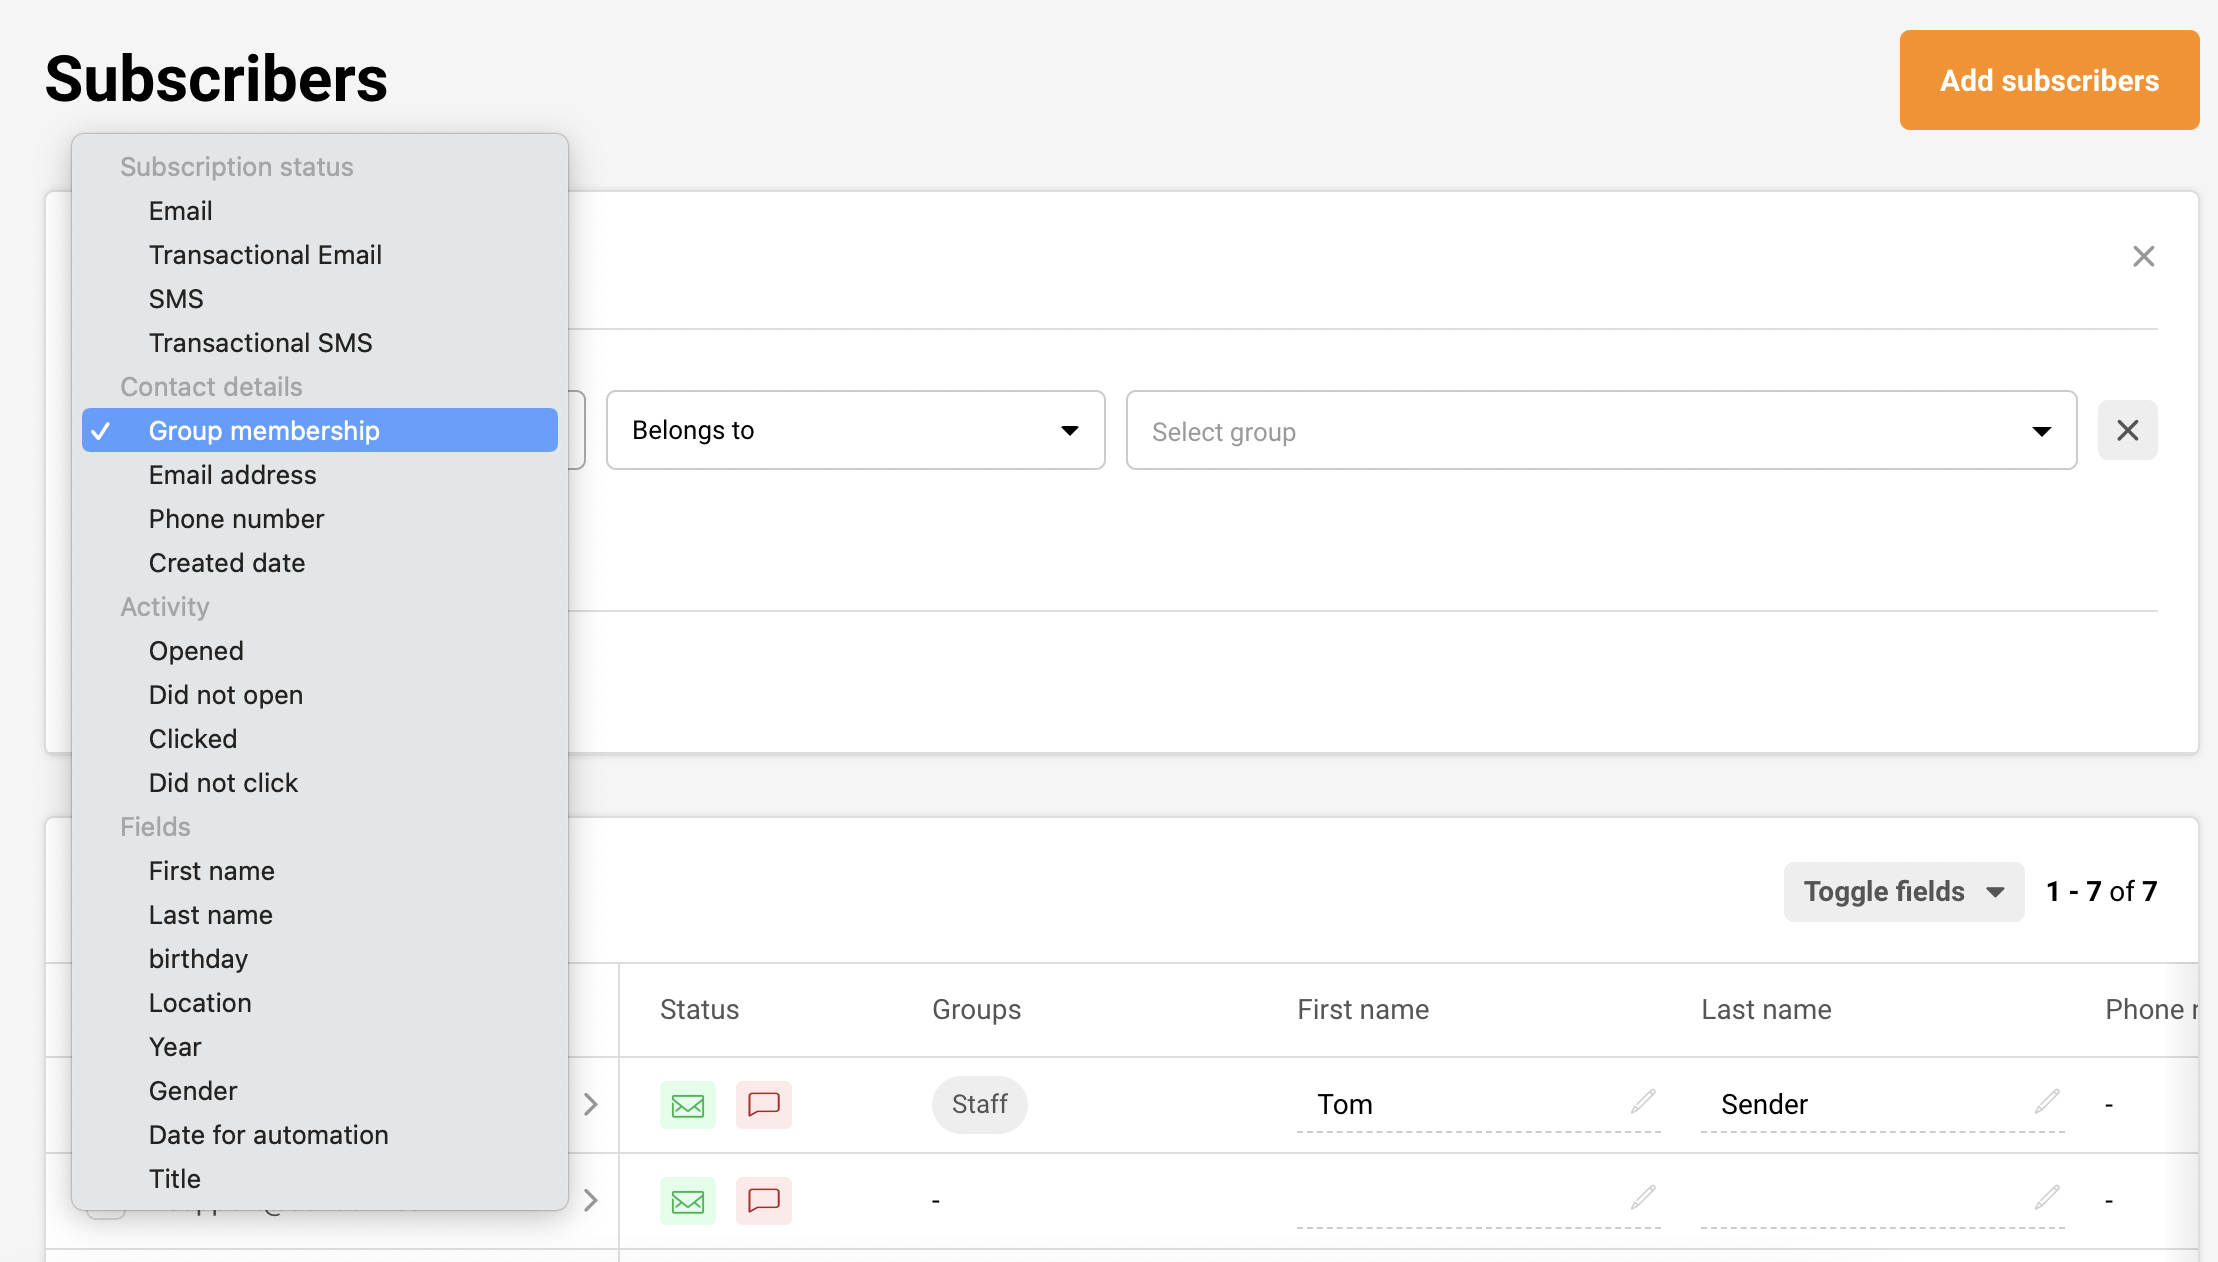
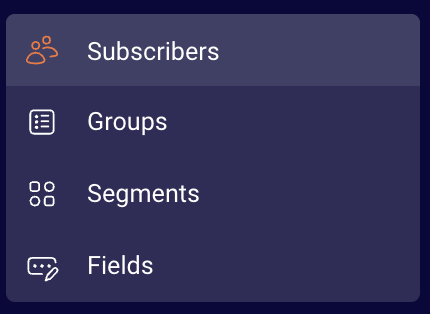
    Fields can be created and managed in the “Fields” tab. 

    Let’s continue by clicking the “Create new field” button. 

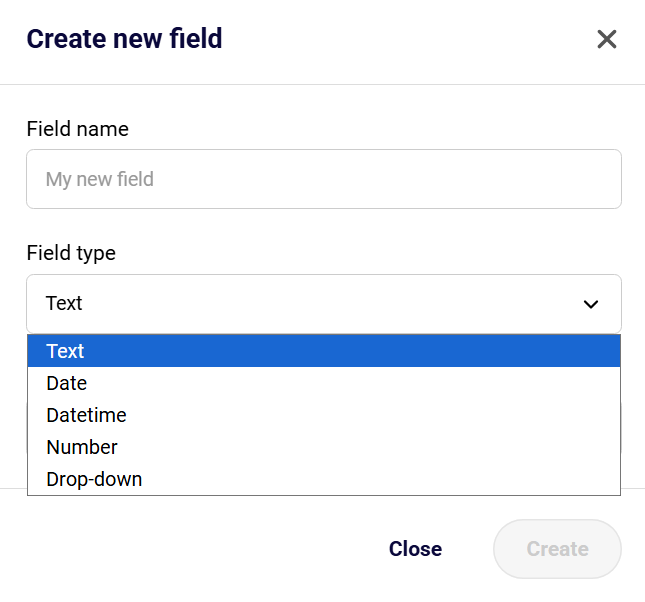
    Next, you will need to enter the field’s name and select a type: 

    • Text (letters and digits)
    • Date (YYYY-MM-DD hh:mm:ss OR YYYY-MM-DD format)
    • Datetime (choosing a specific date and time)
    • Number (only digits)
    • Drop-down (choosing specific values that you input)

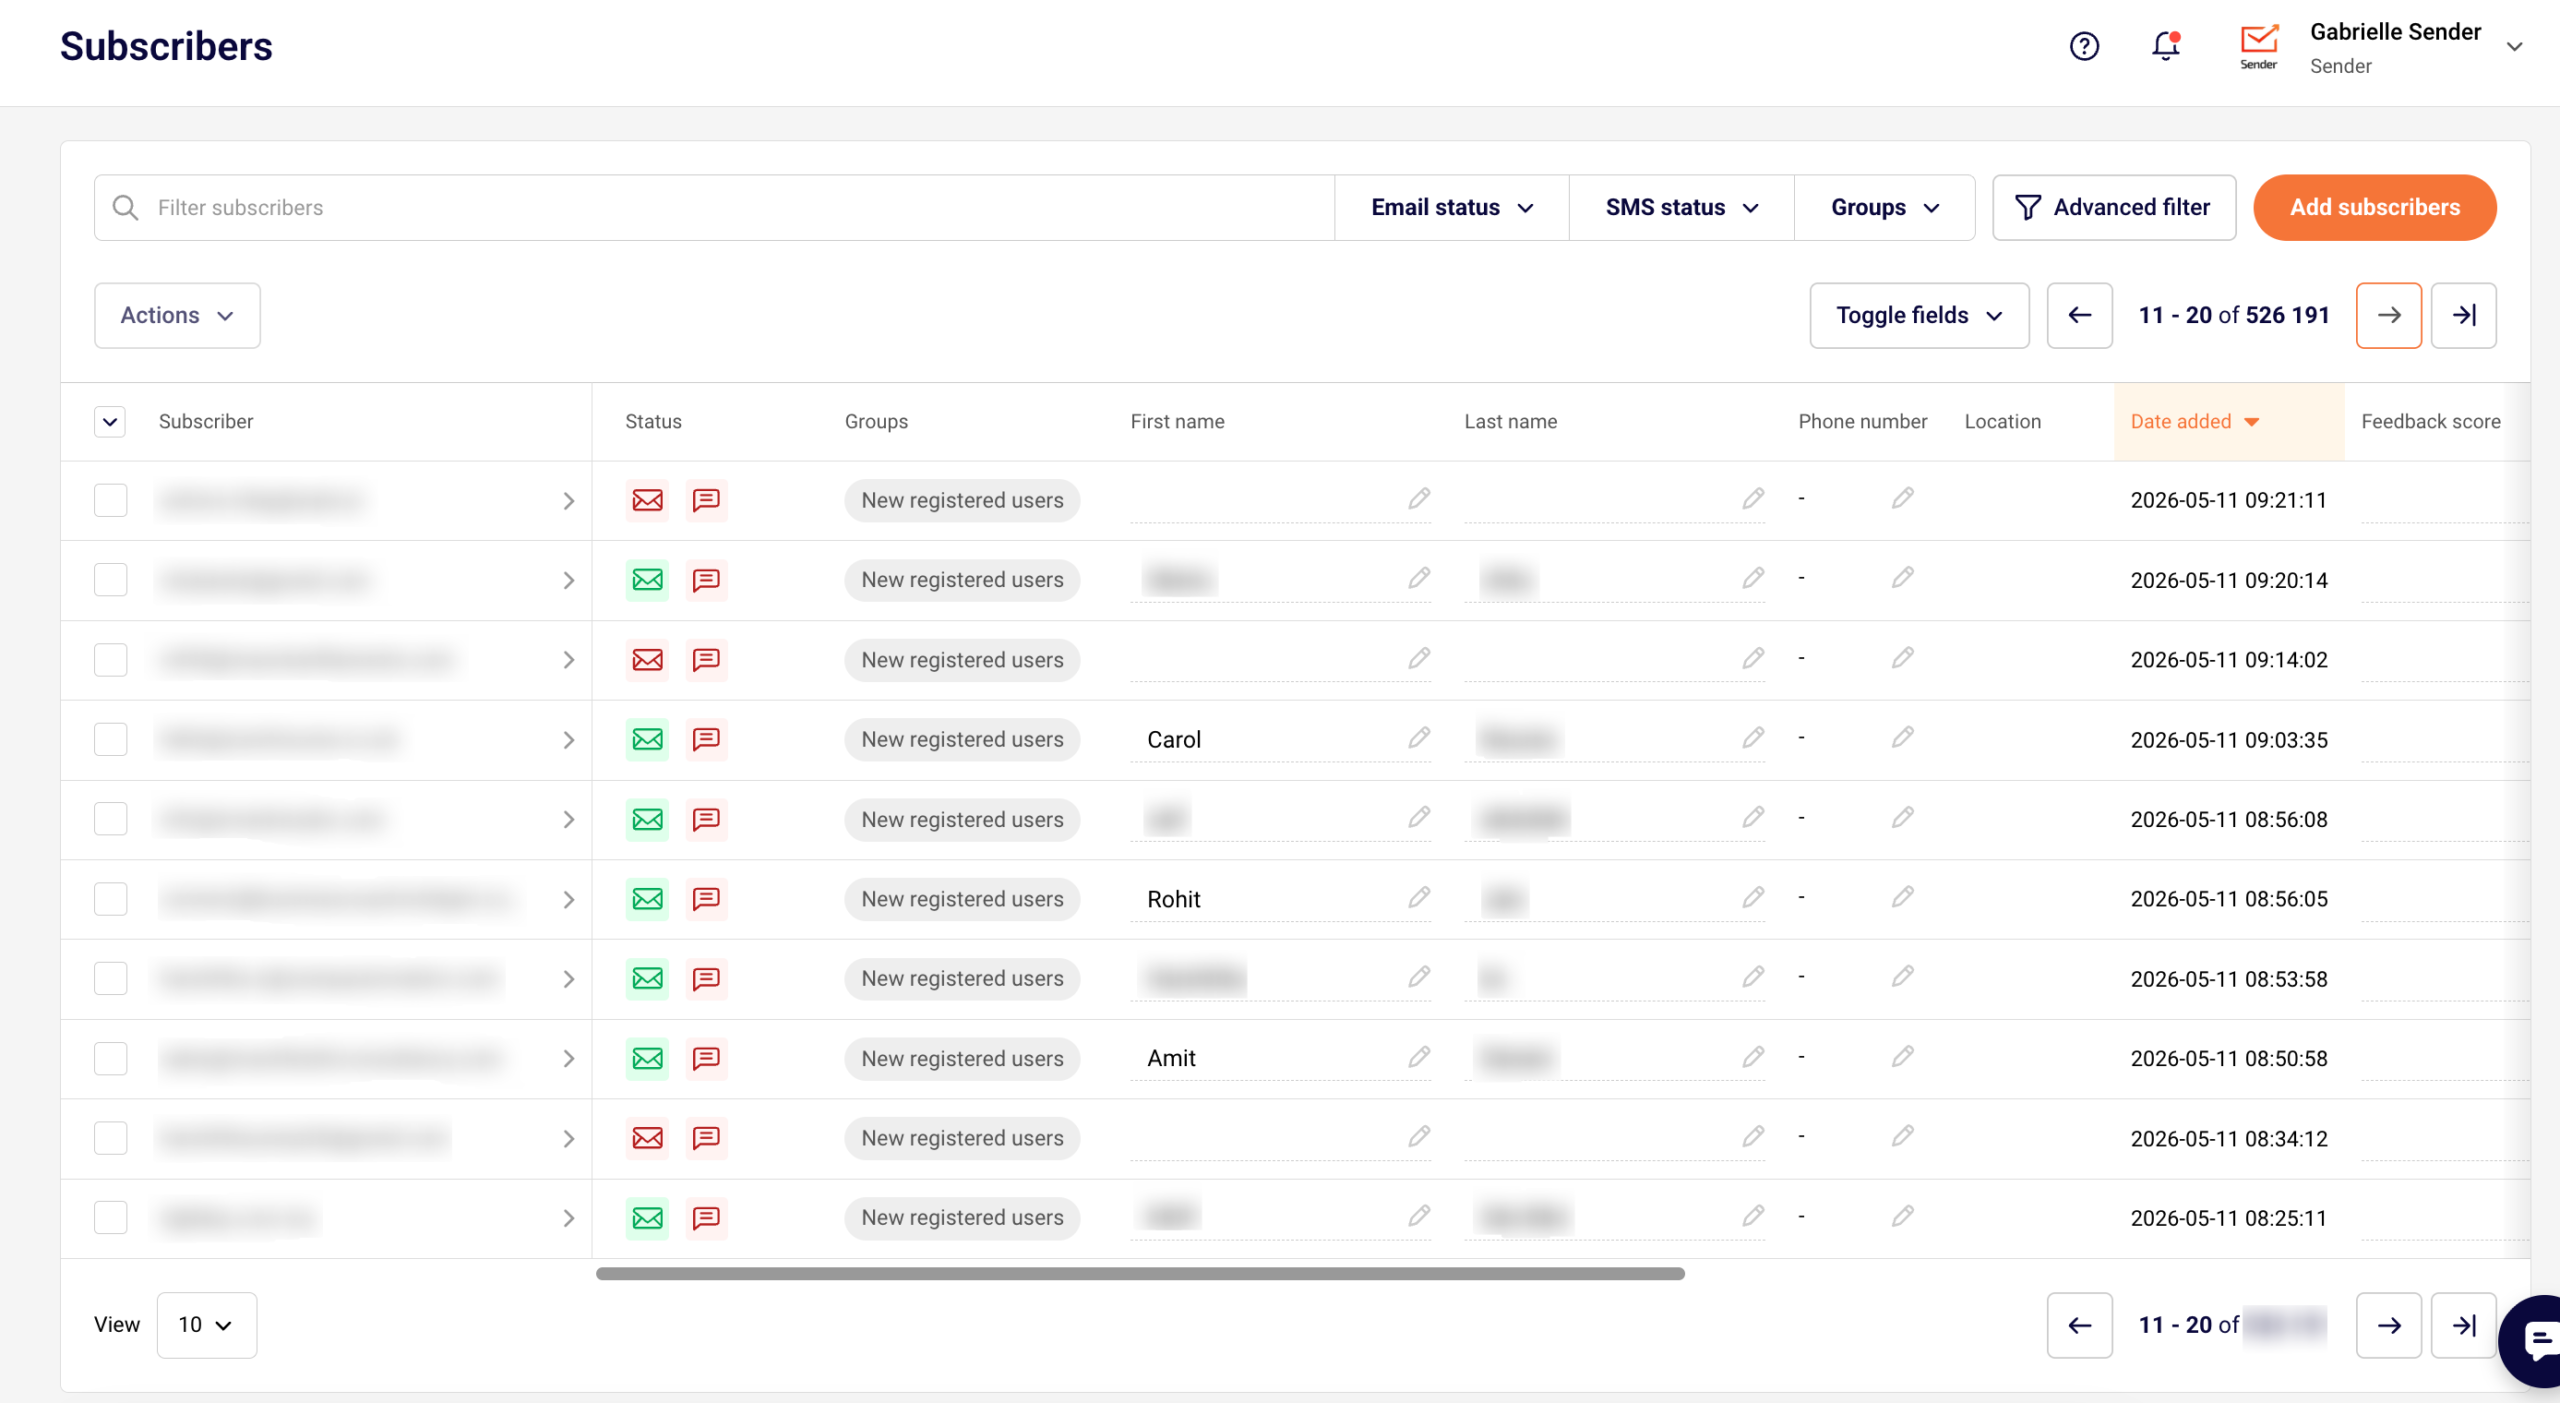
    When you create an additional custom field, it appears next to each subscriber with no data in it, yet.

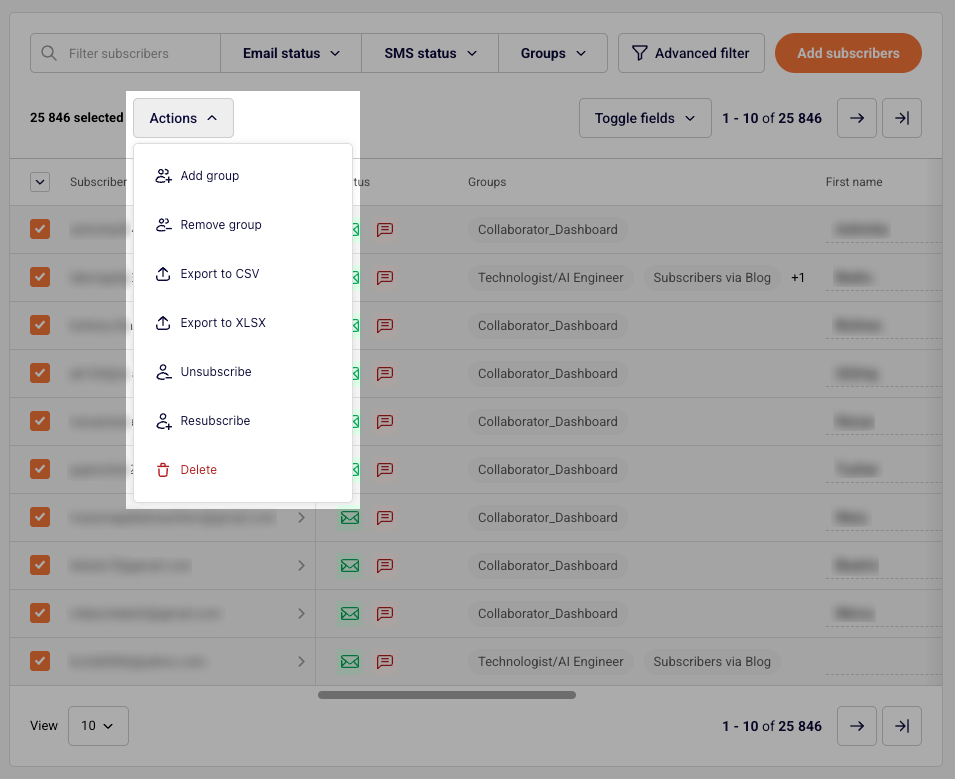
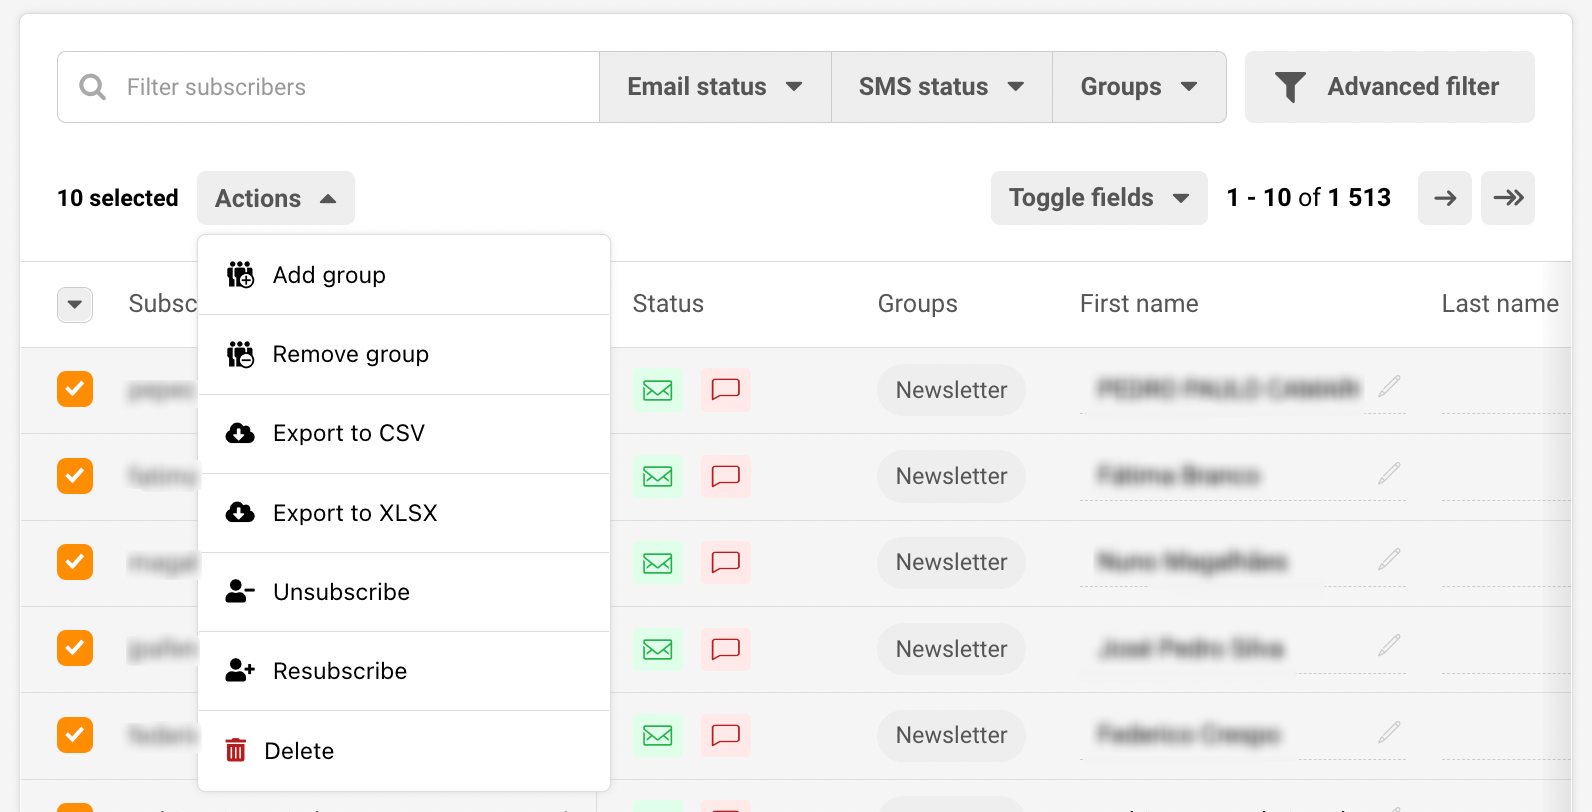
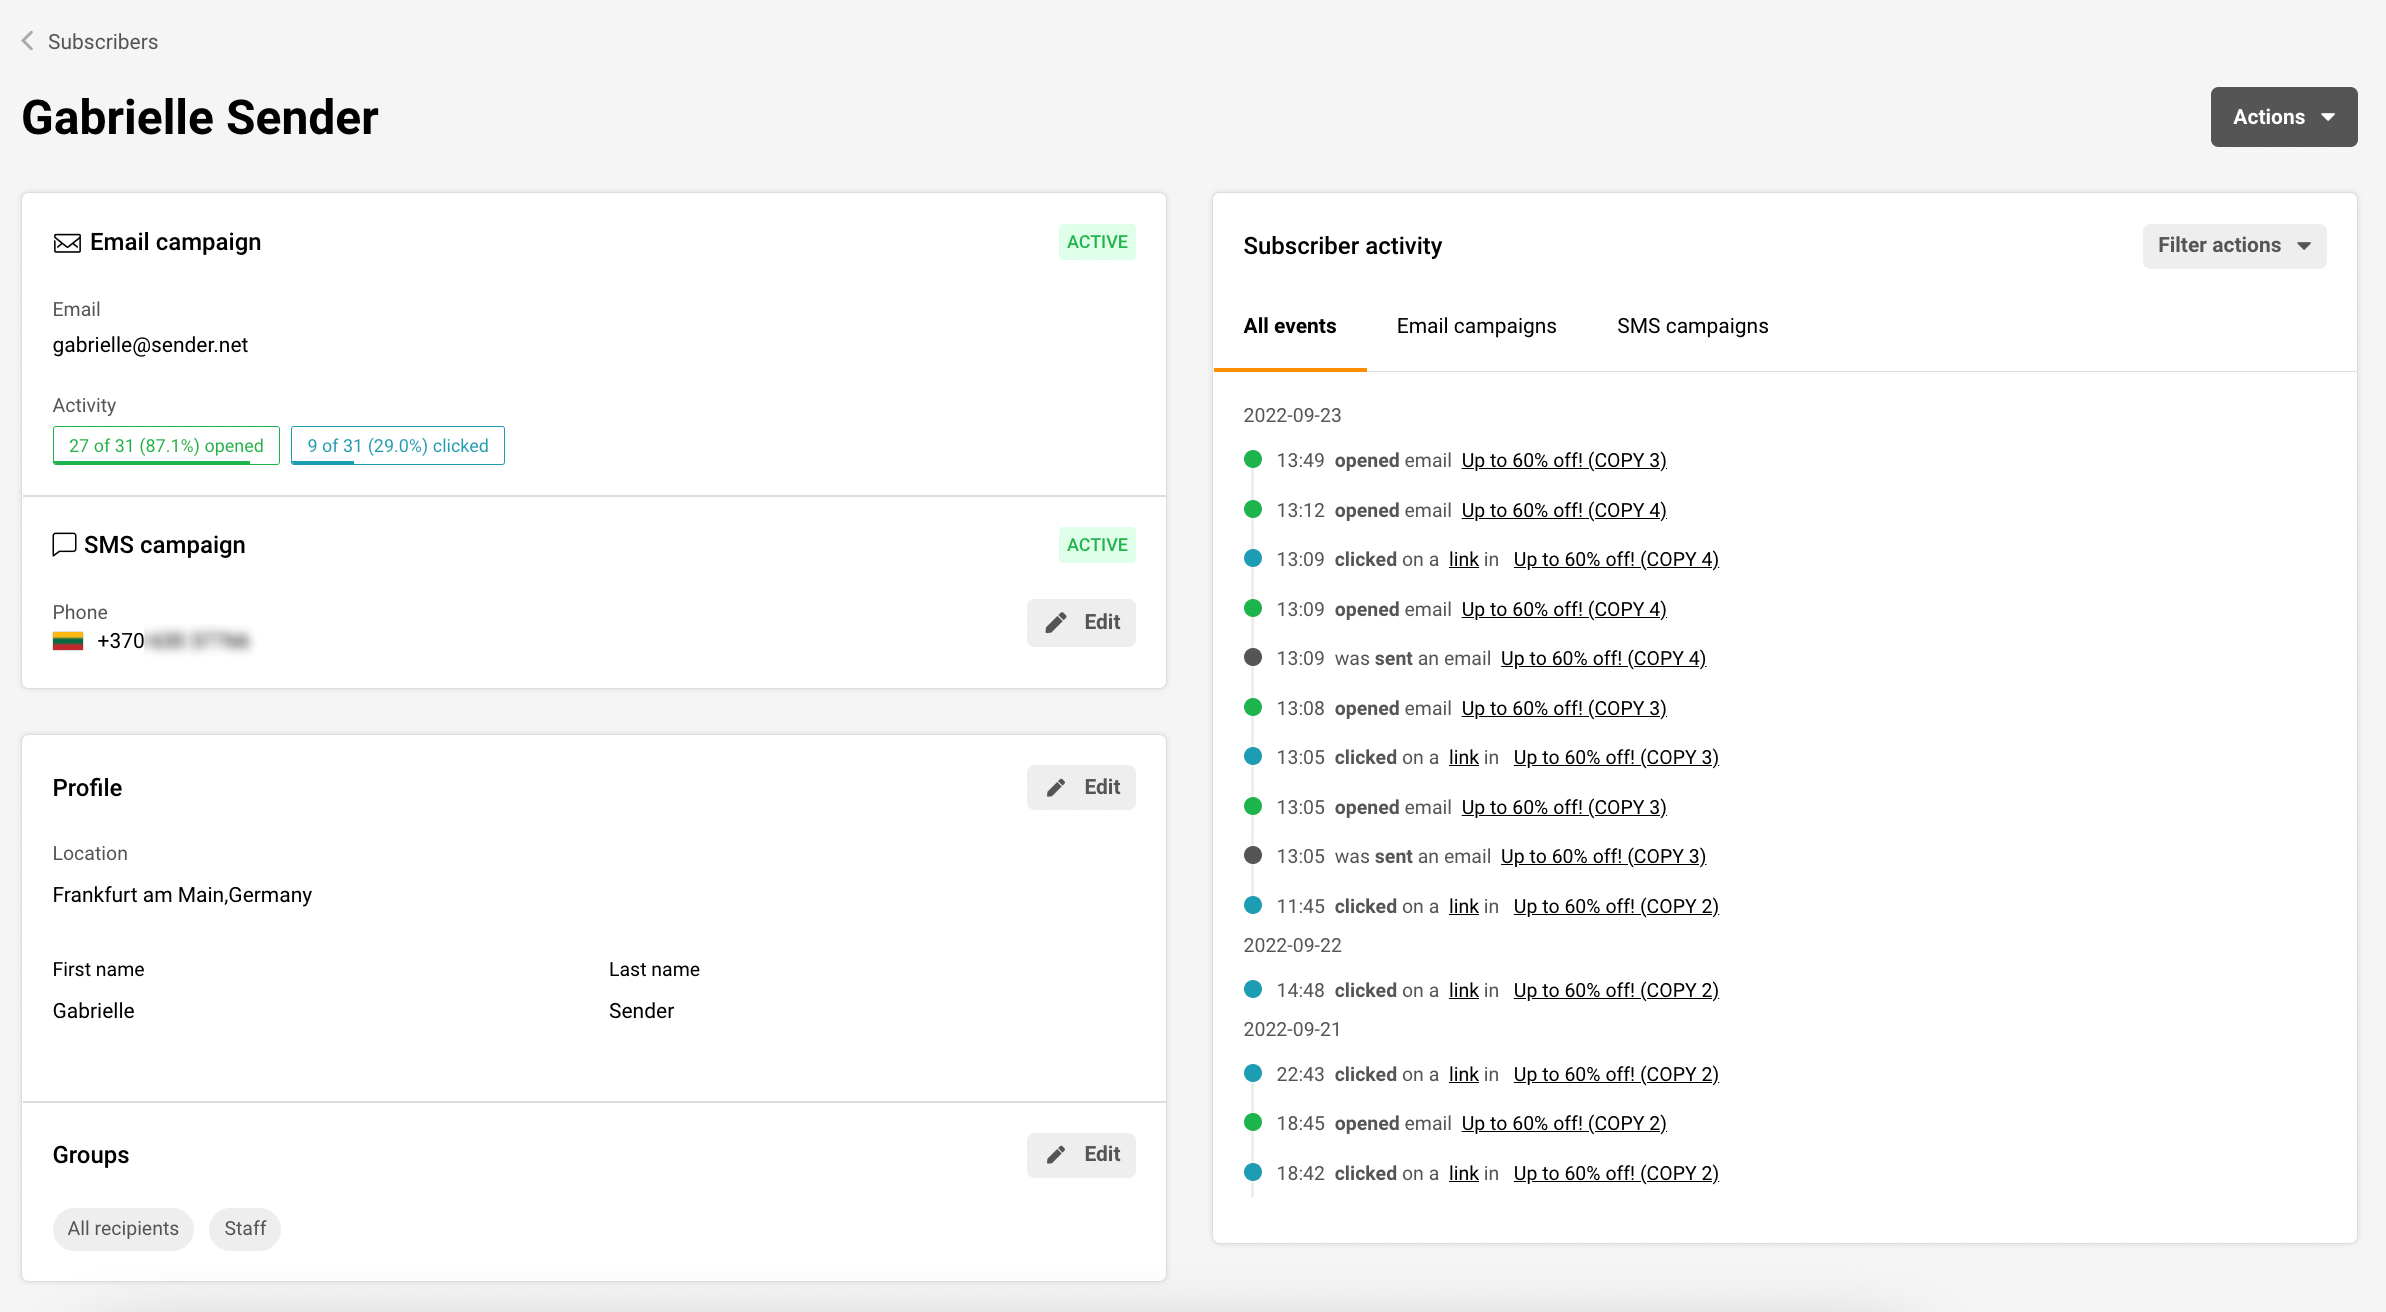
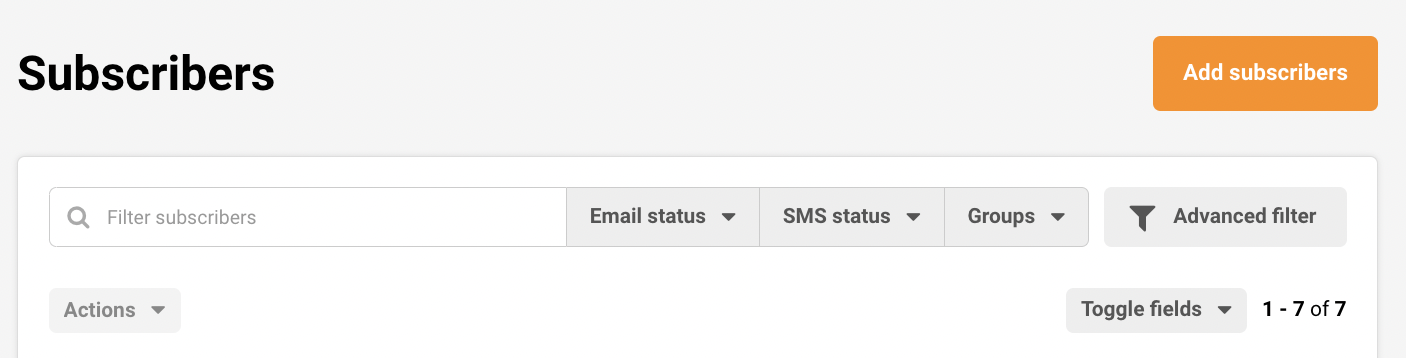
    You can add the information by opening the subscribers’ section, clicking on the “Toggle columns” button, and selecting the custom field you created. In this case, “Gender” is selected. Simply click the empty field and type in the relevant information.

    That’s it!

    If you got stuck on a specific task or can’t find a way to execute a particular job, contact our support team via LiveChat or [email protected] – we’re here to help 24/7.

  • Manage segments

    Segments

    Segment feature is usually used to build targeted audiences based on various conditions. To create a subscribers segment, conditions must be set according to one’s wishes.

    Let’s continue by clicking the “Create new segment” button. Next, you will be asked to name the segment. Now we need to choose a set of conditions.

    Here you are presented with different filtration options. Subscribers can be segmented by various conditions, including subscription status, subscriber details, campaign activity, SMS campaign activity, ecommerce metrics, abandoned cart, and fields. 

    Furthermore, if you’re looking for a precise segmentation, you can add multiple sets of conditions. Subscribers that match all conditions/rules will be presented below.

    After subscribers are filtered out – you can execute different actions. Divided recipients can be attached or removed from a particular group, marked as unsubscribed, deleted, exported, and saved as a segment.

    The key difference between segments and groups is that segments update automatically whenever new subscribers are added to the list, as long as they meet the defined conditions. If a segment is based on a specific date or time period, it will refresh daily to stay up to date.

    This ensures that you’re always reaching the most recent and relevant subscribers.


    If you got stuck on a specific task or can’t find a way to execute a particular job, contact our support team via LiveChat or [email protected] – we’re here to help 24/7.

  • Manage groups

    Group tags are a way to identify recipients based on the information you hold on them. Group labels play a similar role as mailing lists, though there are a few differences. 

    Each new subscriber must be put into a group upon the import or assigned to it before sending a campaign. Users can add multiple group tags for the same subscriber.

    Actions that can be found in the “Group” section:

    • Create a new group
    • View, rename and delete groups
    • Add subscribers to this group
    • View group activity report

    Creating a new group

    “Create new group” button does exactly what it says it does. There are a few ways to add subscribers into a group:

    • Existing recipients can be assigned to a group (click on the group’s name).
    • New recipients can be added by clicking the arrow to open the drop-down bar and then the “Add subscribers to this group” button.


    If you want to assign already imported recipients, click on the group’s name, then filter out the needed recipients via advanced filters or subscribers’ status. 

    After you finish the filtration process – select the chosen recipients and click on “Actions” -> Add group. 

    That’s it! Subscribers were successfully assigned to a new group and received an additional group tag.

    Let’s continue by adding new recipients

    Go ahead and click on the arrow down to open the drop-down bar and then the “Add subscribers to this group” button. 

    Next, the subscribers’ import window will appear. There are a few methods to upload recipients.

    • Via file (MS Excel, .txt or .csv format) 
    • Importing manually (Copy & Paste) 
    • Importing from MailChimp or GetResponse.


    When subscribers get imported, you will be asked to assign the custom fields, e.g., names will need to be assigned to the “First name” column, etc. 

    If you do not want to assign all columns, you can click “Skip all unselected fields”.

    Next, when columns are marked – click on the “Start import” button. The upload process takes up to a few seconds.

    That’s it!

    If you are stuck on a specific task or can’t find a way to execute a particular job, contact our support team via LiveChat or [email protected] – we’re here to help 24/7.

  • Subscribers management overview

    All Subscribers

    All subscribers tab is the main section for managing subscribers. Here you can find all the essential tools: advanced filter, subscribers statuses, assigned groups, etc.

    Let’s continue to the image below:

    If you look closely, you can see that the group called “Tenant”  is selected. When you choose a particular group, all recipients that belong to it will be displayed. You can select multiple groups; subscribers who belong to all picked groups will be filtered out.

    See an example below: 

    The subscribers’ management system is even more user-friendly and convenient. From now on, you can change the recipient’s custom fields in the same window. Click on the field and start typing.

    There’s more! If you click on the recipient, you can see it’s activity, including past reports, assigned groups, profile information. 

    Advanced filter / Segmentation

    The segment feature is used to build targeted audiences based on various conditions. To create a segment, you can start by clicking the Advanced filter button.

    Now you will be asked to select the specific conditions for your segment.

    Furthermore, if you’re looking for a precise segmentation, you can add multiple sets of conditions. Subscribers that match all conditions/rules will be presented below.

    After subscribers are sorted out – you can execute different actions. Subscribers can be added or removed from a particular group, resubscribed, marked as unsubscribed, deleted, exported, and saved as a segment. 

    Subscribers status

    Subscribers will have status icons next to their email addresses. The envelop icon is for Email and Transactional email statuses, the talk bubble is for SMS and transactional SMS statuses. 

    Once you hover over the icon, you can see the status for each of your subscribers:

    • Active – subscribers that can receive your SMS or email campaigns. 
    • Bounced – subscribers that cannot be contacted due to invalid email addresses OR your campaigns sent to them have soft-bounced thrice in a row.
    • Unsubscribed  – subscribers that cannot be contacted because they have unsubscribed from your SMS or email campaigns.
    • Reported spam – subscribers that cannot be contacted because they consider your sent content to be spam.
    • Non-subscribed – subscribers that have no status for that particular channel. This status is usually found when customers have not provided their phone number (only email) and thus, the SMS/transactional SMS status gets set to non-subscribed.


    You can quickly sort your subscribers by their email and SMS statuses:

    That’s it!

    If you got stuck on a specific task or can’t find a way to execute a particular job, contact our support team via LiveChat or [email protected] – we’re here to help 24/7.

  • Subscribers Section Overview

    Subscribers section has several sections:

    • Subscribers
    • Groups
    • Segments
    • Fields

    Subscribers

    The subscribers section is the place where you find all subscribers in one place. Here you can find segmentation and filtration tools. These tools are used to classify different recipients by specific rules, statuses, or behaviors.

    Subscribers will have a status icon next to the email address. The envelope icon is for Email and Transactional email statuses, the talk bubble is for SMS and transactional SMS statuses. 

    Once you hover over the icon, you can see the status for each of your subscribers, which can be: active, bounced, reported spam, unsubscribed, or non-subscribed.

    More information on subscribers’ management can be found here.

    Groups

    The second section is called Groups. You can think of group tags as labels for your contacts that help you stay organized. Group tags let you identify subscribers based on the information you have about them.

    Basically, groups play a role similar to mailing lists, though they have a few differences. Each new subscriber must be assigned to a group upon import or attached to one later. The subscriber can receive multiple group tags.

    Do not worry if you send a campaign to all of your groups because even if a subscriber belongs to all of the groups, they will receive a single copy of the campaign.

    Group section stores saved groups (basically, mailing lists). Additional groups can be created, edited, and managed in this section.

    More information on Groups can be found here.

    Segments

    The segments tab stores grouped/arranged subscribers. Here you can access, edit, modify and create new segments.

    More information on “Segments” can be found here.

    Fields

    Let’s continue with the fields section. Here you can find already existing fields and create new custom fields for the subscribers.

    A more in-depth guide on “Fields” can be found here.


    If you got stuck on a specific task or can’t find a way to execute a particular job, contact our support team via LiveChat or [email protected] – we’re here to help 24/7.

  • Send plain-text emails

    Yes, go ahead and click “Email campaigns” and then the “New Campaign” button.

    In the first step of campaign creation, you have the option to choose campaign design – fill in the details then click on the “Plain text” icon and “Save and continue” button.

    Then create the campaign of your liking.

    Once you’re done with the campaign, click the “Save and continue” button at the top right.

    That’s it!

    If you got stuck on a specific task or can’t find a way to execute a particular job, contact our support team via LiveChat or [email protected] – we’re here to help 24/7.

  • Understand automation steps

    A highly customizable automation is the key to the free-and-easy, experience; therefore a various type of action steps is included.

    Here are all available steps and conditions:

    • Condition – continue the workflow in a different way depending on whether conditions are matched.
    • Delay – set a delay between workflow steps.
    • Email – a newsletter which will be sent to a subscriber.
    • SMS – an SMS which will be sent to a subscriber.
    • Action – change subscriber’s details or group membership, notify yourself or send a web-hook.

    Detailed description

    Condition step is one of the most effective ways to create unique route for a different occasions. What activity can be selected?

    • Subscriber details (any custom field can be chosen),
    • Subscriber status
    • Workflow email activity 
    • Campaign activity 
    • Group membership (e.g. move to different group)

    Delay can be set for:

    • Minutes
    • Hours
    • Days
    • Weeks
    • Months

    Email step is pretty basic, enter these fields:

    • Email title 
    • From name
    • Sender’s email address (the same as reply-to email address)
    • Email subject
    • Email preview text (optional)

    Then choose how you want to design the campaign:

    • Drag and drop builder
    • Plain text
    • Custom HTML

    Action step is used for executing activities for specific conditions. These are possible actions:

    • Move subscriber to another group
    • Copy subscriber to another group
    • Remove subscriber from a group
    • Mark subscriber as unsubscribed
    • Update subscriber’s custom field
    • Remove subscriber’s custom field
    • Notify me
    • Send webhook

    If you got stuck on a specific task or can’t find a way to execute a particular job, contact our support team via LiveChat or [email protected] – we’re here to help 24/7.

  • Navigate design editor interface

    If you’re new to design, the interface can be pretty overwhelming at first and that’s okay – the Drag & Drop design editor is user-friendly and feature-rich.

    Let’s start from basics

    Section blocks must be implemented first, then different elements can be added upon it. Sections are the foundation of the newsletter.

    After you finish building newsletter’s foundation, pull the necessary element blocks into them, and begin creating a stunning newsletter!

    Elements tab

    • Headline element is dedicated specifically to headlines.
    • Paragraph element is meant for longer text – descriptions, stories, and etc.
    • Image element is for your images, gifs and other visuals.
    • Button element creates a button or call-to-action.
    • Separator allows you to separate your content with a customizable spacer.
    • Video element – videos can be self-hosted, added from Youtube or another video-sharing platform. Once they are imported, they get converted to a high-quality gif.
    • Social element is pretty self-explanatory – by using this element, you can add your social icons.
    • Product element is for our e-commerce users. The product element will allow you to import products from your website (no integrations are needed) by copying the item’s URL.
    • Timer – set a custom timer to encourage action (available for professional plan users only).
    • Review – create a 1-10 review form and view submitted feedback in reports section (available for professional plan users only).
    • Custom HTML – an ability to add HTML coded section.

    Section tab

    Users will initially have default sections; however, additional sections can be saved. For example – if you created an excellent-looking footer, you can save it for future use.

    Click here for a tutorial on “how to save sections” .

    Design experience with newsletter builder is user-friendly. Creating good-looking emails never been so enjoyable. Basic email designs are usually produced in few moments.

    How to customize an element?

    When an element is dragged to the section column, a customizable menu will appear on the right side of the dashboard. There you’ll be able to modify settings like sizes, colors, paddings, and other element’s settings.

    Furthermore, elements are easily moved between columns. Simply pick the needed item and drag it to next section.

    That’s it!

    If you got stuck on a specific task or can’t find a way to execute a particular job, contact our support team via LiveChat or [email protected] – we’re here to help 24/7.

  • Use account without business email

    In order to use Sender.net, users must have a working business email address – it helps with exceptional deliverability and has other useful perks.

    I don’t have a working business email. What should I do? We recommend using Google Workspace service. It gives many features, but most importantly, it provides you with the business email address and a Gmail inbox.

    Click here to learn more.

    That’s it!

    If you are stuck on a specific task or can’t find a way to execute a particular job, contact our support team via LiveChat or [email protected] – we’re here to help 24/7.

  • Import Contacts from Mailchimp

    The transitioning between providers should be easy and straightforward, so we created a sophisticated tool, especially for that.

    First of all, to transfer subscribers from Mailchimp to Sender, you will need to open the Sender dashboard and head to the Subscribers section. Then click “Add subscribers”.

    Then click on the Mailchimp icon and enter your Mailchimp account’s API key in the area below and click Get lists.

    How to find API key in Mailchimp?

    Log into your Mailchimp account. Go to the bottom left corner, click on your title picture and choose “Profile”

    Then click on “Extras” > API key 

    As Mailchimp hides formerly created API keys, you must create a new one if you do not have the previous one copied and saved somewhere.

    After creating and naming your new API code, you will be able to copy the full code and use it to export your subscribers from Mailchimp.

    That’s it!

    If you got stuck on a specific task or can’t find a way to execute a particular job, contact our support team via LiveChat or [email protected] – we’re here to help 24/7.