Blog

  • Improve SMS deliverability

    To maintain good SMS deliverability, focus on the message content, how you send your messages, and how you handle any delivery issues.

    While some delivery failures are beyond your control, there are several steps you can take to maximize success:

    Make sure your customers are opt-in

    Start that by making it simple for customers to opt in to receive messages from your business. Your business cannot contact individuals via text until they give written consent. 

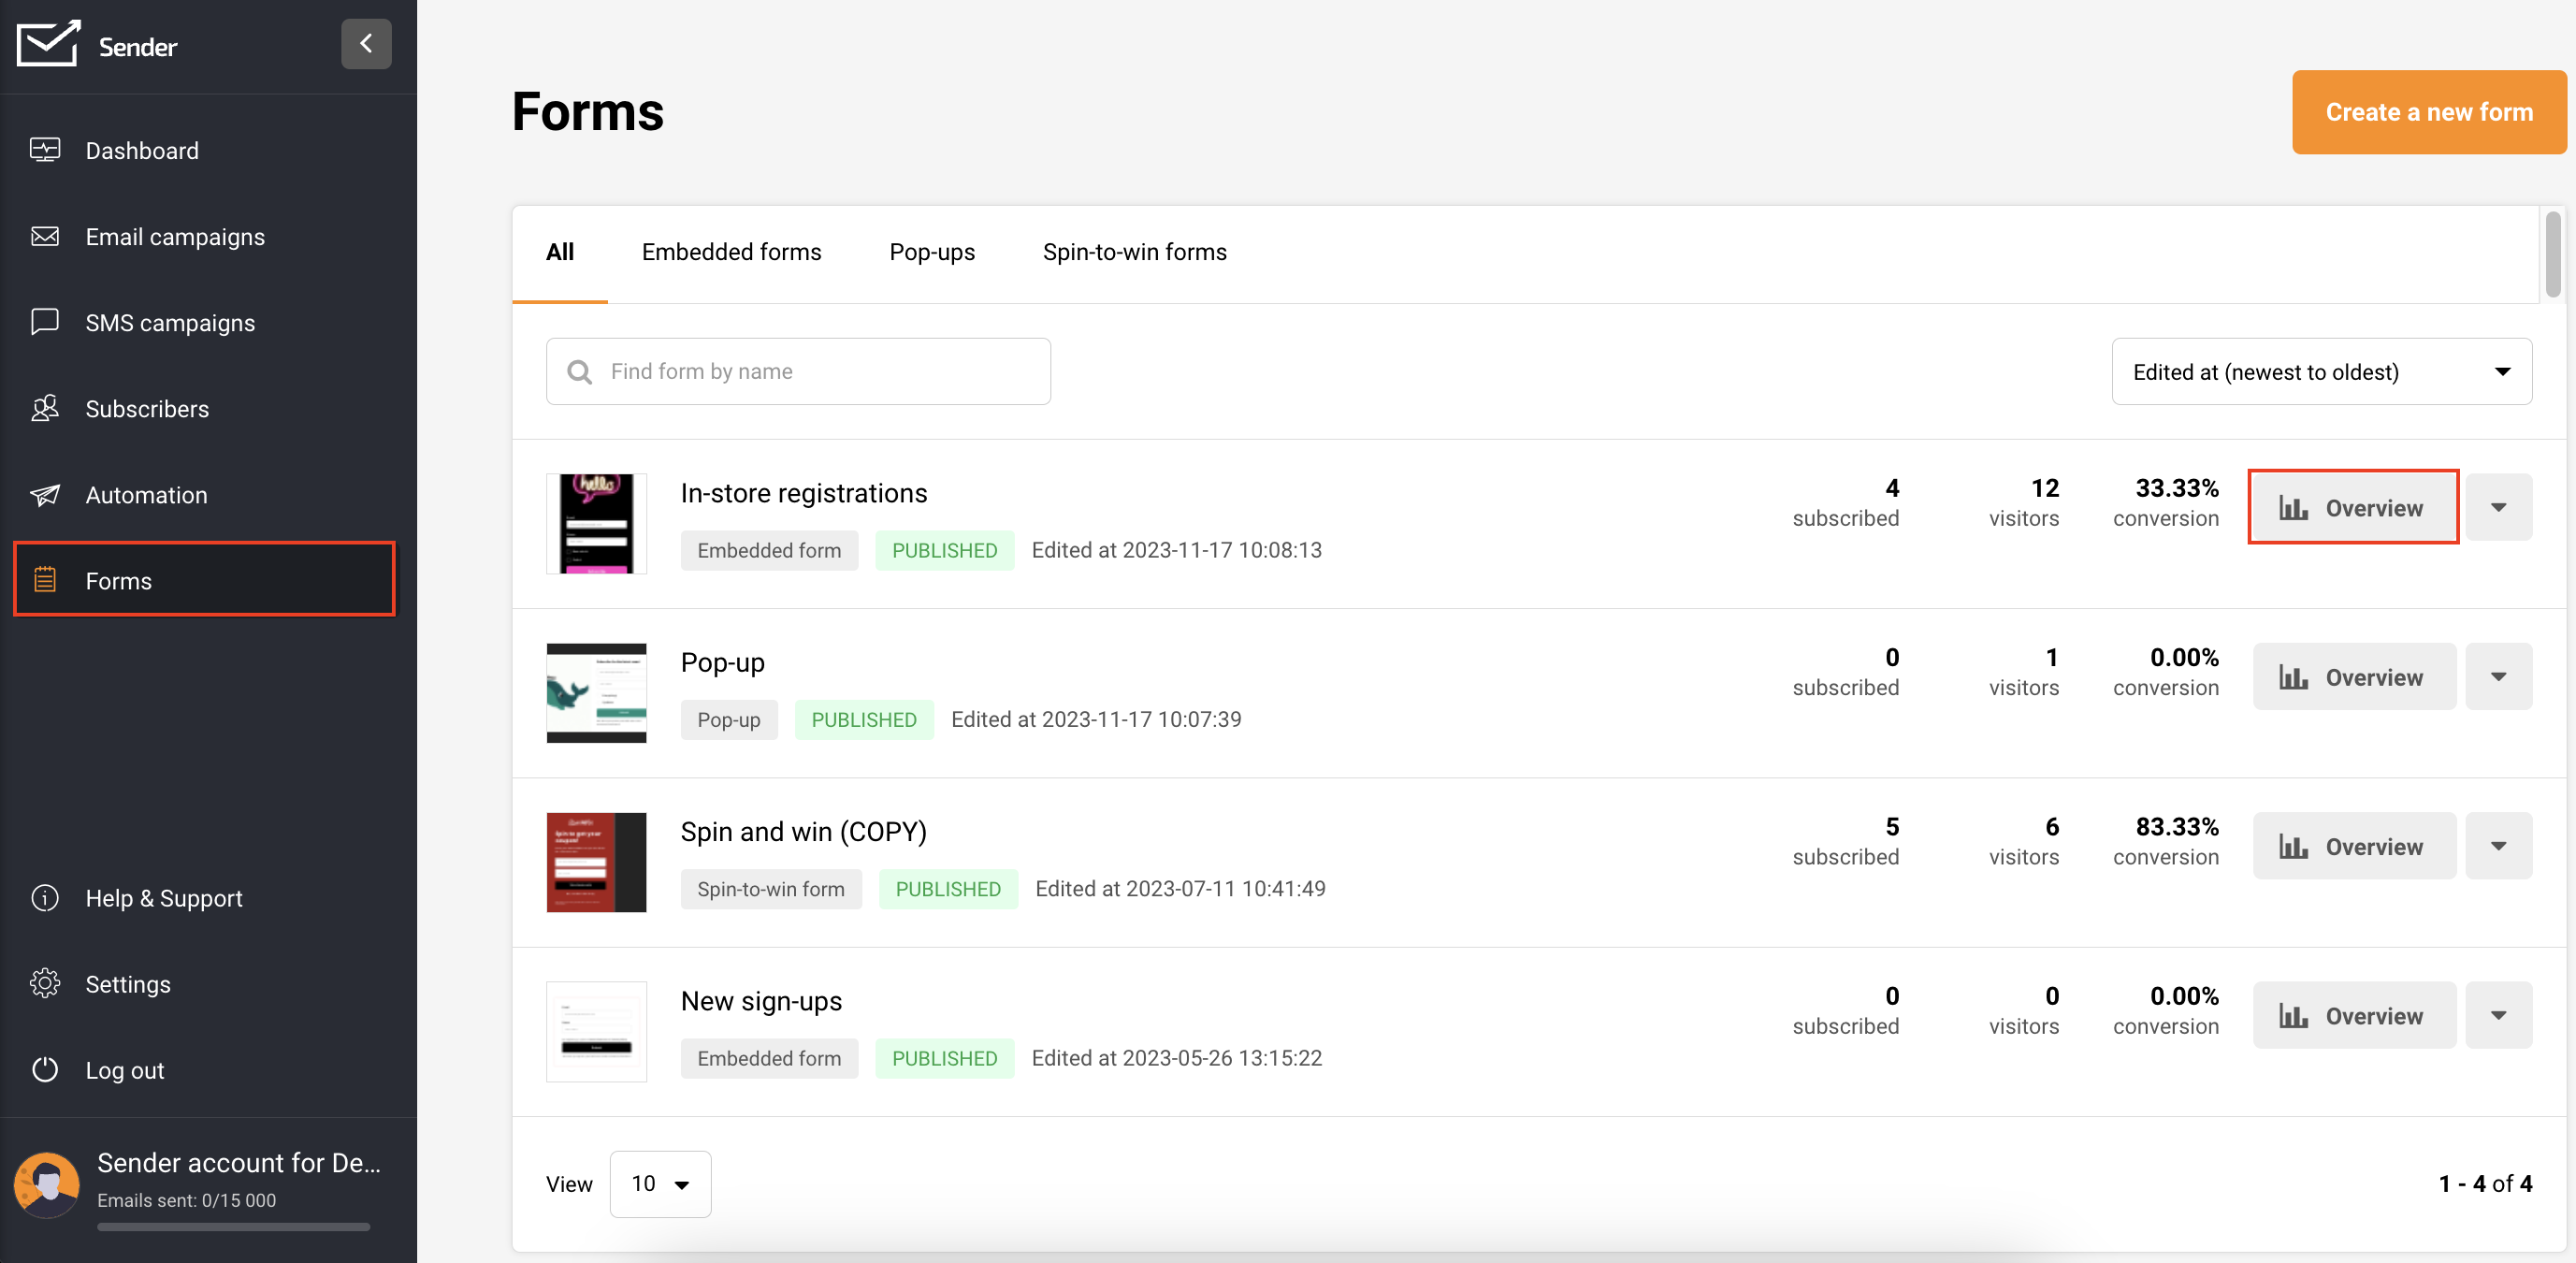
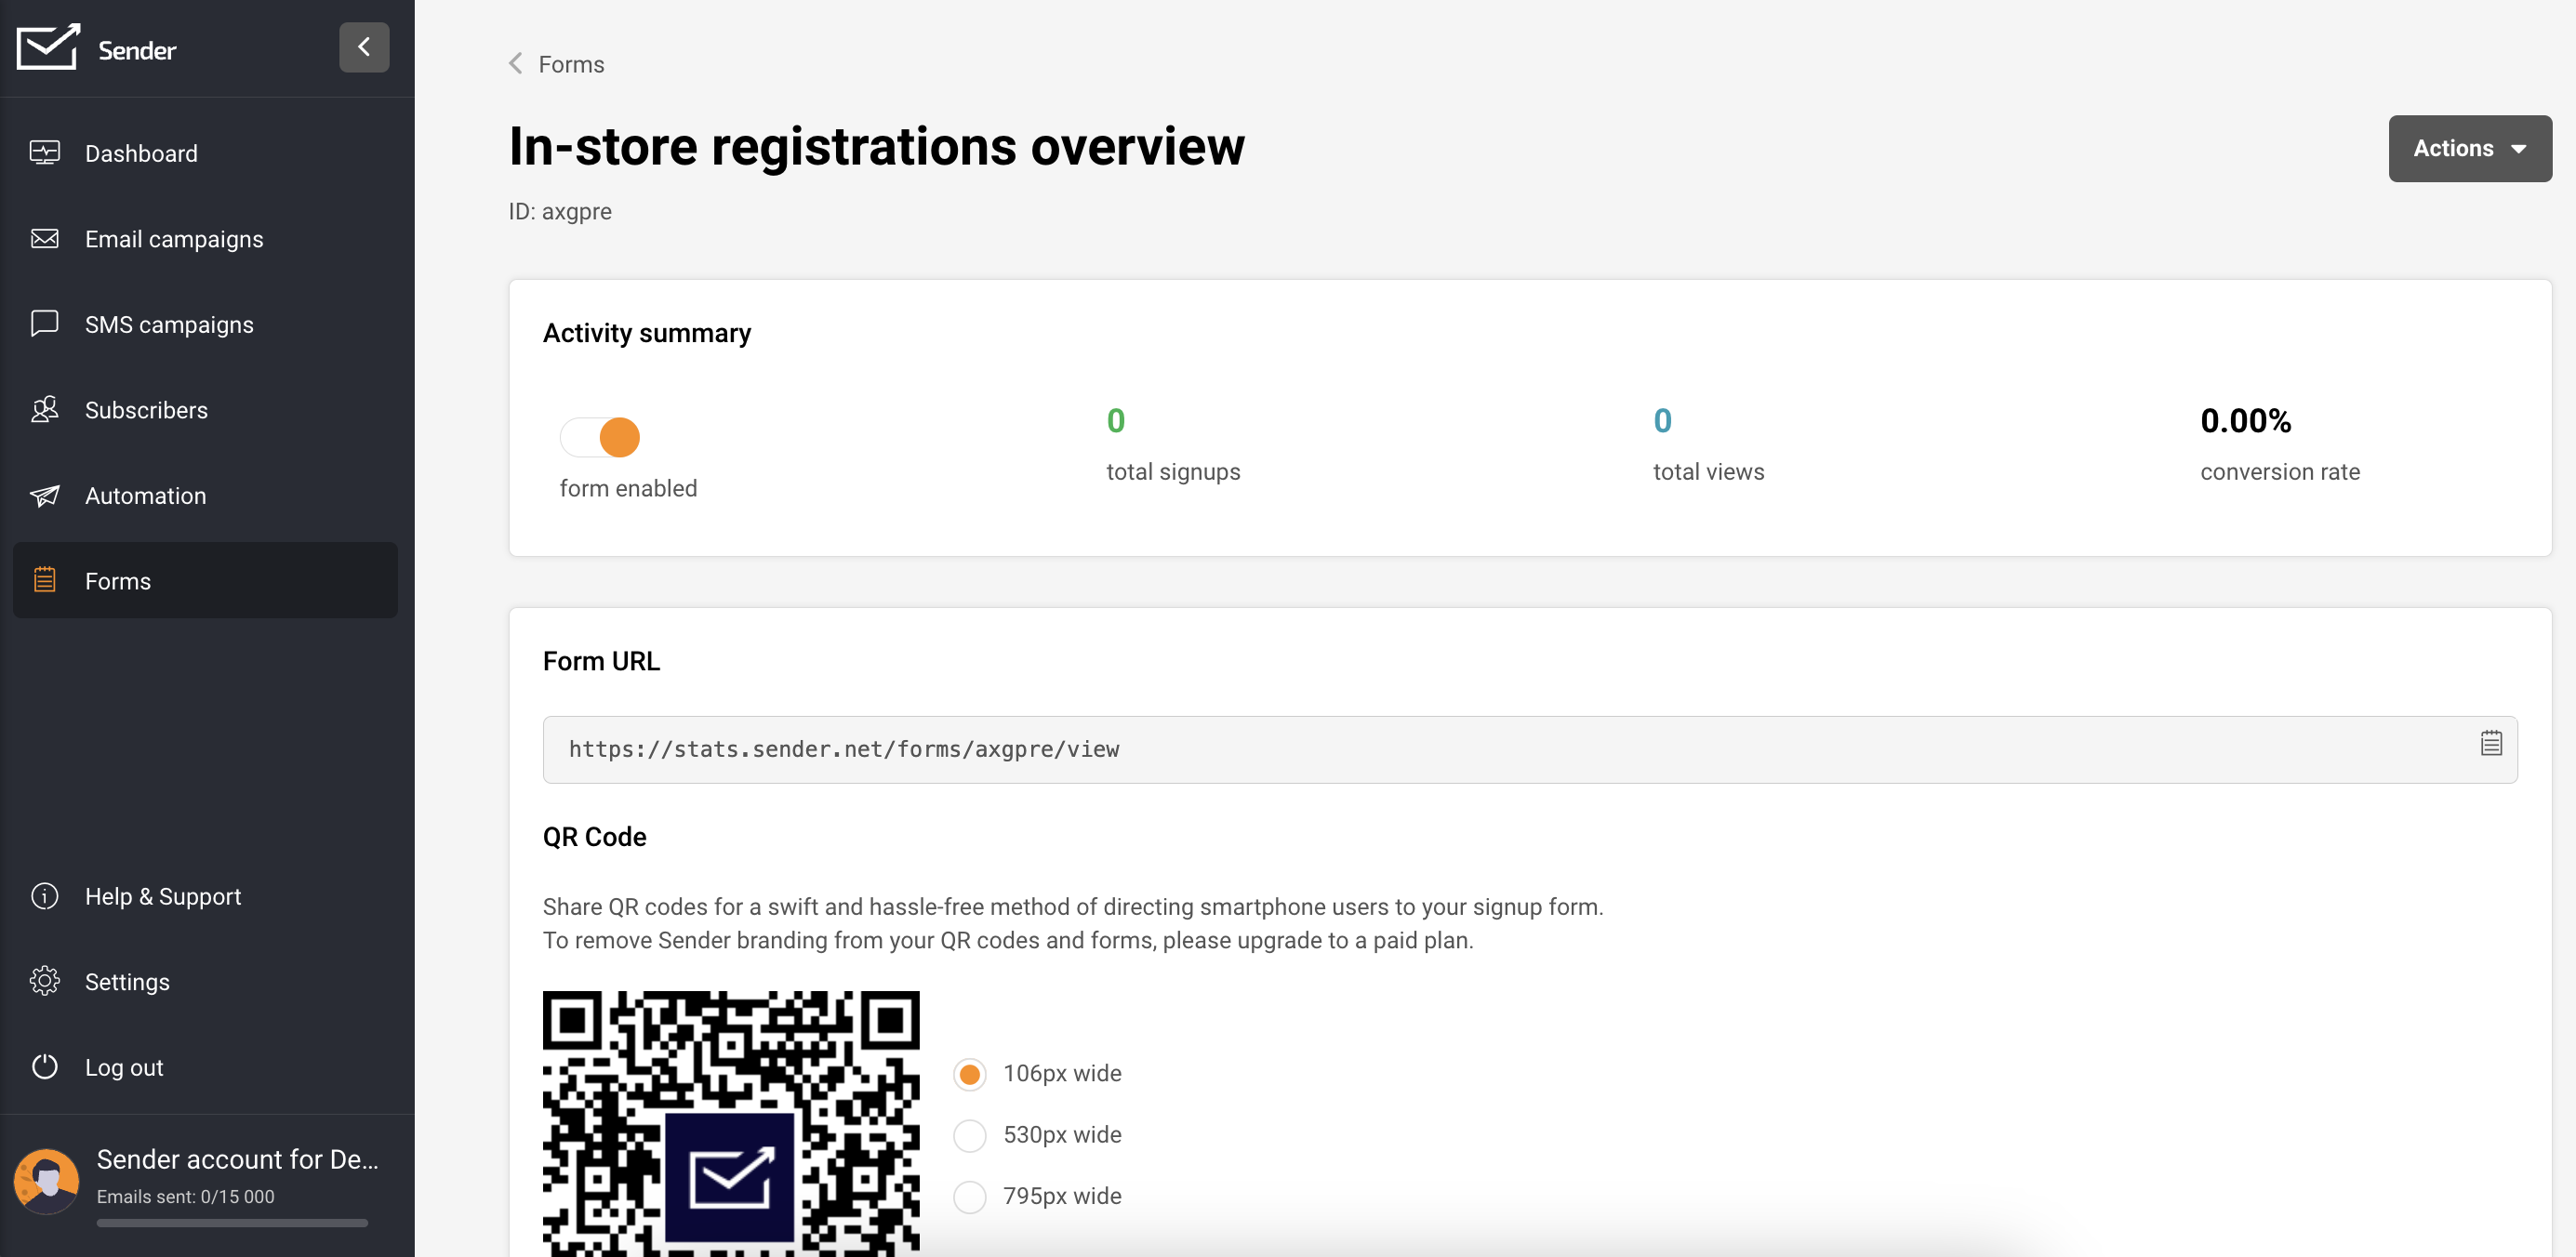
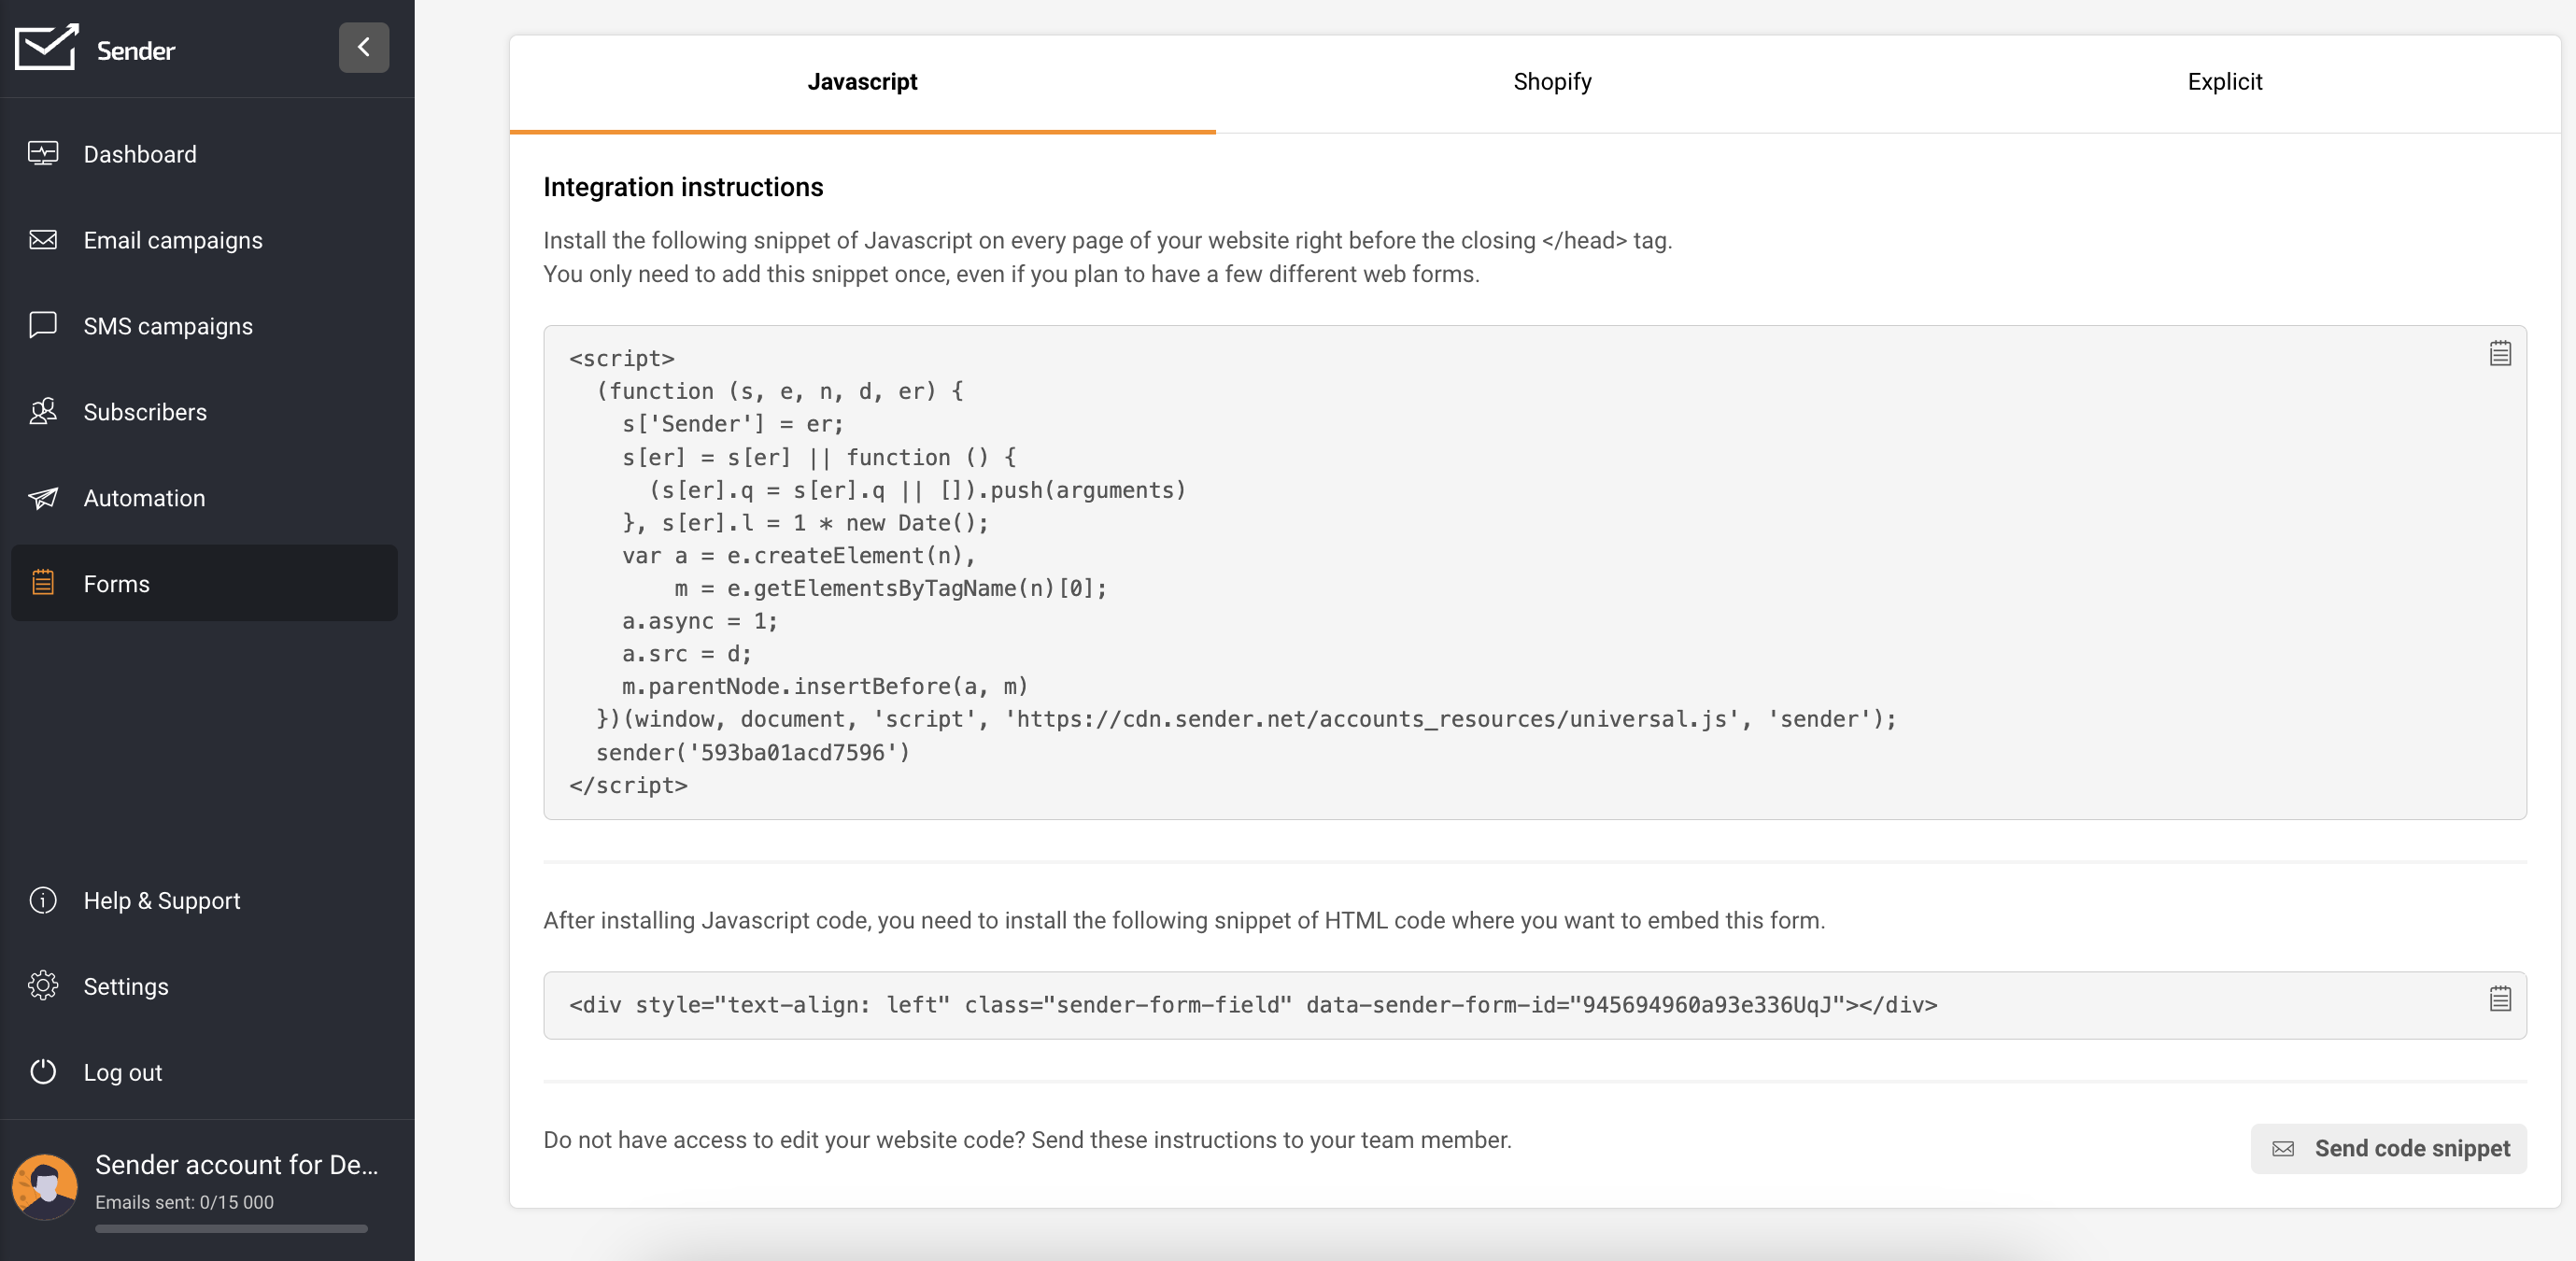
    Obtain this consent by collecting your subscribers’ phone numbers via a subscription form. Click here to learn more about subscription forms. Add this form on your website and share it in social media posts, and email campaigns, if they are already subscribed to your email content.

    The first text you send should be an opt-in message (also known as a call-to-action message) reminding customers that they have consented to receive communications from your organization. This initial message should clearly state:

    • Your organization’s name and purpose
    • How often customers will receive texts
    • Opt-out instructions

    Once customers have opted in, you’ve set the stage for effective customer service communications. Customers will understand why you’re contacting them and what types of communications to expect in the future.

    Send timely, relevant, and concise messages

    • Craft your messages carefully to avoid appearing as spam. Use clear language, proper capitalization, and punctuation. While texting can be informal, using proper grammar and punctuation ensures your messages are clear and professional.


    • Ensure your messages are relevant and timely. Send messages that align with the customer’s current situation and deliver them at times when customers are likely to read and respond. For instance, check in with a customer a few hours after they’ve interacted with tech support to confirm their issue is resolved or send a reminder the morning before an appointment.

    NOTE: According to the TCPA, businesses cannot text customers before 8:00 AM or after 9:00 PM local time. Adhering to this timeframe avoids complaints and fines and increases the likelihood that customers will see and respond to your messages.

    • Craft your messages to be short and to the point. Since SMS messages are limited to 160 characters, longer messages will be split into multiple texts, potentially increasing your costs. Concise messages are more likely to be read and acted upon, so avoid unnecessary words or technical jargon.


    Include clear opt-out instructions

    There are two ways to give your subscribers a chance to opt out of your SMS content:

    • You can include instructions on how to unsubscribe via SMS. Add “Reply STOP to unsubscribe” at the end of your SMS campaigns.

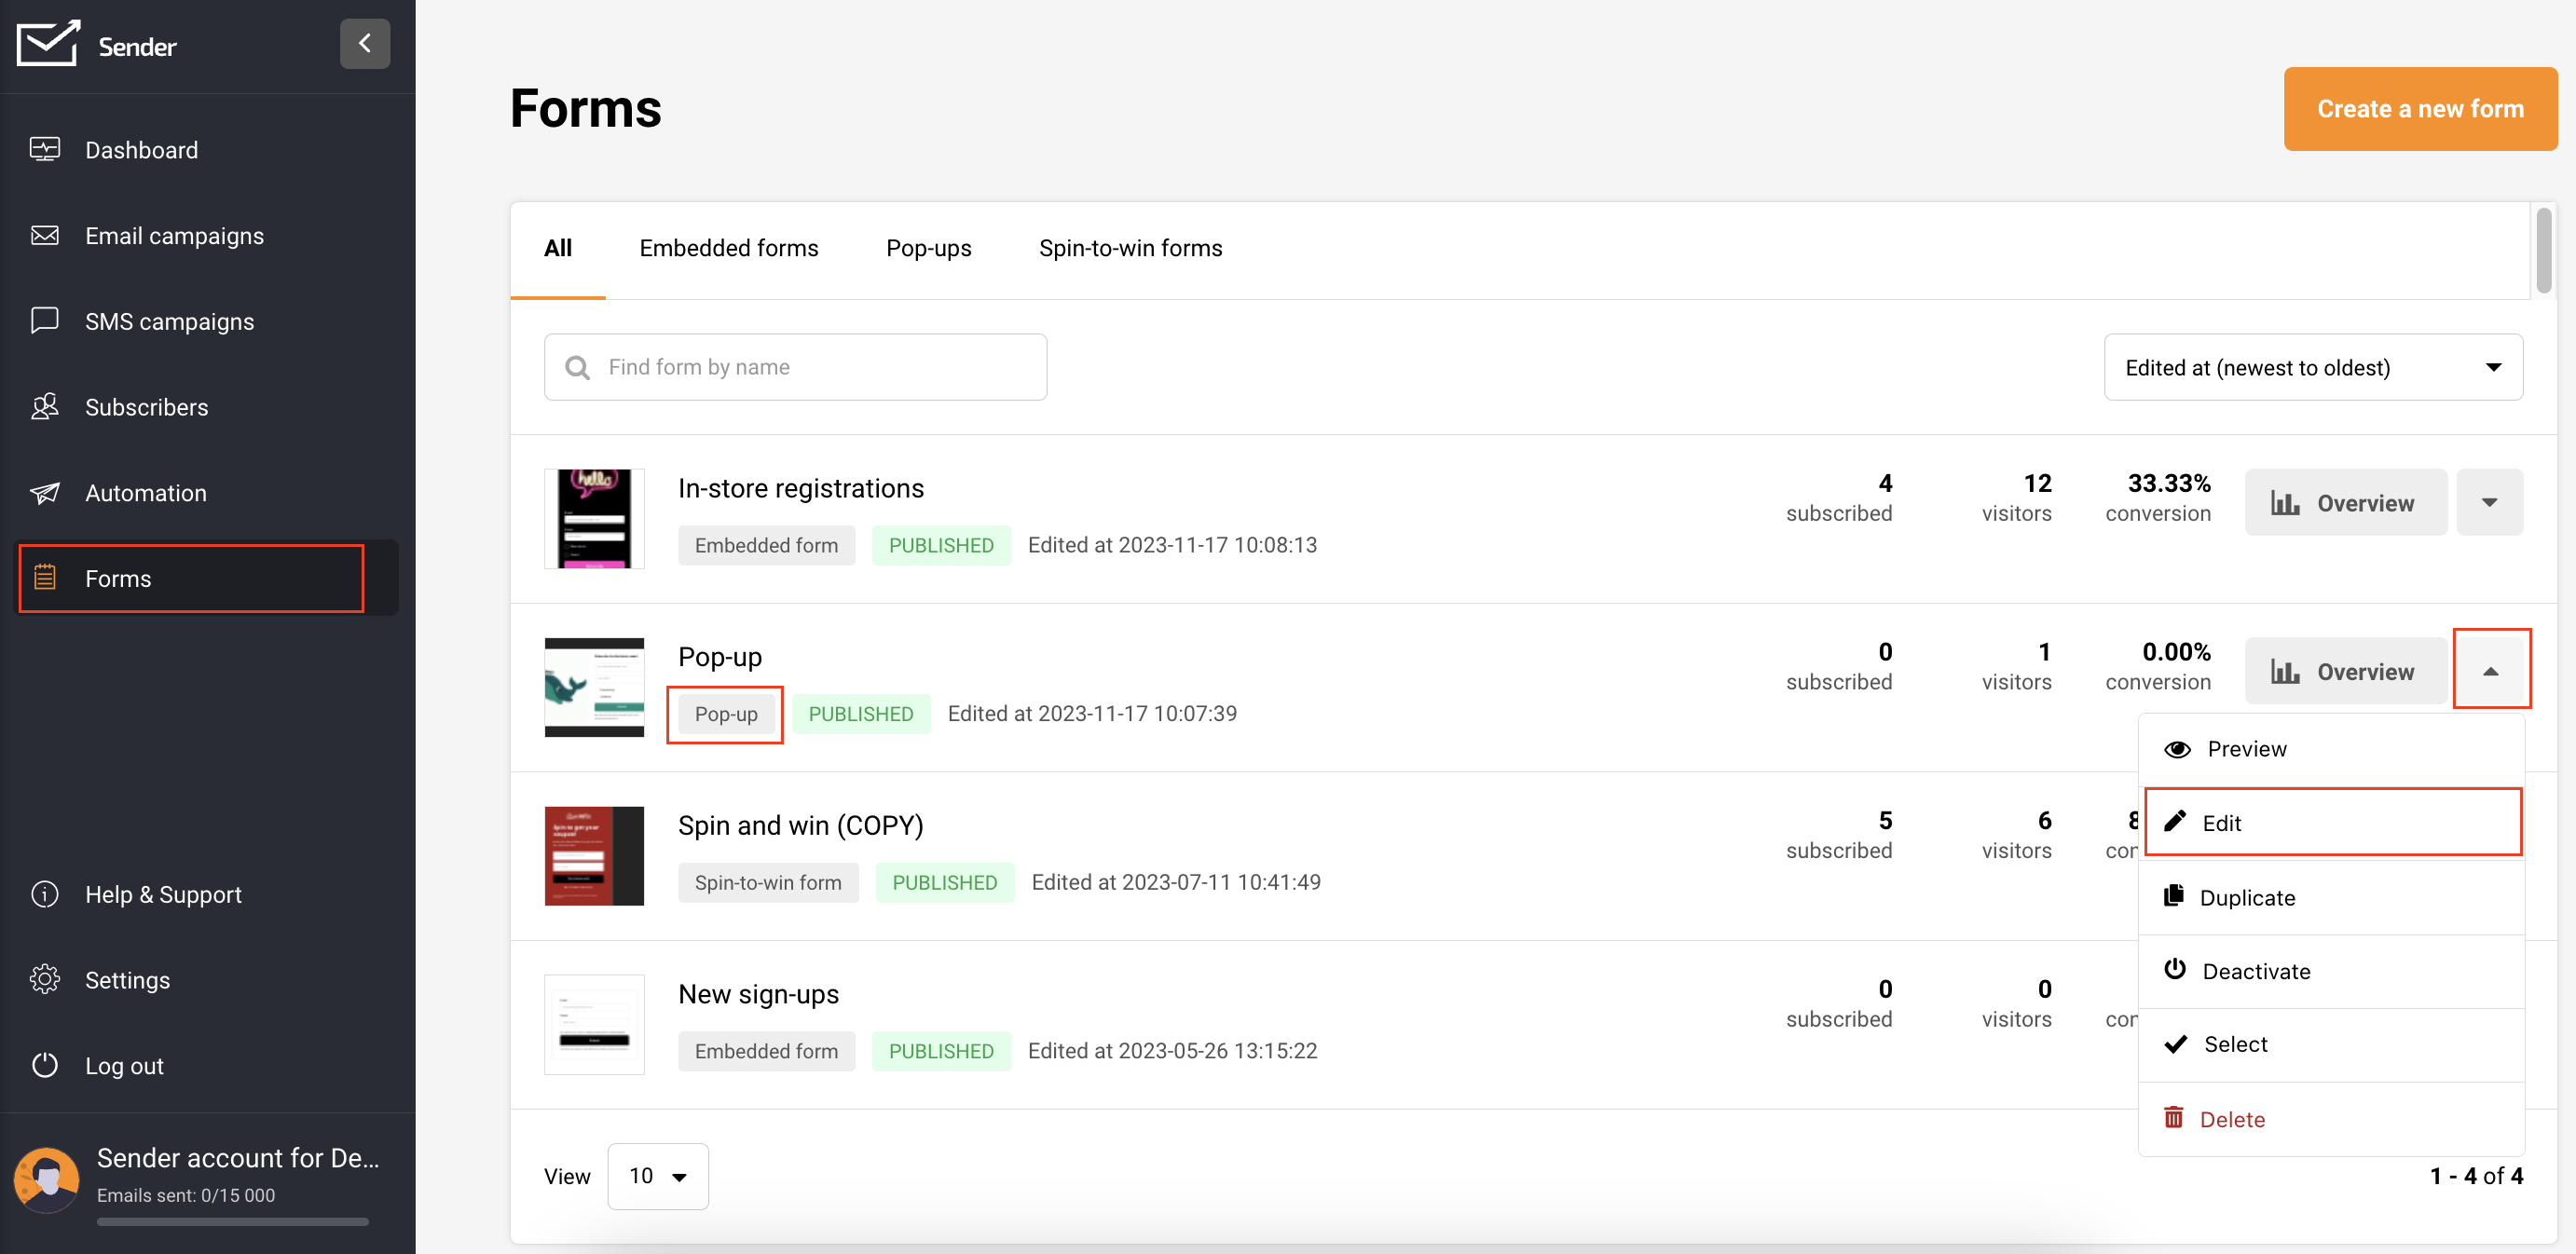
    • You can also add an unsubscribe link to make this process easier for your recipients. This will allow to quickly unsubscribe from your content and prevent any possible spam reports from them. Simply swich the toggle to “Add Opt – Out instructions” in the SMS campaign Settings tab:

    Track message status and reach out for immediate support

    Keep track of SMS message status codes in the SMS campaign reports. If you notice that your SMS campaign has multiple failed deliveries, please check the failed delivery error meaning and get in touch with support for further help at [email protected] or via LiveChat.

    By following these practices, you can ensure higher SMS delivery rates. High-quality content combined with effective issue-handling will maximize your deliverability.


    If you are stuck on a specific task or can’t find a way to execute a particular job, contact our support team via LiveChat or [email protected] – we’re here to help 24/7.

  • PageFly Integration

    PageFly is a tool for Shopify store owners that lets you design custom pages with a simple drag-and-drop system. You don’t need any coding skills, so creating unique layouts and landing pages is a breeze. When you connect PageFly with Sender, you can easily add a form to collect subscribers and create email campaigns that match your store’s look and feel. This helps create a consistent brand experience for your customers and can boost engagement with your emails.

    Follow the step-by-step tutorial to connect your Sender and PageFly accounts, and seamlessly add your Sender form to your PageFly pages.

    If you do not have a form yet, do not worry; follow this tutorial on how to create one.


    If you are stuck on a specific task or can’t find a way to execute a particular job, contact our support team via LiveChat or [email protected] – we’re here to help 24/7.

  • Forms.app Integration via Zapier

    Use forms.app to create any online forms, e.g., feedback forms. Such forms act as digital questionnaires that businesses use to collect customer feedback and help understand customer experiences, identify areas for improvement, and ultimately improve customer satisfaction.

    To make sure that the customers are more inclined to leave a feedback, inform them about a discount code provided at the end of the process, which can be setup to be sent automatically via email using Sender’s automation workflow. The instructions for that will be given at the end of the post.

    To start, make sure to have or create a forms.app account. Once you have that, head to your forms.app account and follow this tutorial:

    To provide the discount code via an automated email campaign at the end of filling out the feedback form, let’s create an automation workflow at Sender.

    Now, once a customer fills out the feedback form, they will be put into the selected group, which triggers the automation in Sender and sends them an email with a discount code as a sign of gratitude.


    If you got stuck on a specific task or can’t find a way to execute a particular job, contact our support team via LiveChat or [email protected] – we’re here to help 24/7.

  • Set up SPF/DKIM/DMARC (IONOS)

    That’s it!

    If you got stuck on a specific task or can’t find a way to execute a particular job, contact our support team via LiveChat or [email protected] – we’re here to help 24/7.

  • Set up SPF/DKIM/DMARC (Namecheap)

    That’s it!

    If you got stuck on a specific task or can’t find a way to execute a particular job, contact our support team via LiveChat or [email protected] – we’re here to help 24/7.

  • Set up SPF/DKIM/DMARC (GoDaddy)


    If you got stuck on a specific task or can’t find a way to execute a particular job, contact our support team via LiveChat or [email protected] – we’re here to help 24/7.

  • Set up SPF/DKIM/DMARC (Hostinger)


    If you got stuck on a specific task or can’t find a way to execute a particular job, contact our support team via LiveChat or [email protected] – we’re here to help 24/7.

  • Set up SPF/DKIM/DMARC (Cloudflare)

    That’s it!

    If you got stuck on a specific task or can’t find a way to execute a particular job, contact our support team via LiveChat or [email protected] – we’re here to help 24/7.

  • Set up spin-to-win flow

    First of all, make sure you already have a Spin to Win form before creating an associated automation workflow.

    This automation enables you to effortlessly streamline the distribution of coupon codes to your subscribers who have successfully engaged with the Spin to Win form and secured a winning slice. 

    The following tutorial provides a straightforward guide for implementing the most basic setup for sending out these winning coupons.

    Feel free to enhance the automation by adding extra steps. For instance, you might want to check whether the customer has opened the initial email containing the coupon. If not, consider setting up an automated process to resend the coupon for their convenience.

    Additionally, you can include an action that categorizes or assigns the subscriber to a specific group once they’ve successfully secured a coupon code.

    Here’s an illustration of a more intricate and detailed automation workflow:

    Based on whether a subscriber opens your email with the winner’s information, you can automatically nudge those who missed it with a follow-up or move those who engaged into a specific ‘Confirmed’ group.


    If you got stuck on a specific task or can’t find a way to execute a particular job, contact our support team via LiveChat or [email protected] – we’re here to help 24/7.

  • Jumpseller Integration

    KEY FEATURES

    • [Embedded subscription forms](#embedded forms)
    • [Pop-up forms](#pop-up forms)
    • [Subscriber management and segmentation](#Subscriber management and segmentation)
    • Automation workflows

    Installation process

    Follow the interactive tutorial to connect your Jumpseller with your Sender account.

    Embedded forms

    As you now have connected your Jumseller store with Sender, you can add your first embedded form in your store website.

    In your Sender account, go to Forms and select “Create a new form” if you haven’t already. Follow this tutorial to create an embedded form. To edit an existing form, click the arrow button next to “Overview” and choose “Edit.”

    Once you have an embedded form, click the “Overview” button beside it.

    On this page, you’ll find the Activity summary, Form URL, QR code for the form, and integration instructions.

    In the integration instructions, find the form’s script (embedded forms have two script parts).

    Once you have your scripts prepared, go to your Jumpseller store: Admin Panel -> Themes -> Visual Editor.

    Screenshot 2023-11-17 at 10.14.34

    Navigate to General settings -> Edit Settings -> Other options.

    Insert the first script into “Embed code on the end of ” and the second one into “Embed code on the end of .”

    Screenshot 2023-12-01 at 14.47.47

    Save the changes.

    Pop-up forms

    Make sure you have already integrated your Jumpseller store with Sender.

    Navigate to the Forms section within your Sender account. If you do not have a form already, choose “Create a new form” by following these instructions.

    To modify an existing form, click the arrow button adjacent to “Overview” and select “Edit.”

    Before proceeding, ensure to customize the form behavior settings according to your preferences. These can be found on the form editing page, under “Behavior”.

    Once you have finished editing, click Save and Continue.

    In the Overview page, under Activity summary, enable the form by switching the toggle.

    Congratulations! Your form will now be displayed on your website based on the behavior settings you have selected.

    Subscriber management and segmentation

    Once you have have your Jumpseller store connected to Sender, your customers will be automatically added to your subscriber list in Sender.

    To effectively manage your subscribers, use segmentation and advanced filters.

    You can filter subscribers by the following:

    • Number of orders (more than, less than, between, equal to, does not equal to);
    • Total spend (more than, less than, between, equal to, does not equal to);
    • Quantity of products per basket (more than, less than, between, equal to, does not equal to);
    • Placed order (before, after, between, on a specific date);
    • Ordered specific product (select a store and a product);
    • Order refunded (before, after, between, on a specific date);
    • Did not purchase anything (before, after, between, on a specific date);
    • Abandoned cart: checkout started (before, after, between, on a specific date);
    • Abandoned cart: returned through email (before, after, between, on a specific date).

    By creating and saving a segment, any upcoming customers within the specified range will be automatically included in that segment, enabling you to send personalized and targeted email/SMS campaigns.

    Follow this link to learn how to create a segment.

    Automation

    Cart tracking is enabled automatically if you connect your Jumpseller store with Sender.

    Post-purchase and abandoned cart workflow

    Use this feature to set up automated workflows for your e-commerce processes. If you haven’t set up these workflows yet, click here to establish an Abandoned Cart workflow and here to set up a post-purchase automation workflow.

    Welcome email workflow

    Initiating a warm welcome for your new subscribers not only establishes a meaningful connection but also plays a crucial role in cultivating their loyalty as customers. Sending a personalized greeting creates an engaging experience that encourages them to remain connected with your content.

    For insights on implementing this strategy, follow this link to explore a comprehensive guide on setting up a welcome email automation sequence.

    Birthday workflow

    If you choose to gather your customers’ birthdates, it opens the door to sending them special birthday codes for enticing purchases on their special day or throughout the birthday week. Explore this tutorial to learn how to establish an effective birthday automation workflow.

    That’s it!

    If you got stuck on a specific task or can’t find a way to execute a particular job, contact our support team via LiveChat or [email protected] we’re here to help 24/7.