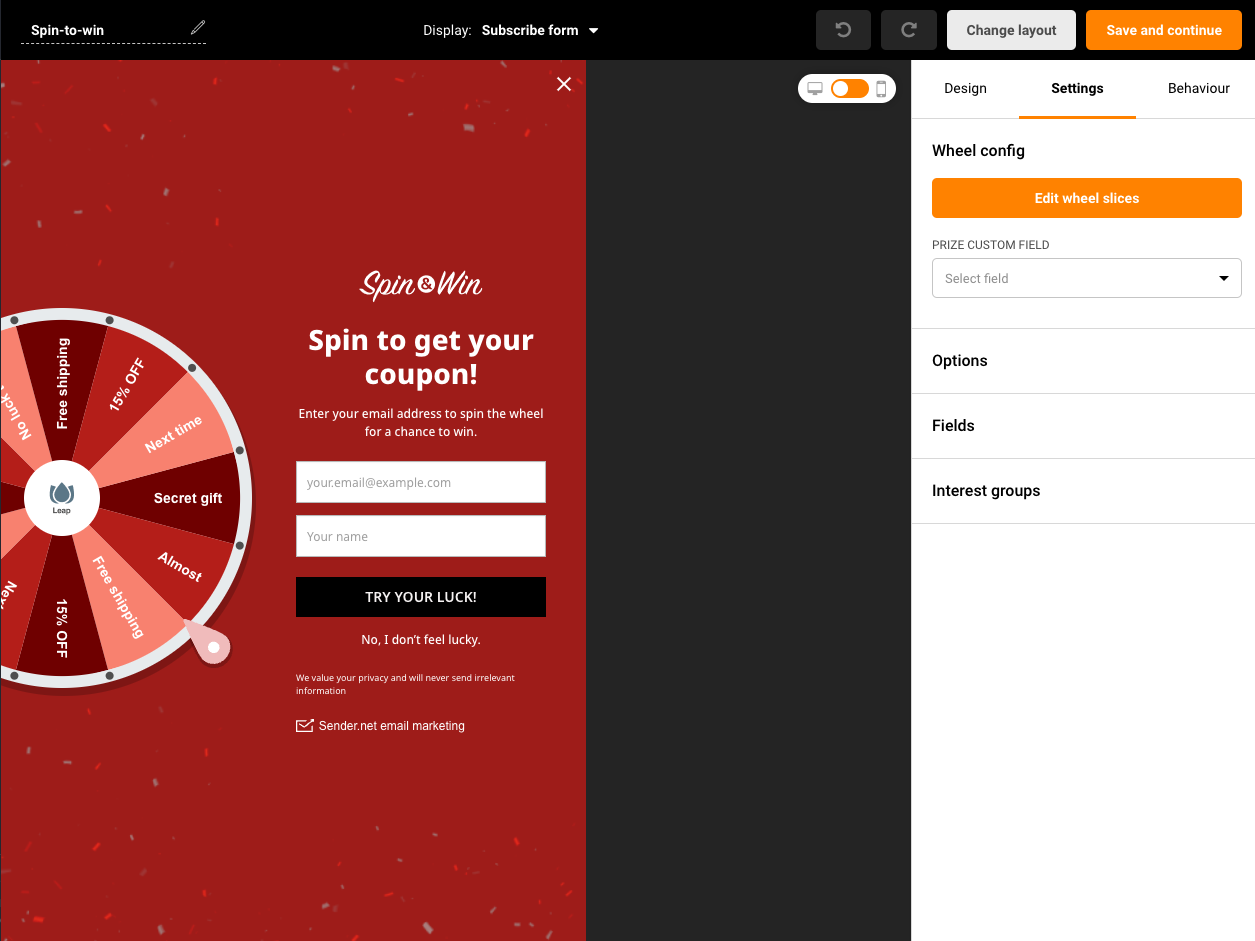
Use Sender’s step-by-step automation builder feature to build a welcome series automation in minutes.
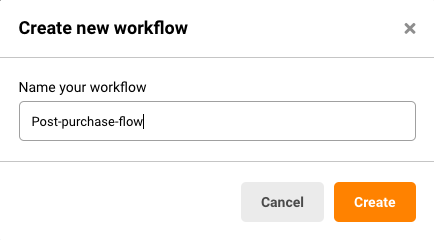
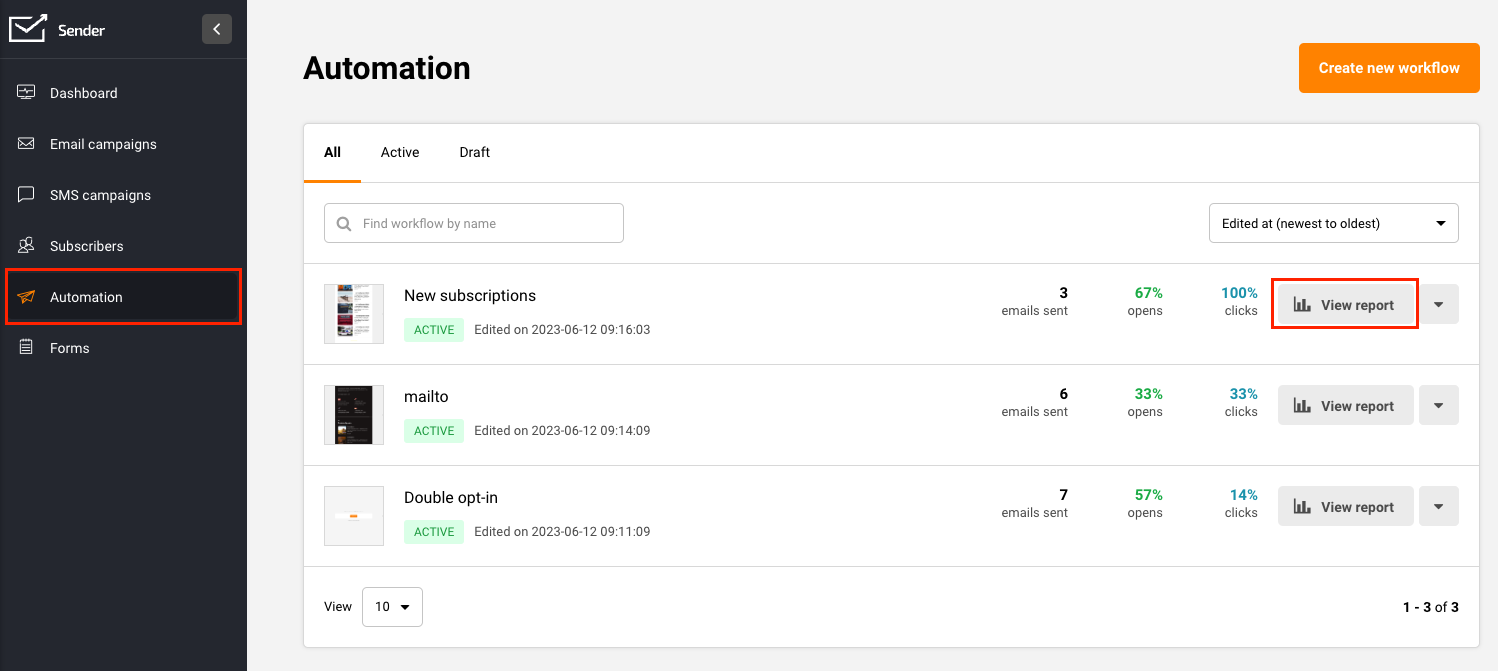
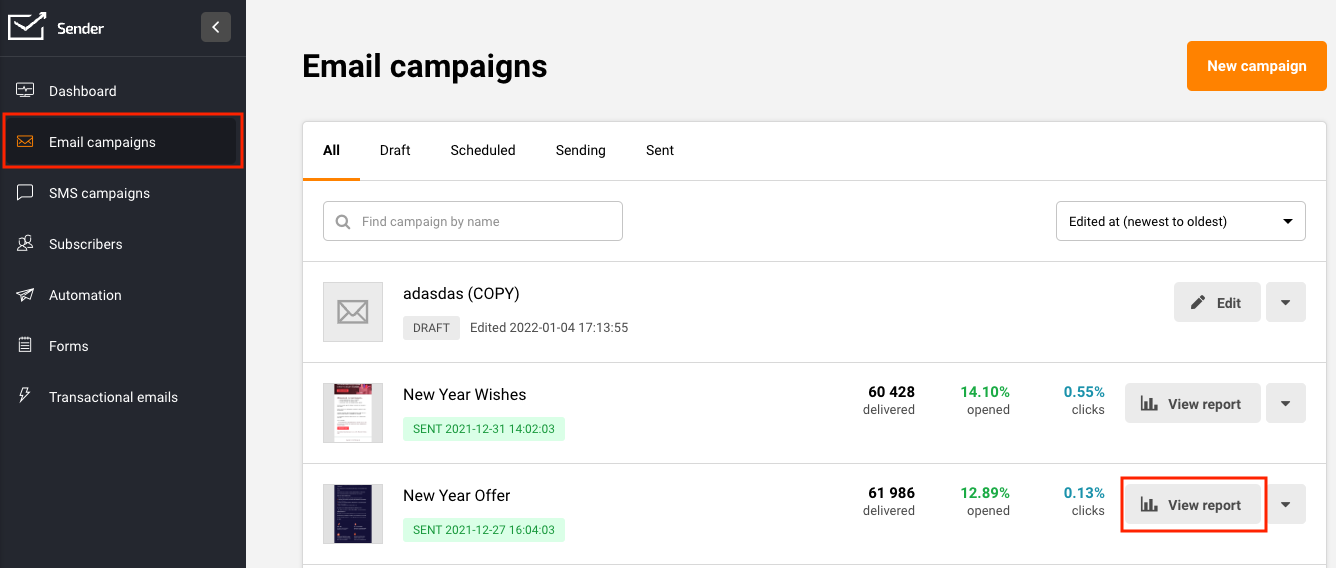
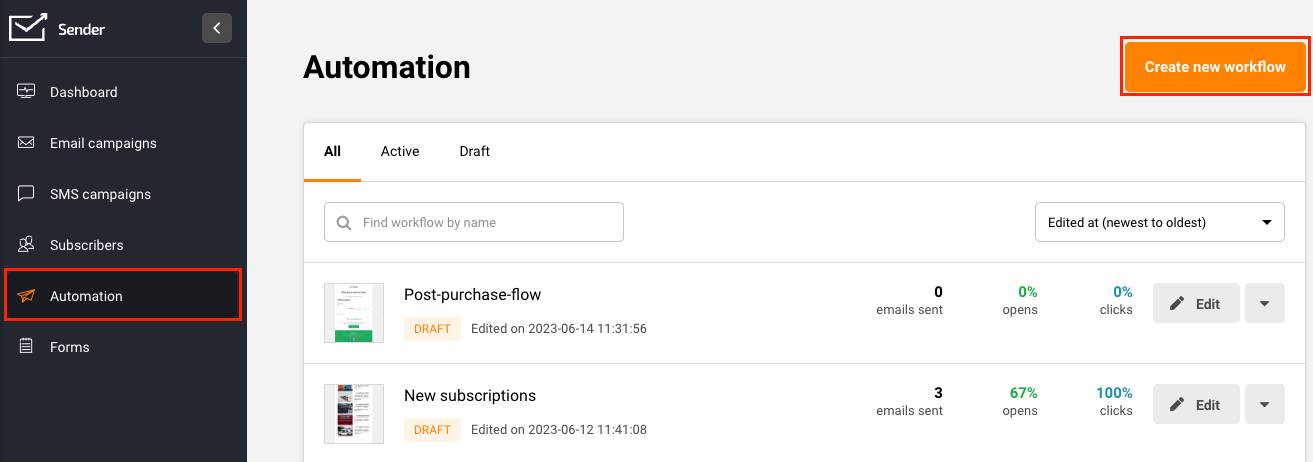
Click on “Automation” -> “Create New Workflow” to enter the automation flow builder.
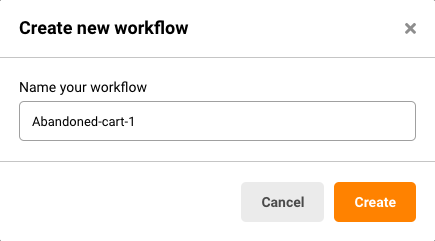
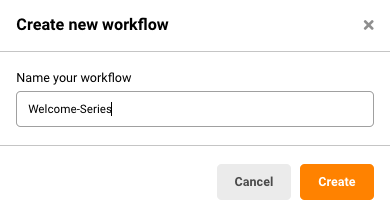
Give your welcome sequence a name that is easy to place.
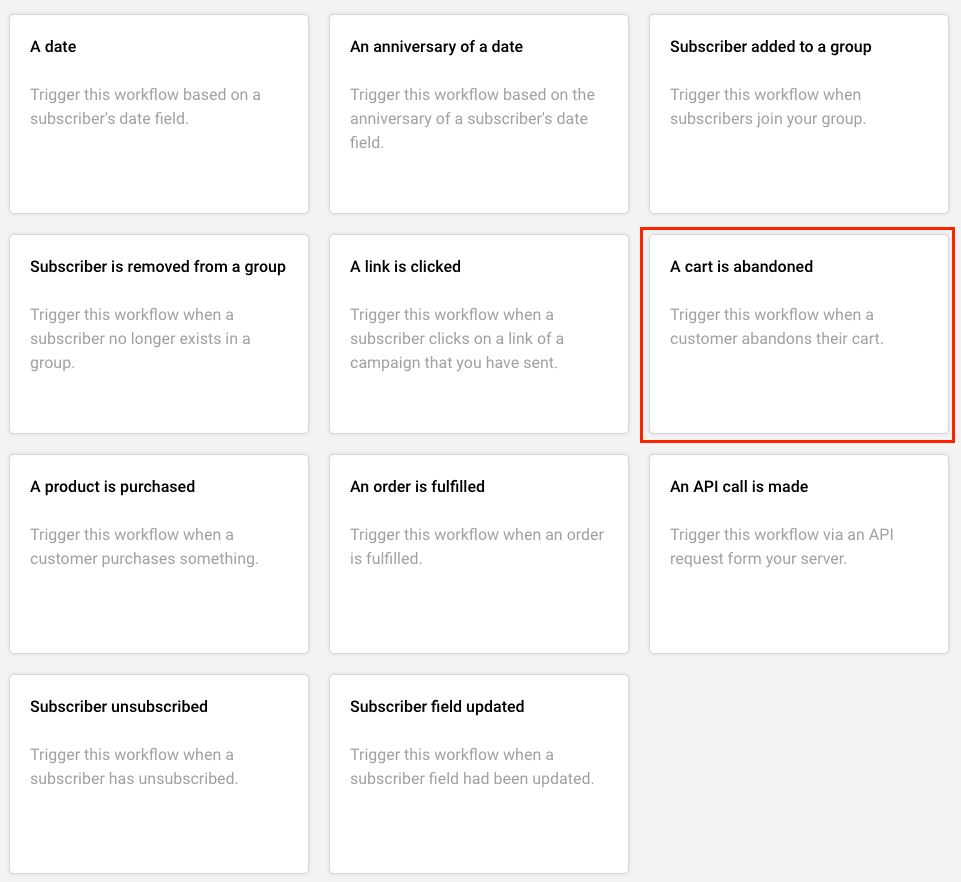
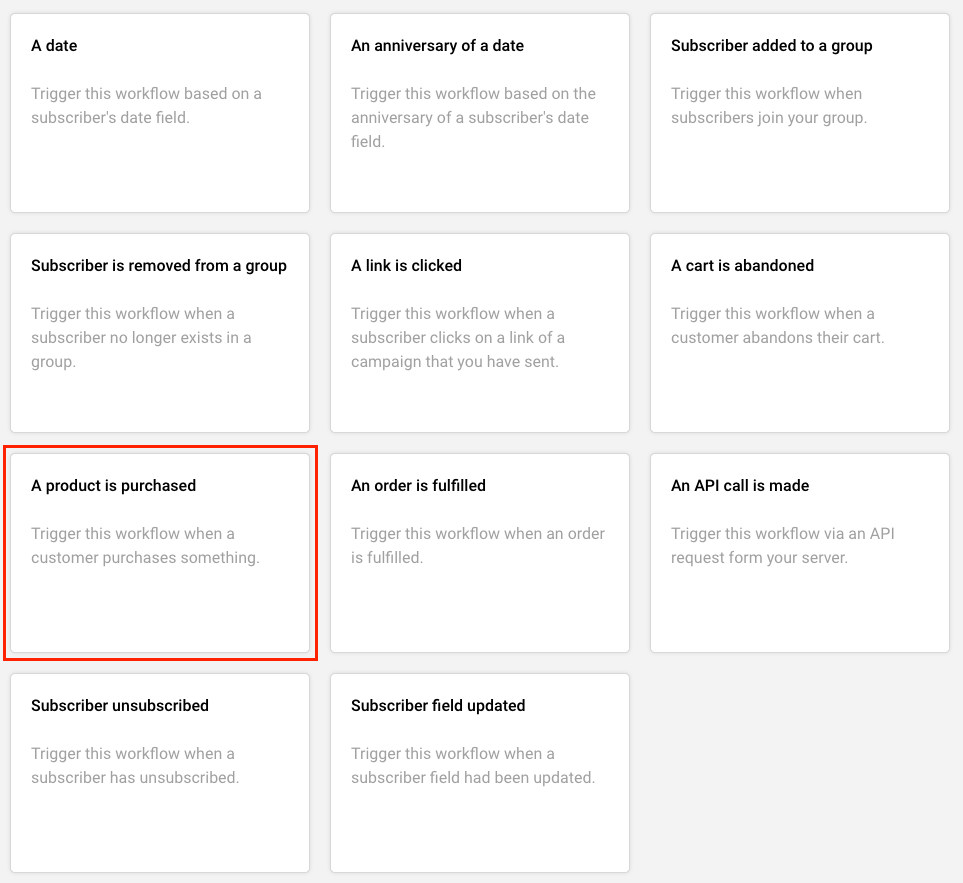
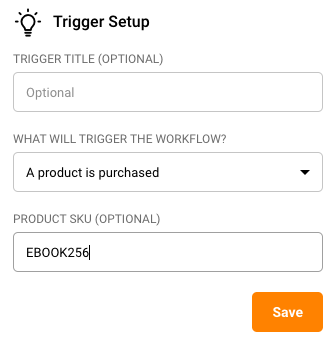
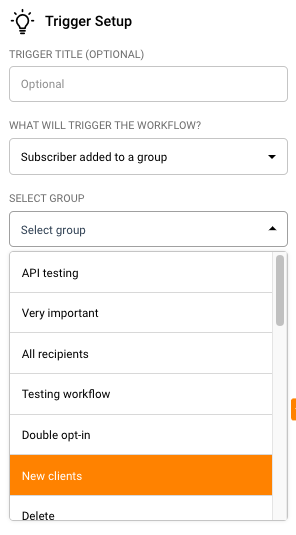
Choose the trigger. Your trigger is the event or action that will cause the automation to fire. In this case, let’s choose “Subscriber added to a group”.

Select your trigger and choose the name of the group on the right hand side. This group name will be the one that your subscribers filling up your signup form are getting added to.
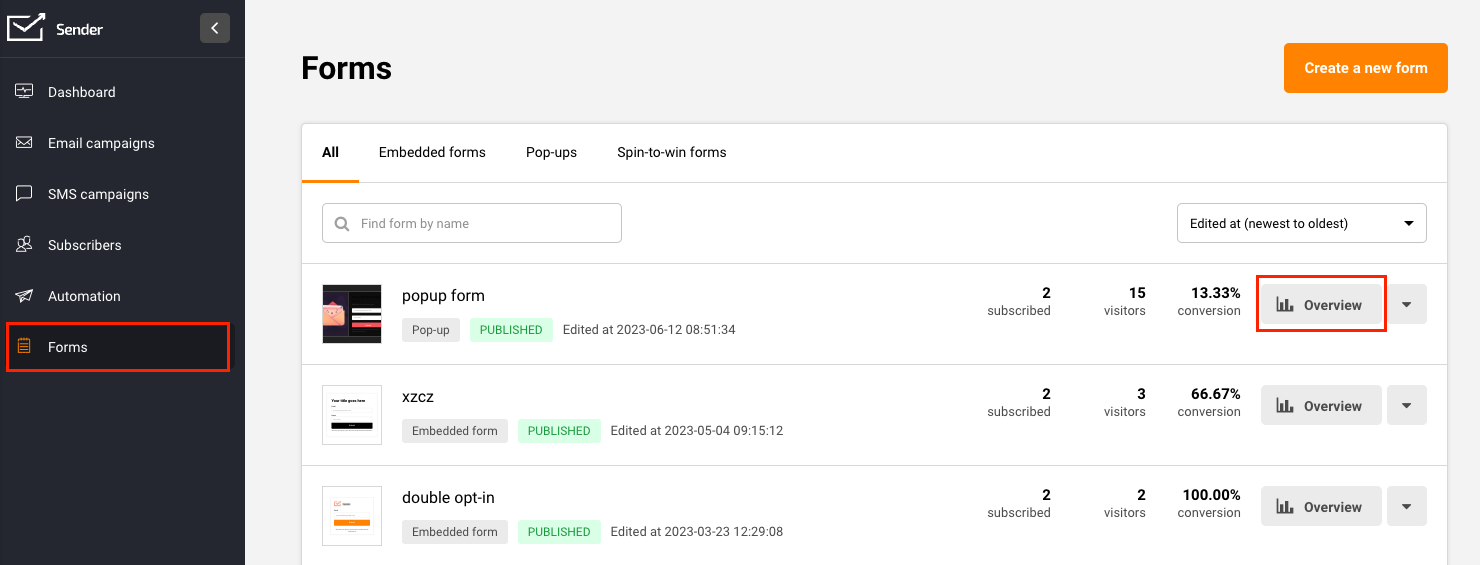
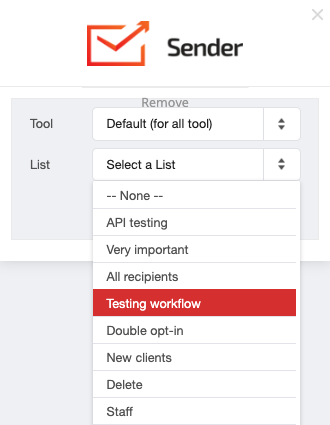
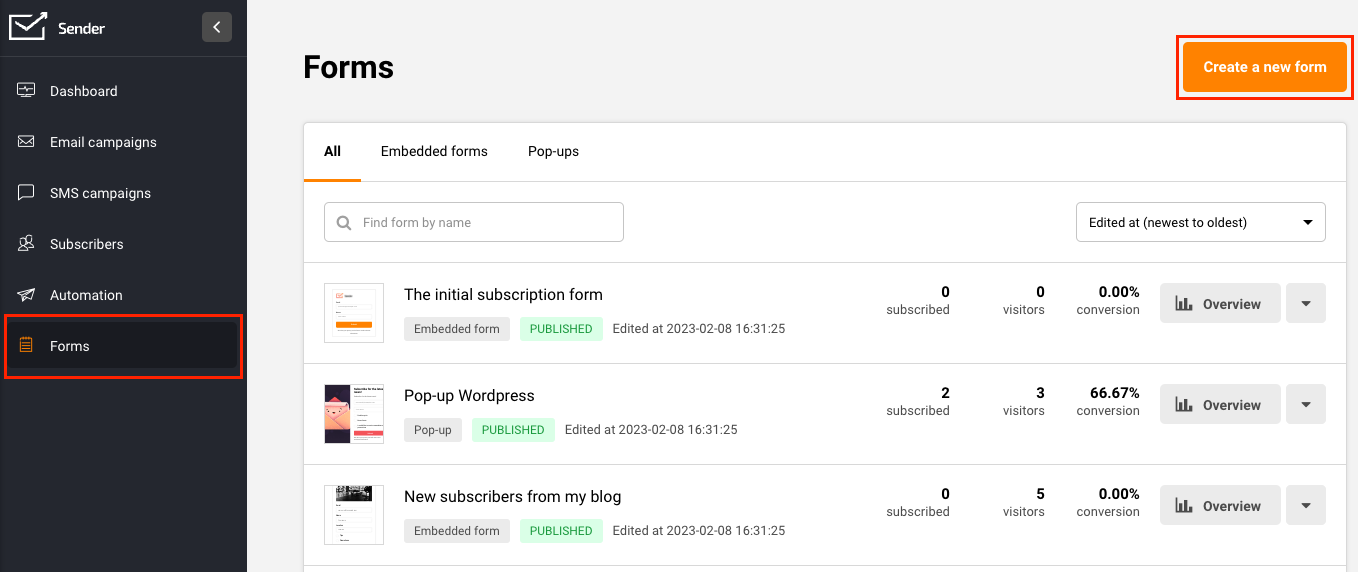
You can verify the group name from the main dashboard -> “Forms” -> Edit your form -> “Settings” tab -> “Group”.
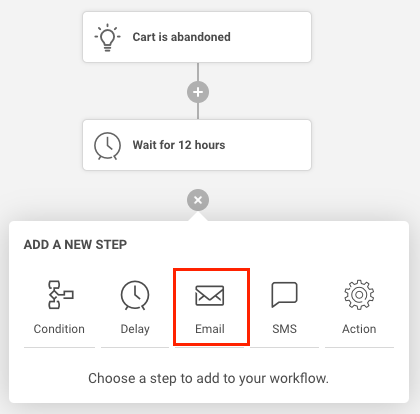
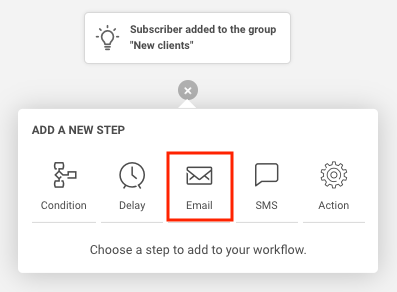
Click the “+” sign at the bottom of the trigger you just created and choose the “Email” step.
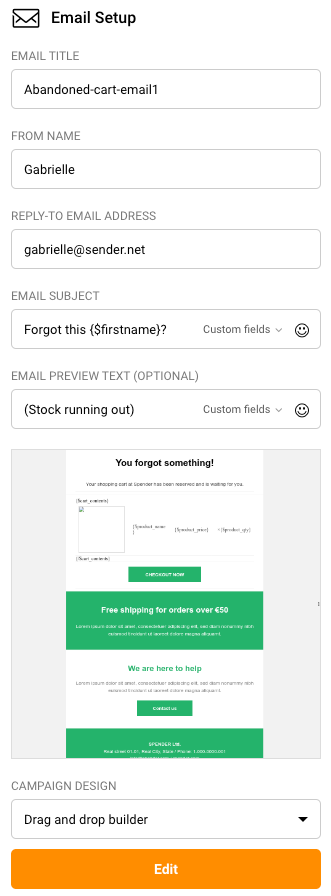
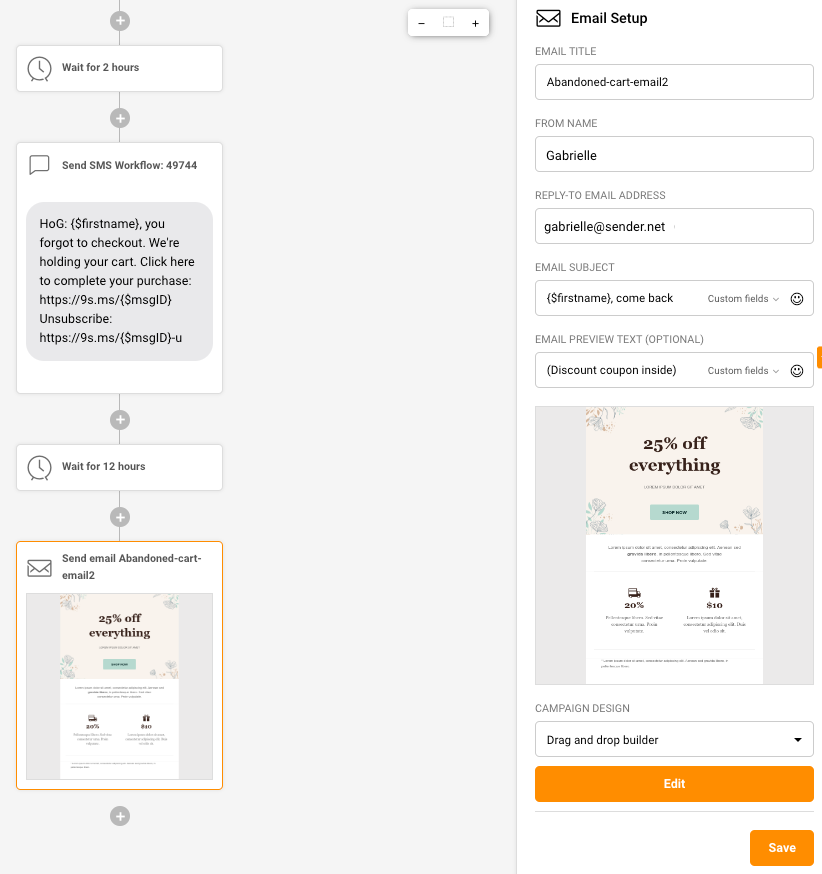
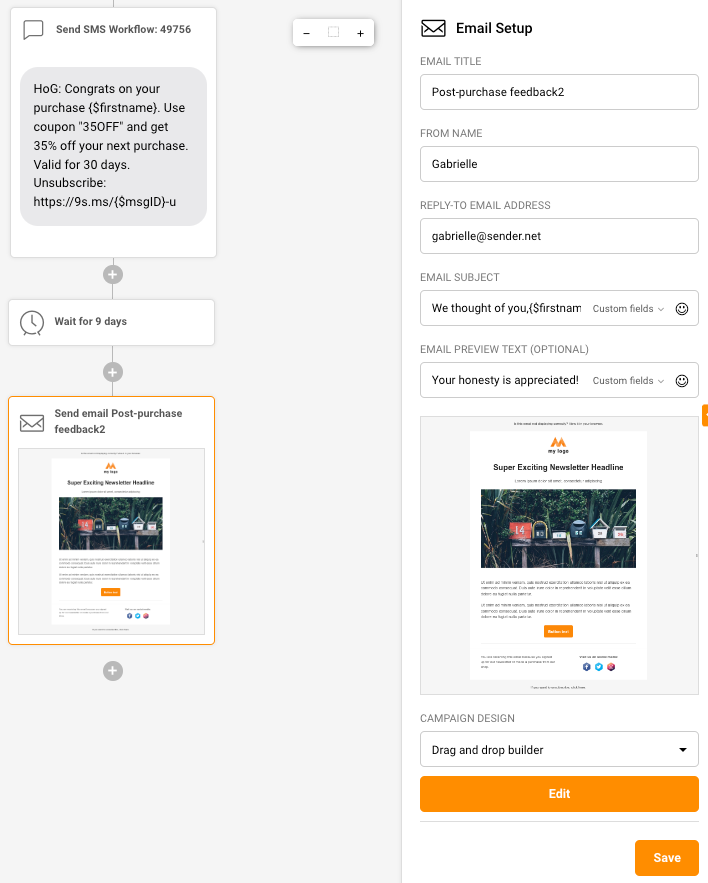
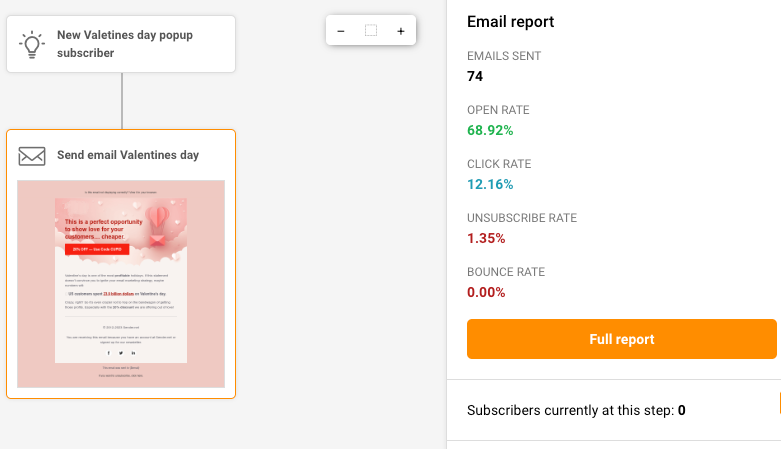
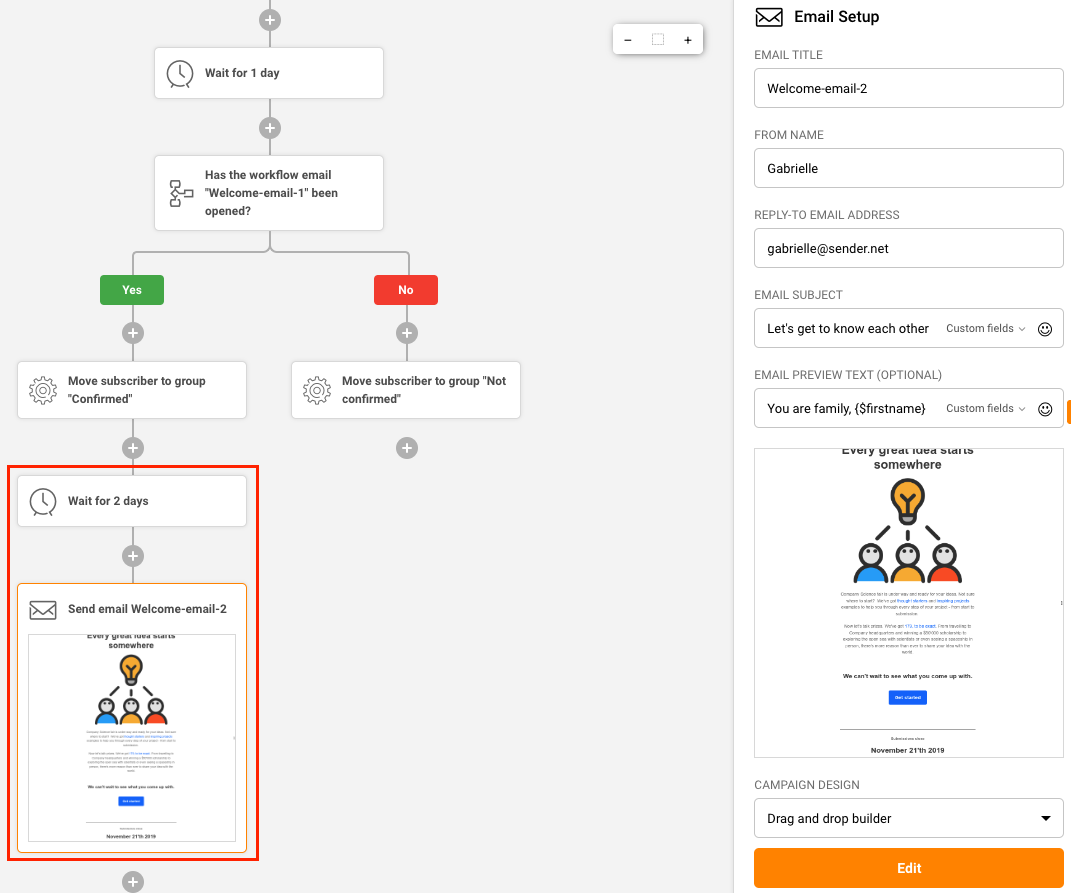
Next, configure your email settings to the right hand side.
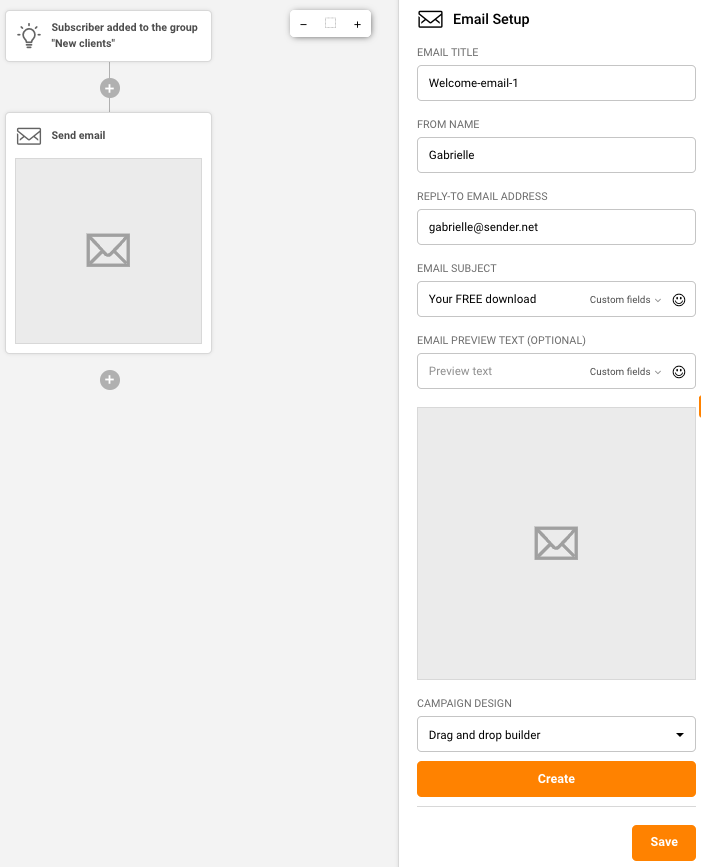
You can personalize the subject line and preview text with subscriber details such as their first name, custom field data you might have collected using forms etc.
Hitting “Save” will save all the changes you just made.
Clicking on “Create” will take you to the email editor screen to help you compose the first email of your welcome series.
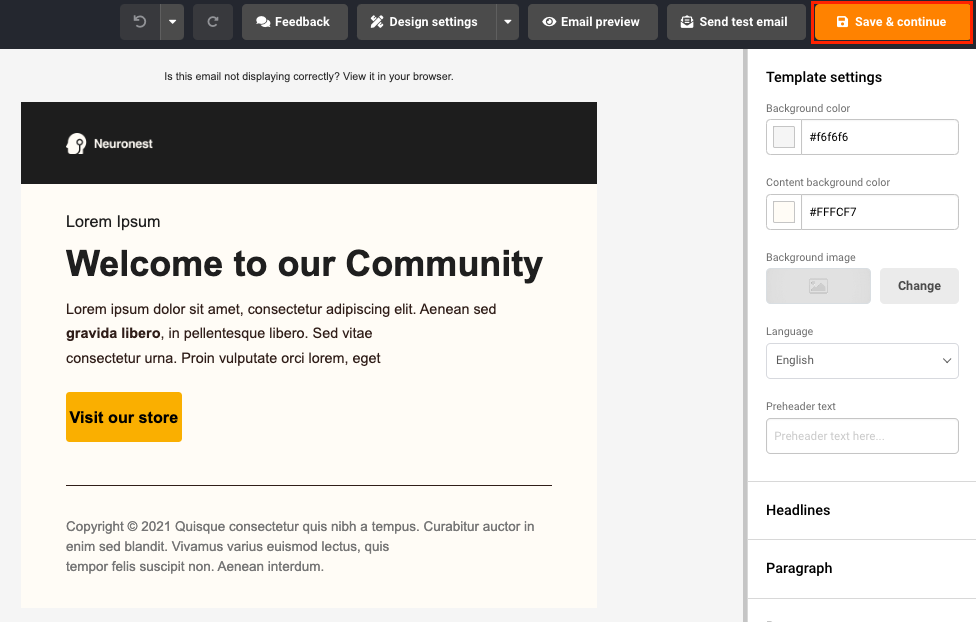
Clicking the “Save & continue” button will save your email design and bring you back to the automation map screen.
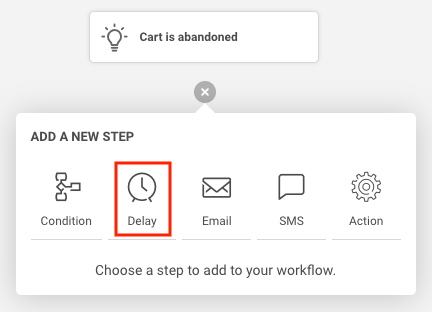
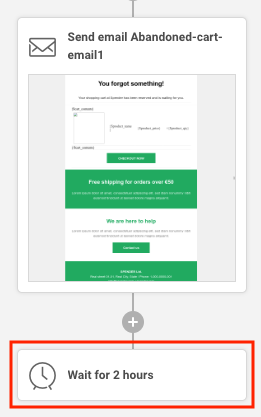
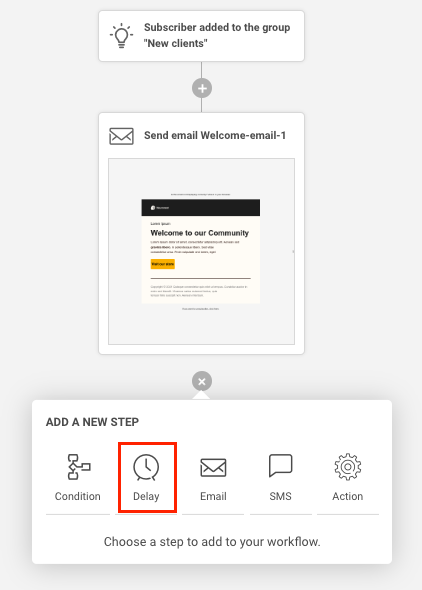
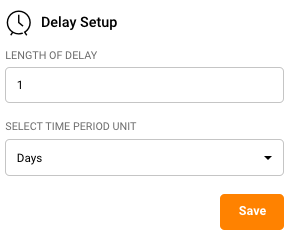
Under the email step you just added, click the “+” sign and select “Delay”.
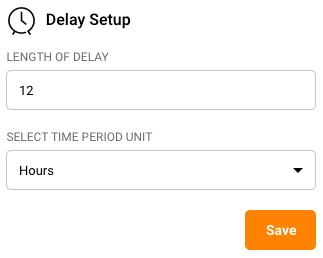
Let’s add a delay of 1 day to wait for the subscriber to open the email.
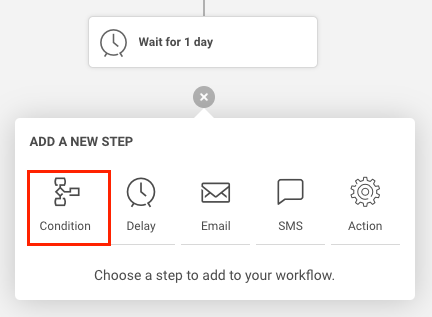
Next, let’s check to see if the subscriber has opened this email using the “Condition” step.
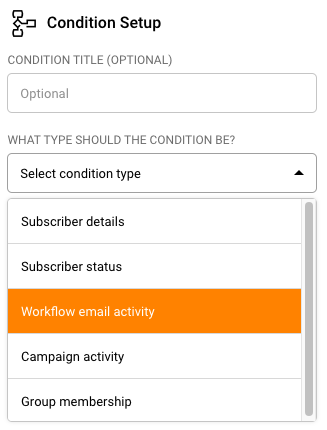
Give your condition a name and choose the condition type as “Workflow email activity”.
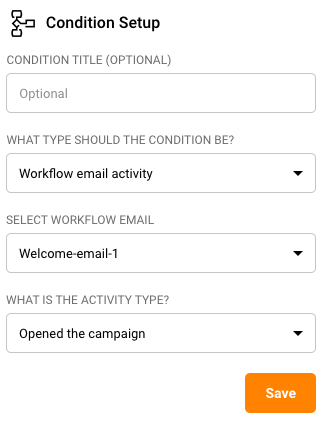
Under “Select Workflow Email” choose the welcome email you just created.
Set the “Activity Type” to “Opened the campaign” since we want to check whether the said email was opened or not.
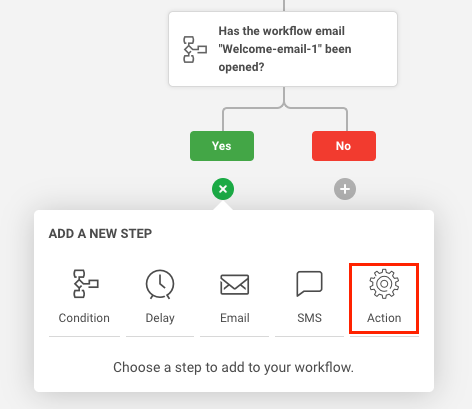
Click “Save” to come back to the automation map which now shows two branches under the condition step you just added: Yes and No.
Click the “+” sign below the “Yes” conditional branch and add an “Action” step.
Configure the action step as under:
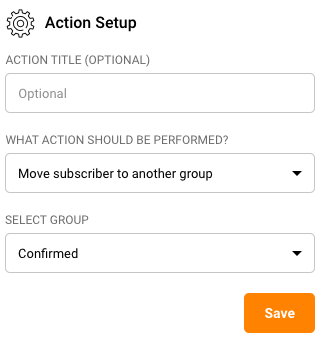
We are moving those subscribers who’ve opened their welcome email into a separate group called “Confirmed”.
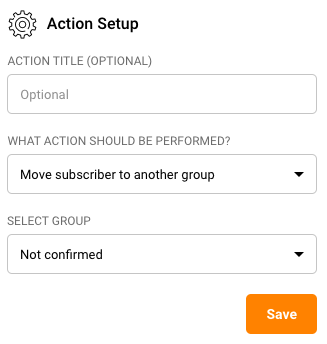
Next click the “+” sign under the No conditional branch and add an “Action” step there too, to move subscribers who have not opened this same email, to a group called “Not Confirmed”.
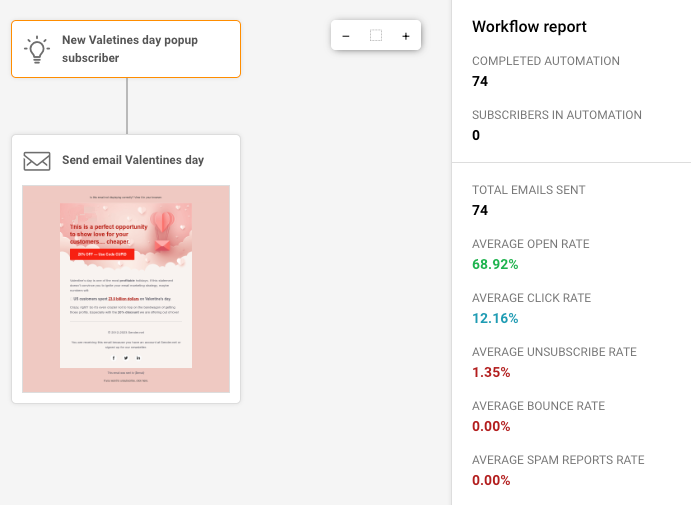
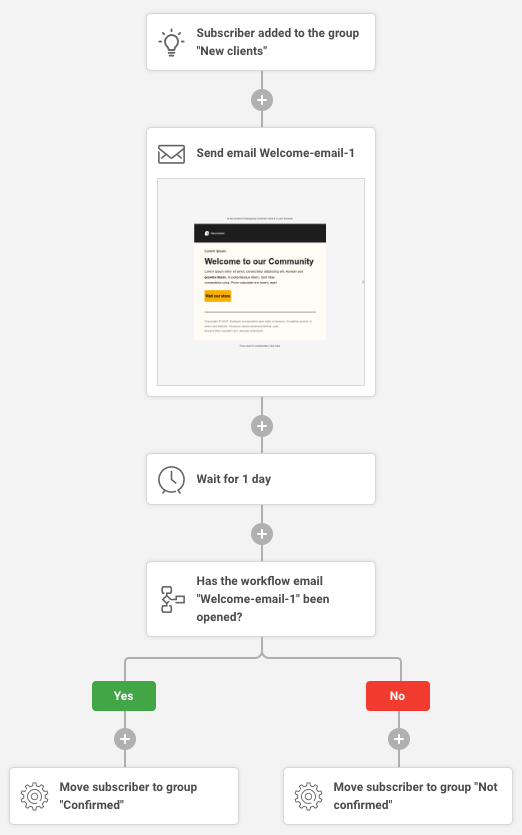
This is how your automation map will look now.
You could add another email to this welcome sequence. Maybe you want to send this email only to those subscribers who opened the first email and let’s assume you would like to do this after a delay of 2 days.
Your automation flows will forever be in “draft” mode until and unless you manually click “Activate” on the top right hand corner.
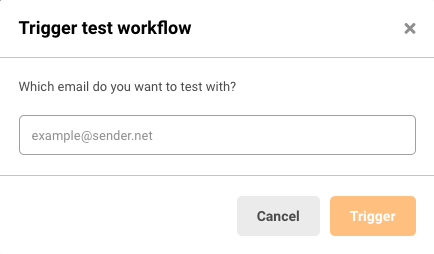
Once activated, you can test the workflow on a particular email address by clicking the “Test workflow” button and entering the email address you would like to run it on.
You can add as many email steps as you would like, interspaced with reasonable delays.
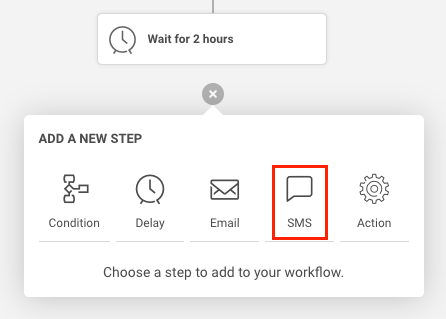
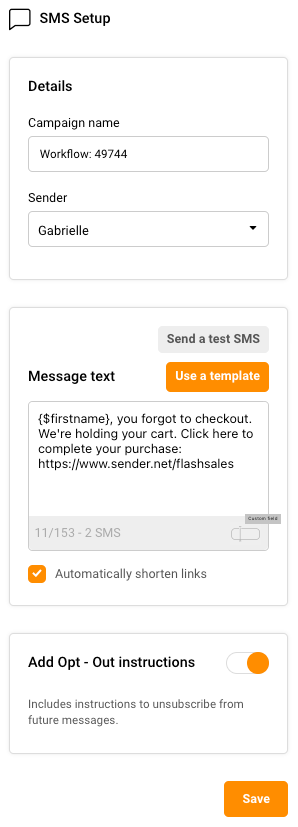
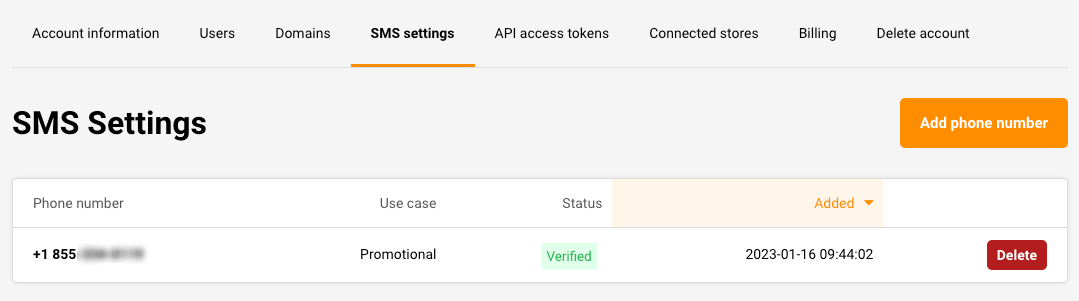
We have not highlighted the use of SMS steps since it is a very personal medium and we do not recommend sending out SMSes to new subscribers at the beginning of their journey with you.
Prefer a quick video to walk you through the exact same steps above? You can find it here.
If you got stuck on a specific task or can’t find a way to execute a particular job, contact our support team via LiveChat or [email protected] we’re here to help 24/7.