After you send your campaign, you have the option to obtain a link to send it to whomever you want or you can share it straight from Sender.
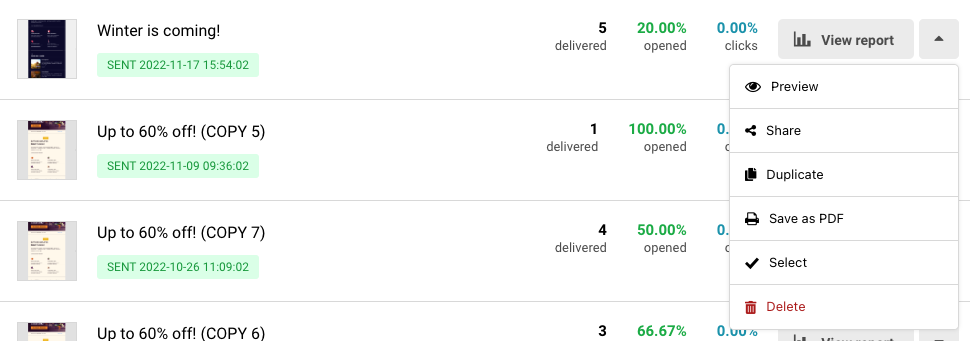
Go to Email campaigns, click the arrow next to the campaign in question and choose “Share”.
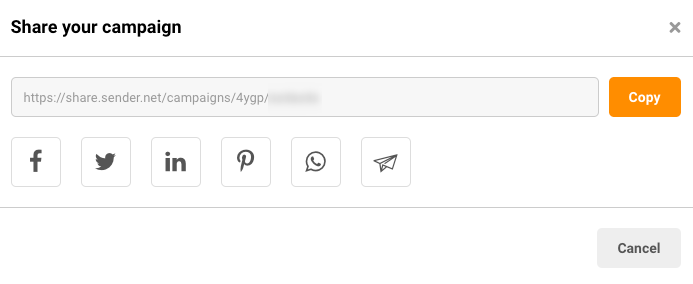
You can copy the link or choose a social platform that you want to share your email campaign to.
If you still struggle with domain verification – contact your support team via LiveChat or [email protected] – we’ll help you with verification. We’re ready to help 24/7.
The short answer is no. But you can easily access all the features using a mobile internet browser. Creating a campaign might be challenging (yet possible!), but other than that, you do a lot via your mobile phone.
Here is a short video on how the platform looks on a mobile device:
That’s it!
If you are stuck on a specific task or can’t find a way to execute a particular job, contact our support team via LiveChat or [email protected] – we’re here to help 24/7.
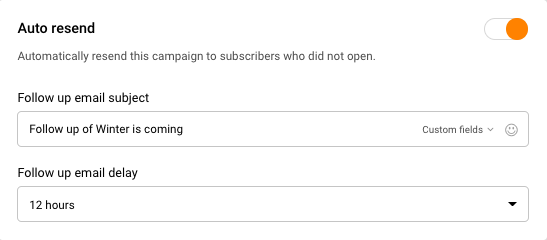
If you have a paid plan you can always set up the Auto resend to those that did not open the initial campaign before you send it. Enable it in the first step of creating a campaign.
Once you enable the “Auto resend” feature, you will have the option to set a delay from the initial campaign and the follow-up email name.
If, for any reason, you did not set that up, do not worry, there is an easy workaround for it.
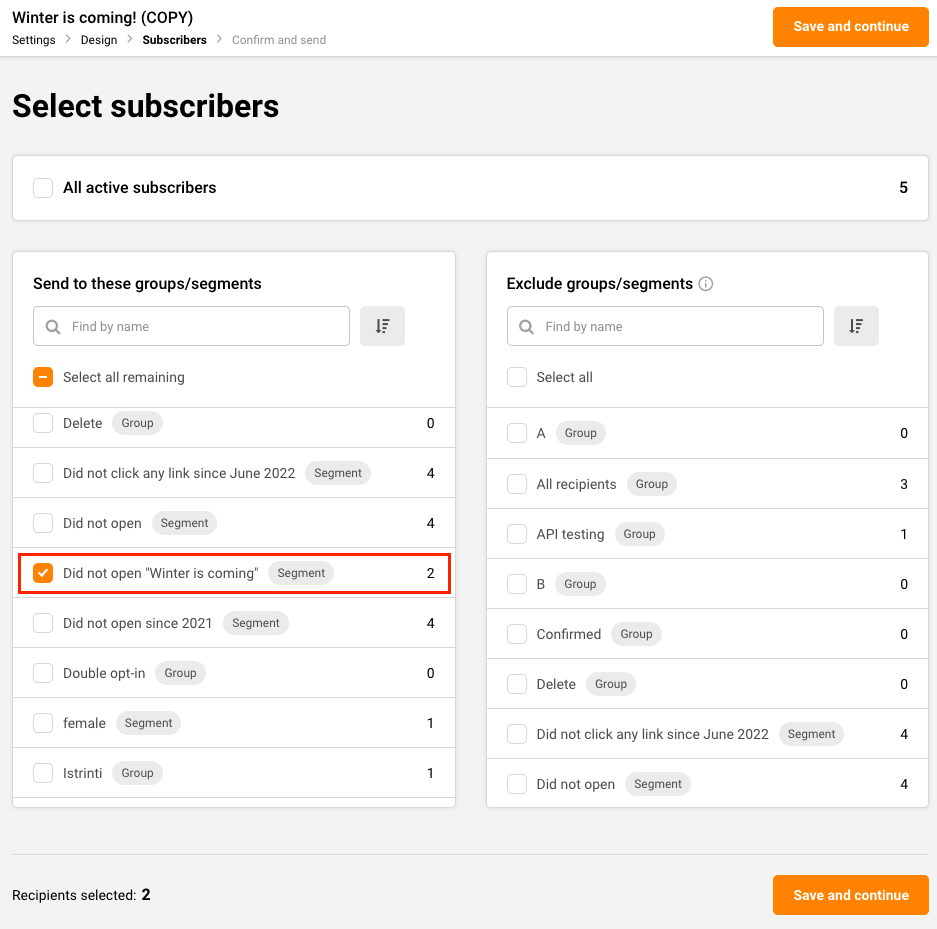
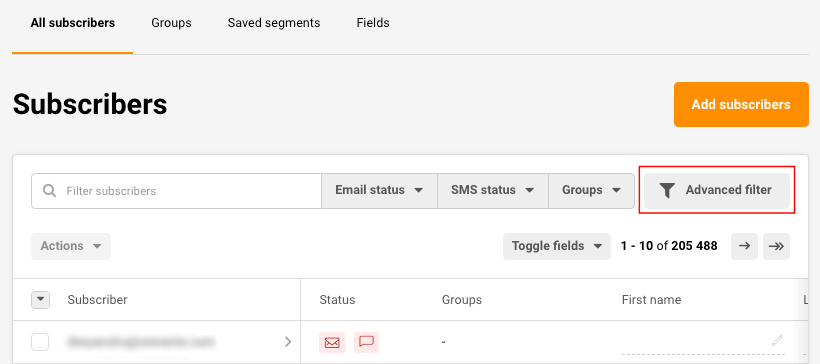
Go to Subscribers -> Advanced filter.
Choose “Campaign activity”, “Sent”, “At least once”, “On a specific date” and choose the date of the sent campaign.
Then add another condition, “Opened”, “Zero times”, “Choose campaign” and select the campaign from the list.
Then click “Save as new segment” and type in a name for it.
Please note that you can distinguish a particular campaign that you want to resend by selecting other advanced filter settings, for example, “Sent,” “At least once,” “In the last,” “1 hour,” etc.
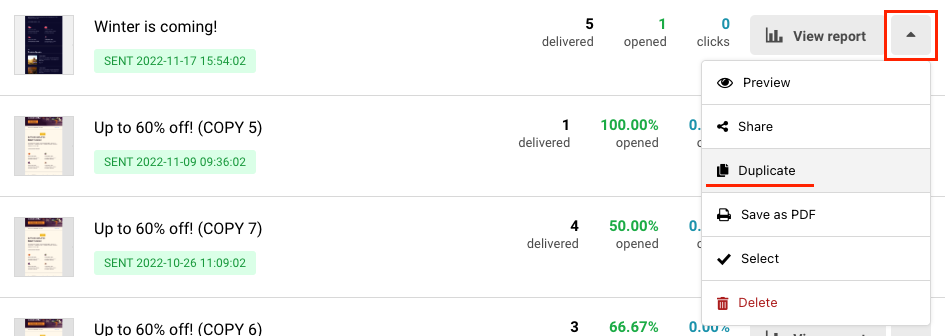
Now go to Email campaigns, click the arrow next to your initial campaign and choose “Duplicate”.
After the copy has been created, click “Edit”, and apply changes to the settings and the campaign itself if you want to. Once you reach the Subscriber section, find and select the segment that you have created. Now finish the necessary steps for sending the campaign as you normally would.
That’s it!
If you still struggle with domain verification – contact your support team via LiveChat or [email protected] – we’ll help you with verification. We’re ready to help 24/7.
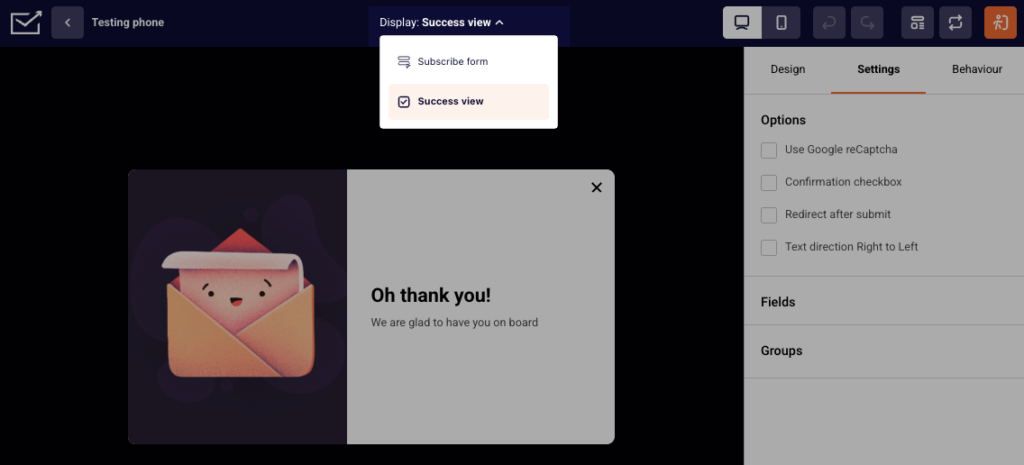
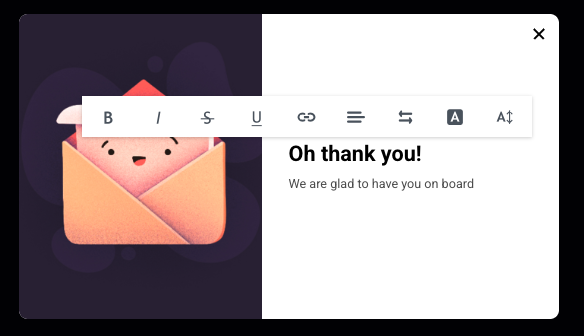
When creating a form, you can customize how its success view looks. Simply click on “Success view” above the form.
After that, you can simply click on the image and change it or on the text and edit it.
If you still struggle with domain verification – contact your support team via LiveChat or [email protected] – we’ll help you with verification. We’re ready to help 24/7.
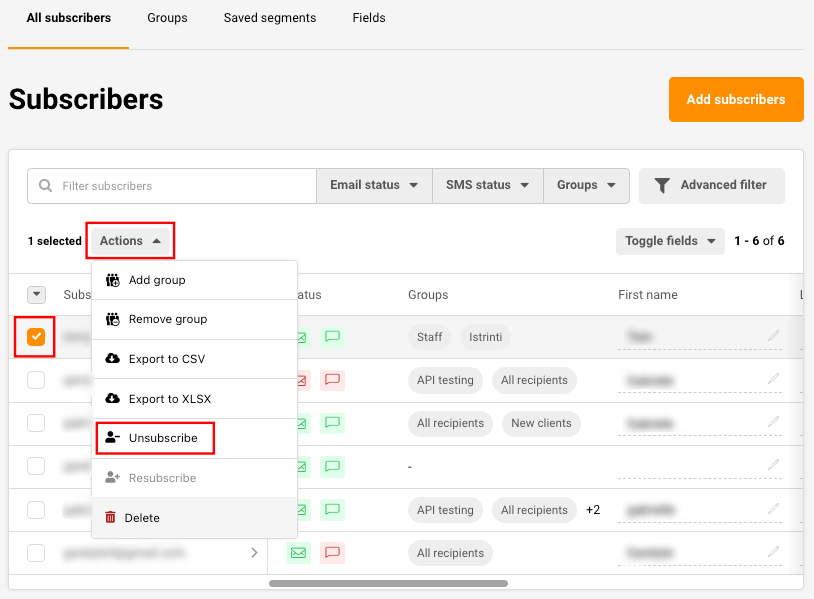
Whether you have been requested by a subscriber or simply want to clean up your subscriber list from inactive recipients without losing their contact details, unsubscribing is an important feature from the user end to maintain only the most engaged audience.
To remove a single subscriber, simply search their name in the search bar, tick the box next to their email address, click Actions -> Unsubscribe.
If you want to unsubscribe subscribers in bulk or clean up your list from unengaged subscribers without losing their contact information do the following steps:
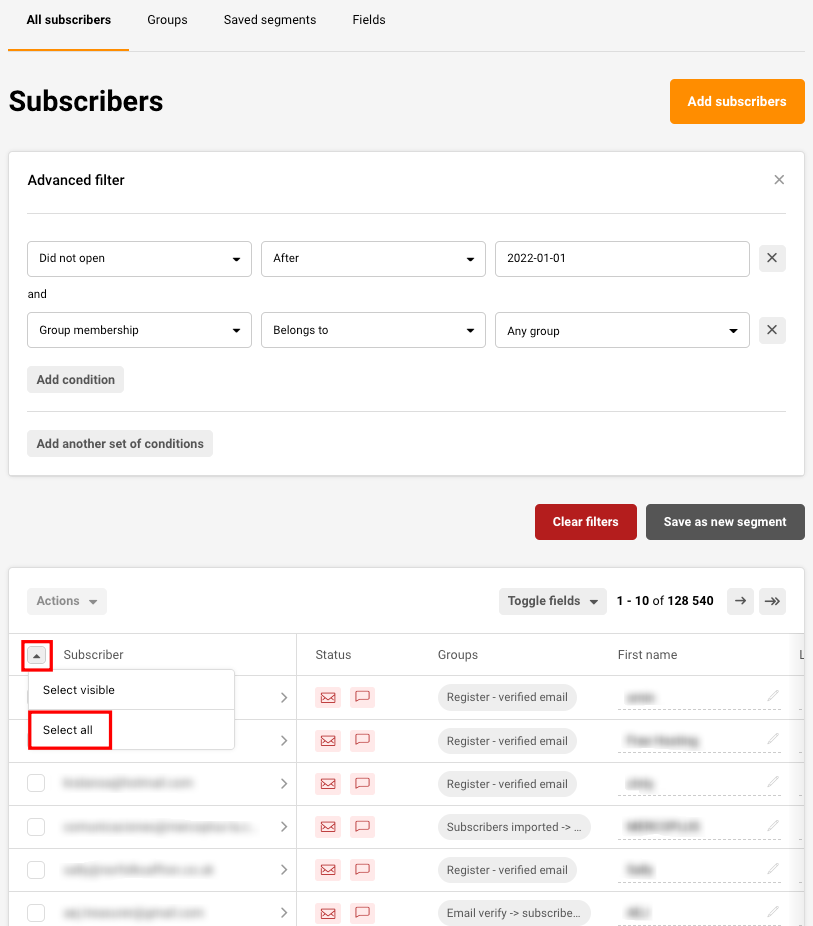
Use the Advanced filter to filter out recipients that you consider inactive and unengaged. That could be subscribers that did not open any campaign for the last 6 months.
After selecting the proper conditions for your list, click the arrow and Select all the subscribers that got filtered out.
After selecting the subscribers, click Actions -> Unsubscribe as described above.
If you still struggle with domain verification – contact your support team via LiveChat or [email protected] – we’ll help you with verification. We’re ready to help 24/7.
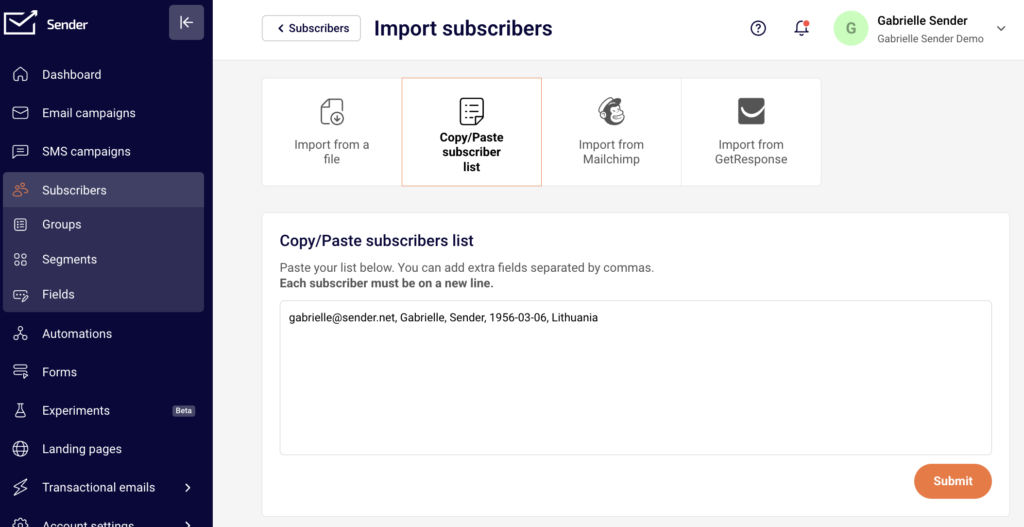
Yes, of course! The easiest way to add a single subscriber is by going to Subscribers -> Add subscribers -> Copy/Paste subscriber list and type in all the needed information for that subscriber and separate each information unit with a comma.
If you need to add two or more, simply enter each subscriber’s information into a new row.
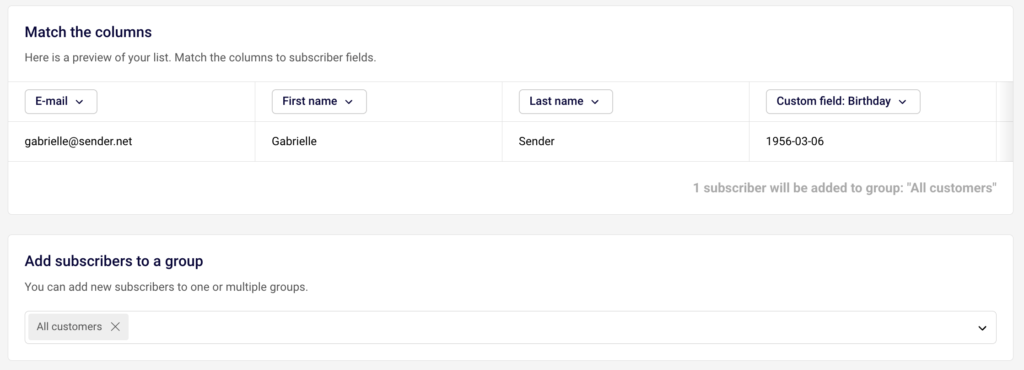
After you click Submit, allocate each piece of information to a corresponding custom field and make sure to choose at least one group to import the subscriber to.
After that, simply click “Start import” and wait till the subscriber appears in your list.
If you got stuck on a specific task or can’t find a way to execute a particular job, contact our support team via LiveChat or [email protected] – we’re here to help 24/7.
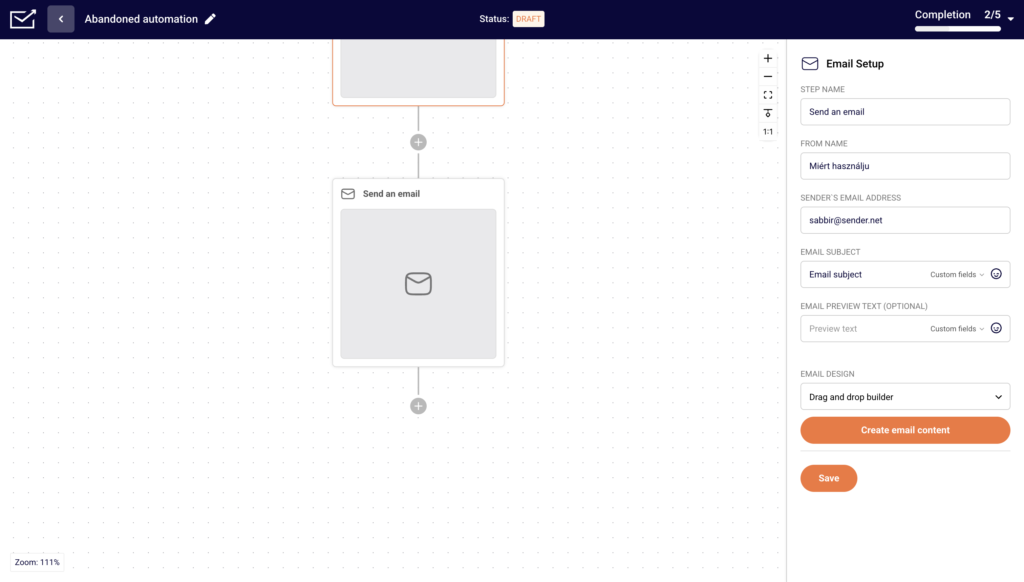
Yes! To create an HTML campaign in automation add an Email step.
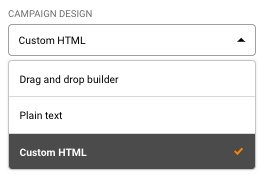
After you fill in the relevant information for the Campaign design, open the “Email design” drop-down bar.
Choose “Custom HTML” from options and click “Create email content”.
You can also create a campaign using our Drag and Drop editor and a custom HTML block in it. More on that here.
If you got stuck on a specific task or can’t find a way to execute a particular job, contact our support team via LiveChat or [email protected] – we’re here to help 24/7.
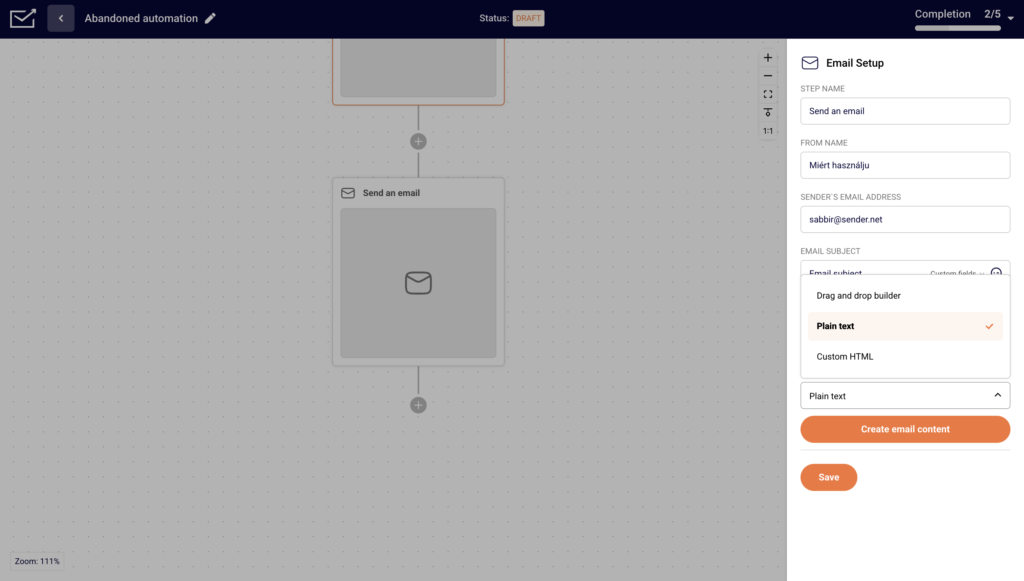
Yes! To create a plain text campaign in automation add an Email step.
After you fill in the relevant information, in the Email design, from the drop-down bar choose “Plain text” and click “Create”.
That’s it!
If you got stuck on a specific task or can’t find a way to execute a particular job, contact our support team via LiveChat or [email protected] – we’re here to help 24/7.
There are a few ways to exceed your subscription limits and different steps that should be taken once that happens.
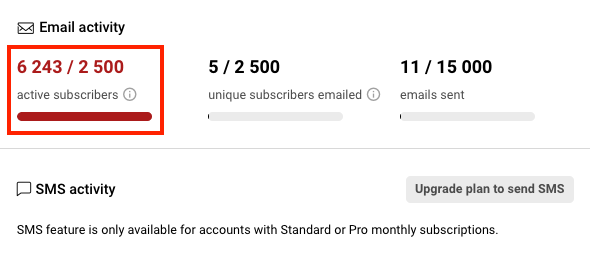
Firstly, let’s make it clear what are active and unique subscribers:
Active subscribers – the total number of recipients uploaded to your account that you can send emails to (excluding those that have unsubscribed, bounced, or reported spam).
Unique subscribers – the total number of unique email addresses you’ve sent emails to in the current plan period.
Exceeded active subscribers
If you have exceeded your active subscriber count, it means that you have imported more subscribers than your plan allows. To continue sending campaigns, you need to either purchase a plan that would be big enough for your whole list OR you can remove the surplus and keep the number of subscribers that will be within your plan limits.
Exceeded unique subscribers
If you have exceeded your unique subscribers emailed count, it means that you have contacted more recipients than your plan allows. To continue sending campaigns, you need to either purchase a bigger plan or wait for your plan to renew.
If you got stuck on a specific task or can’t find a way to execute a particular job, contact our support team via LiveChat or [email protected] – we’re here to help 24/7.
The open rate being 0% is very unlikely and is a technical issue in most cases.
The main one might occur if you are sending an HTML campaign. If that is the case, ensure that the campaign content follows the standard HTML structure. Otherwise, no statistics will be displayed in the report.
That’s it!
If you got stuck on a specific task or can’t find a way to execute a particular job, contact our support team via LiveChat or [email protected] – we’re here to help 24/7.