Blog

  • Set unsubscribe confirmation

    Setting up the Unsubscribe confirmation is a very easy process. Simply go to Settings, General settings and then enable the “Ask for unsubscribe confirmation” option that is under “Other settings”. Do not forget to save the changes!

    After your subscriber clicks the Unsubscribe button, they will be redirected to another page to confirm their unsubscription. 


    If you got stuck on a specific task or can’t find a way to execute a particular job, contact our support team via LiveChat or [email protected] – we’re here to help 24/7.

  • Edit scheduled campaign

    A scheduled campaign can be edited at any time before it gets sent. If you want to edit the time when the campaign gets sent, simply go to Email campaigns and click Edit schedule. 

    Then choose a new time for the campaign to be sent.

    If you want to edit any other part of the campaign, e.g., its title, the preview text, the sender’s email, recipients, or content, you will have to cancel the schedule and edit the campaign as any other draft.

    That’s it!

    If you got stuck on a specific task or can’t find a way to execute a particular job, contact our support team via LiveChat or [email protected] – we’re here to help 24/7.

  • Edit a Contact’s Email Address

    Editing user’s email address is a very easy process. Simply go to “Settings”, click on “Users,” and “Edit” next to the user that you want to change.

    After that, click the email address field and enter the new email address for that user.

    Once you are happy with the email address, make sure to save the changes.


    If you are stuck on a specific task or can’t find a way to execute a particular job, contact our support team via LiveChat or [email protected] – we’re here to help 24/7.

  • Preview form desktop/mobile

    While you are creating a form, you have the option to see how it will look on desktop and mobile devices. You will find the switch between desktop and mobile in the form editor:

    If you want to hide the pop-up form from any of the devices, you can do that by going to Behavior -> Visibility. 


    If you got stuck on a specific task or can’t find a way to execute a particular job, contact our support team via LiveChat or [email protected] – we’re here to help 24/7.

  • Preview email campaign on desktop and mobile

    After creating a campaign, to make sure it looks the way you intend it to, check the way it will be displayed on desktop and mobile. To do that, in the Drag and Drop editor, click the “Eye” icon, which will show the preview.

    You will then be presented with how the campaign will be displayed on desktop and mobile.

    You can check the email preview once more at the last step of the campaign creation. Simply click the “Preview” button as indicated here:


    If you got stuck on a specific task or can’t find a way to execute a particular job, contact our support team via LiveChat or [email protected] – we’re here to help 24/7.

  • Include/exclude groups and segments

    Overview

    To maximize your campaign performance, you should only contact those recipients that are engaged and are looking forward to your campaign.  You might want to avoid contacting some of your recipients:

    • Exclude recipients that are unengaged and that might damage your sender reputation. You should clean up your list regularly to maintain a truly engaged audience. Here is more on how to achieve that.

    • Avoid sending your campaign to people that might not be interested in specific content. Having a well-organized subscriber list with detailed custom fields and appropriate groups can help target specific subscribers that will be excited to receive.

    Including/excluding groups and segments

    After creating the campaign, in the Subscribers section, deselect “All active subscribers,” and you will be presented with two columns “Send to these groups/segments” and “Exclude groups/segments”. 

    The first column is for the subscribers that you want to send the campaign to and the second one is for the groups and segments that you want to exclude from the recipients’ list. 

    If a subscriber belongs to a group/segment that you choose to send the campaign to and the segment/group that you exclude from the recipients – the subscriber will NOT receive the campaign.

    The total number of selected recipients is presented at the very bottom. 

    That’s it!

    If you got stuck on a specific task or can’t find a way to execute a particular job, contact our support team via LiveChat or [email protected] – we’re here to help 24/7.

  • Identify engaged subscribers

    Here you will learn how to clean your subscriber list and maintain excellent deliverability by identifying and removing unengaged recipients. 

    30-day engaged

    This is a list of your most engaged clients. If you have 100k+ subscribers, we would highly recommend contacting only your most engaged subscribers to maintain a high open rate and make sure that your email campaigns land directly in your recipients’ inboxes.

    To sort out the most engaged subscribers for the past 30 days, go to Subscribers -> Advanced filter. 

    Set the advanced filter to show those subscribers that have Opened a campaign in the past 30 days (one month). 

    Save it as a new segment and name it accordingly.

    Before you send another campaign, make sure to update your most engaged subscribers’ segment. Do that by going to Subscribers -> Saved segments. Click on the segment.

    Change the date to 1 month ago from today.

    After that, simply Update the segment and choose it as your recipient for your campaign.

    120-day most engaged

    Reaching out to a bigger and less engaged audience is great when announcing something exciting or trying to get back your clients by offering them a discount. If someone has not engaged with any of your campaigns in the past 4 months, they are very unlikely to open any of them at this point.

    To sort out the most subscribers that engaged with your mailed content for the past 120 days, go to Subscribers -> Advanced filter. 

    Set the advanced filter to show those subscribers that have Opened a campaign in the past 120 days (go back 4 months from today in the calendar provided).

    Before you send another campaign, make sure to update your most engaged subscribers’ segment. Do that by going to Subscribers -> Saved segments. Click on the segment.

    Change the date to 4 months ago from today.

    After that, simply Update segment and choose it as your recipient for your campaign.

    That’s it!

    If you got stuck on a specific task or can’t find a way to execute a particular job, contact our support team via LiveChat or [email protected] – we’re here to help 24/7.

  • Shopify Integration Setup

    This is the official documentation for Sender’s Integration for Shopify.

    Prerequisites

    • You need a working Shopify store.

    KEY FEATURES

    Installation process

    1. Log into your Shopify store.
    2. Click on ‘Add apps’
    3. Go to ‘Find more apps in the Shopify app store
    4. Click on ‘Search apps’ and search for Sender Email Marketing & SMS
    5. Click ‘Add app’ and then ‘install app’
    6. After successfully installation you will be redirected to Sender app.
    7. Enjoy!


    Here’s a short video of the installation process:

    EMBEDDED SUBSCRIPTION FORMS

    When enabled, Sender subscription forms will appear in the Module positions menu. It allows you to insert your Sender’s subscription forms into your web page. All your forms must be created via the Sender’s Form creator. Once the form is created, you will see it on your website customization. Just click on “Add section,” and from the apps section, choose “Sender – Embedded Form.”

    Steps to embed Sender form:

    1. Click on “Add section”

    2. Choose “Sender – Embedded form”

    3. On the right side you need to add form ID

    4. Form ID can be found on Sender app -> Forms -> Overview

    5. Copy and paste the form ID into the Shopify

    Here’s the video:

    POP-UP FORMS

    Pop-up forms will automatically appear on your website without further configurations. Simply “Activate” the required pop-up on Sender platform, and it will appear on the website.

    REVENUE TRACKING


    This is a new feature for all Pro plan users. After enabling this feature, you can track your sales performace.

    From the screenshot, you can see categories that can be tracked:

    1. Total revenue

    2. Number of orders

    3. Revenue per customer

    4. ROI (Return on investment)

    Return on investment (ROI) is calculated according to this formula:

    To activate revenue tracking, you need to send a campaign to your customers with included link to your connected store. Once the customer receives your newsletter and makes an order on the e-shop, you will see statistics in the revenue tracking section.

    Revenue tracking can be found by clicking on the sent campaign “View report” button.

    CART TRACKING

    Cart tracking is enabled automatically if you connect your store with Sender.

    With this feature you are able to create automated Abandoned cart and Product purchased workflows. If you do not have one yet, simply click Setup now.

    That’s it!

    If you got stuck on a specific task or can’t find a way to execute a particular job, contact our support team via LiveChat or [email protected] – we’re here to help 24/7.

  • Integrations Overview

    No matter if you are just getting started with Sender or have been a user for a while already, it’s important to integrate other platforms that you use to maximize your experience and productivity with your Sender account. We have several built-in integrations that allow you to synchronize data with your Sender account and use this information to achieve your marketing goals.

    We have a direct integration with the following platforms:

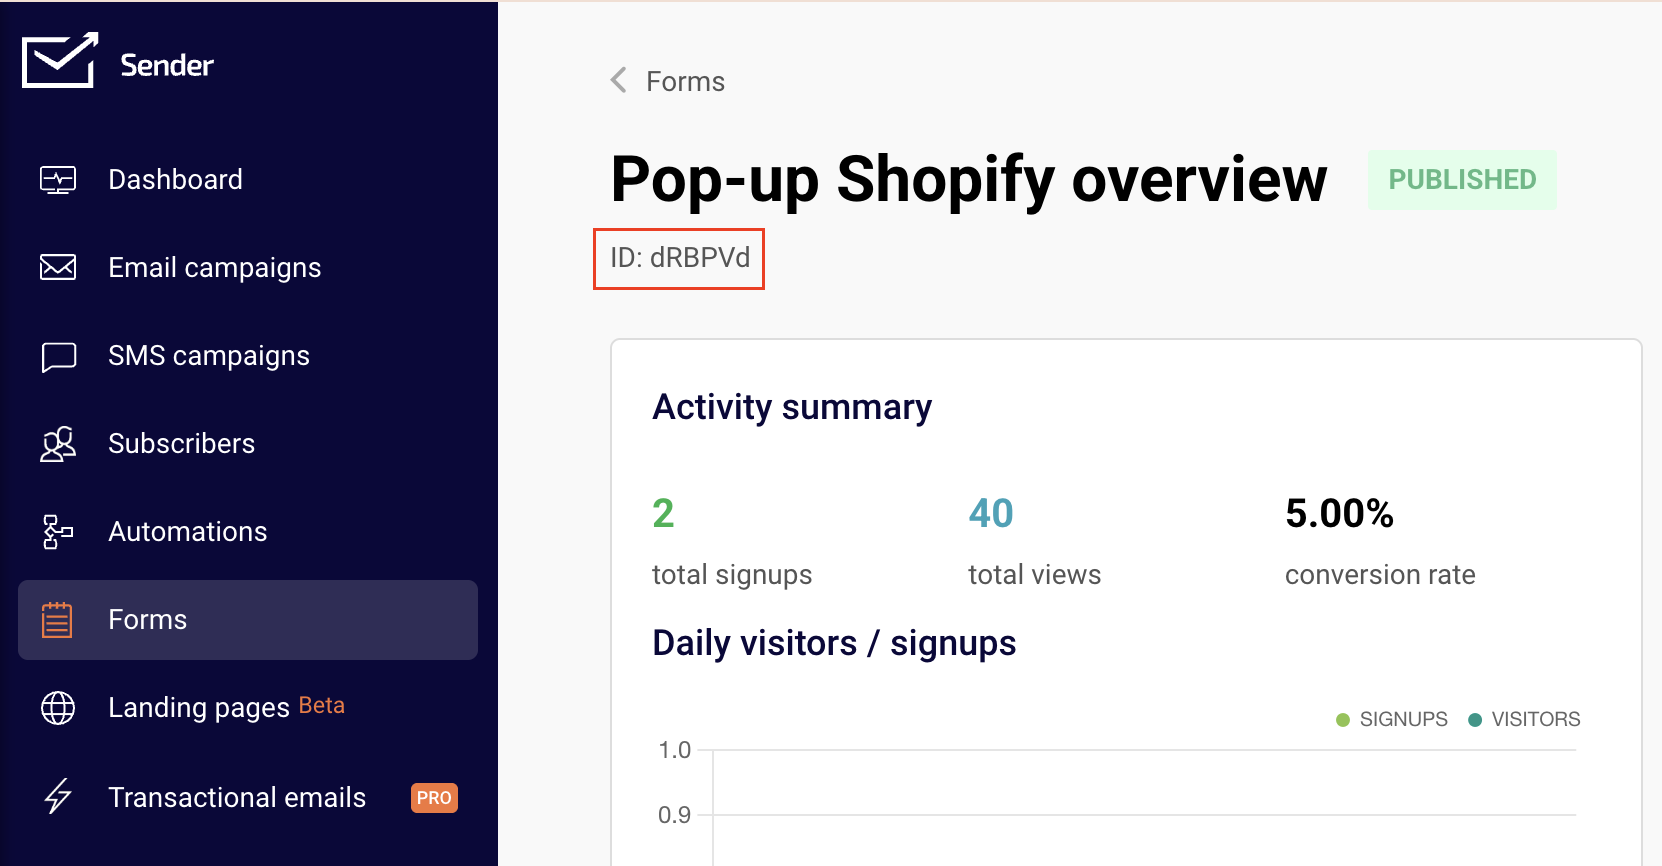
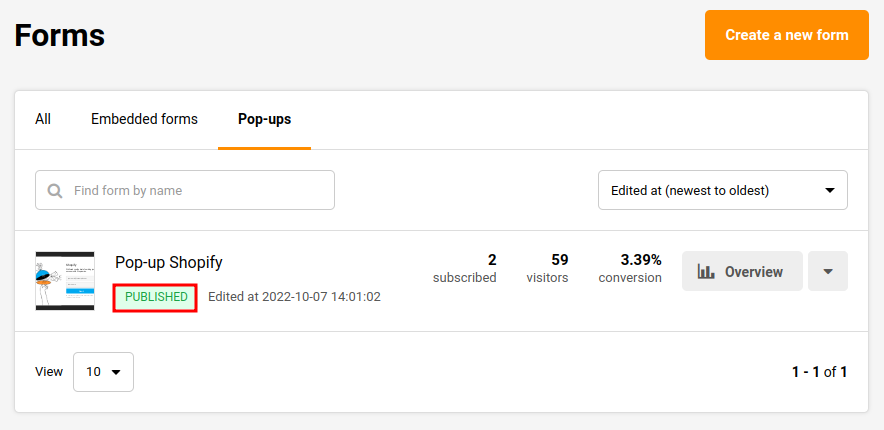
    Sync your Shopify store with Sender to power up your email marketing. Send automated product recommendations, abandoned cart reminders, and exclusive deals to boost sales.

    Integrate

    Effortlessly connect Sender with WordPress to streamline your email marketing. Capture leads directly from your website, sync subscriber lists, and automate campaigns without hassle.

    Integrate

    Seamlessly link Sender with thousands of apps using Zapier. Automate workflows, sync data between platforms, and create custom triggers without coding.

    Integrate

    Enhance your online store’s communication with Sender and PrestaShop. Sync customer data, automate follow-ups, and send targeted offers to improve conversions and customer retention.

    Integrate

    Connect Sender with Ottokit to automate lead capture, subscriber updates, and campaign triggers across multiple apps, enhancing efficiency and engagement.

    Integrate

    Integrate Jumpseller with Sender to sync customer data, automate promotional emails, and drive repeat purchases through targeted email marketing.

    Integrate

    Boost your eCommerce marketing by integrating WooCommerce with Sender. Automatically send personalized emails based on customer purchases, abandoned carts, and order updates to drive engagement.

    Integrate

    Enhance your email design workflow by integrating Stripo with Sender. Create stunning, fully customized email templates using Stripo’s intuitive editor and vast template library, then seamlessly export them to Sender for high-impact campaigns.

    Integrate

    Automate your email marketing workflows by integrating Pabbly with Sender. Sync contacts, trigger campaigns, and streamline communication effortlessly.

    Integrate

    Easily connect Zotabox with Sender to capture leads from pop-ups, contact forms, and floating bars. Ensure every new subscriber gets added to your email campaigns instantly.

    Integrate

    Use Google Tag Manager with Sender to track user behavior, optimize email performance, and implement event-based triggers without modifying your website’s code.

    Integrate

    That’s it!

    If you are stuck on a specific task or can’t find a way to execute a particular job, contact our support team via LiveChat or [email protected] – we’re here to help 24/7.

  • Create “call now” button

    If you want your customers to be able to call you straight from your sent campaign, you should consider implementing a visible  Call now button in the newsletter’s body. Creating a “Call now” button is pretty simple – first, you will need to insert a button element into the selected section.

    When that’s done – button’s “link” section should have shortcut: tel:phone number

    for example, tel:+443031237300

    Now when the recipient clicks on the button, an option to call the selected phone number will emerge.

    Here how it looks on iPhone:

    That’s it!

    If you got stuck on a specific task or can’t find a way to execute a particular job, contact our support team via LiveChat or [email protected] – we’re here to help 24/7.