Blog

  • Navigate design editor interface

    If you’re new to design, the interface can be pretty overwhelming at first and that’s okay – the Drag & Drop design editor is user-friendly and feature-rich.

    Let’s start from basics

    Section blocks must be implemented first, then different elements can be added upon it. Sections are the foundation of the newsletter.

    After you finish building newsletter’s foundation, pull the necessary element blocks into them, and begin creating a stunning newsletter!
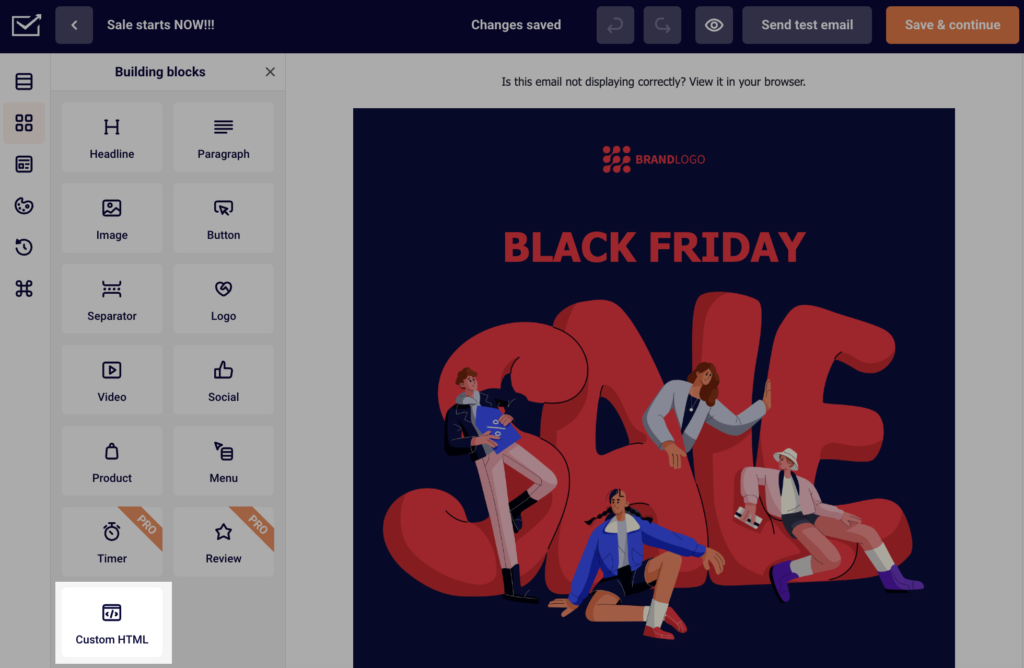
    Elements tab

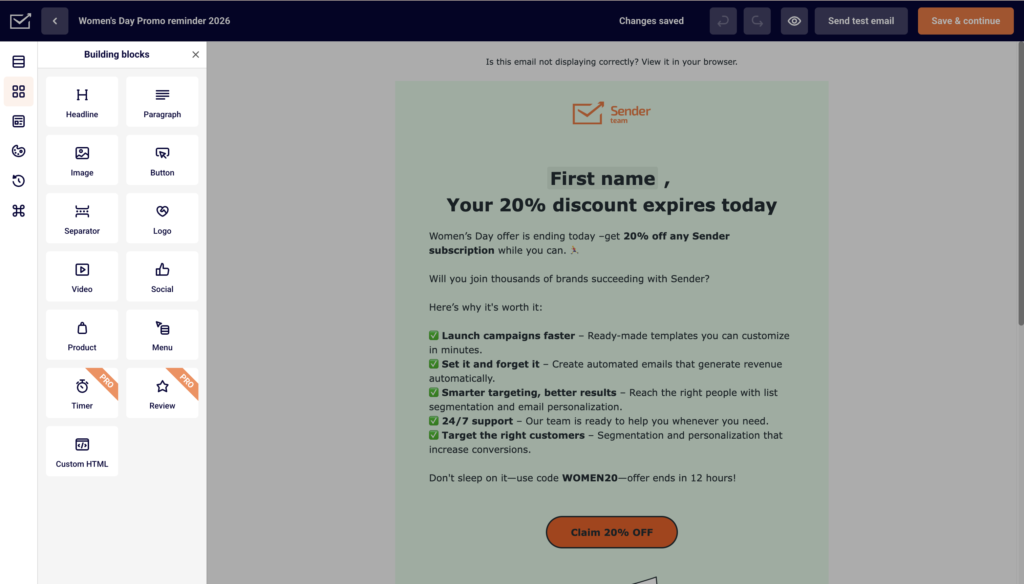
    • Headline element is dedicated specifically to headlines.
    • Paragraph element is meant for longer text – descriptions, stories, and etc.
    • Image element is for your images, gifs and other visuals.
    • Button element creates a button or call-to-action.
    • Separator allows you to separate your content with a customizable spacer.
    • Video element – videos can be self-hosted, added from Youtube or another video-sharing platform. Once they are imported, they get converted to a high-quality gif.
    • Social element is pretty self-explanatory – by using this element, you can add your social icons.
    • Product element is for our e-commerce users. The product element will allow you to import products from your website (no integrations are needed) by copying the item’s URL.
    • Timer – set a custom timer to encourage action (available for professional plan users only).
    • Review – create a 1-10 review form and view submitted feedback in reports section (available for professional plan users only).
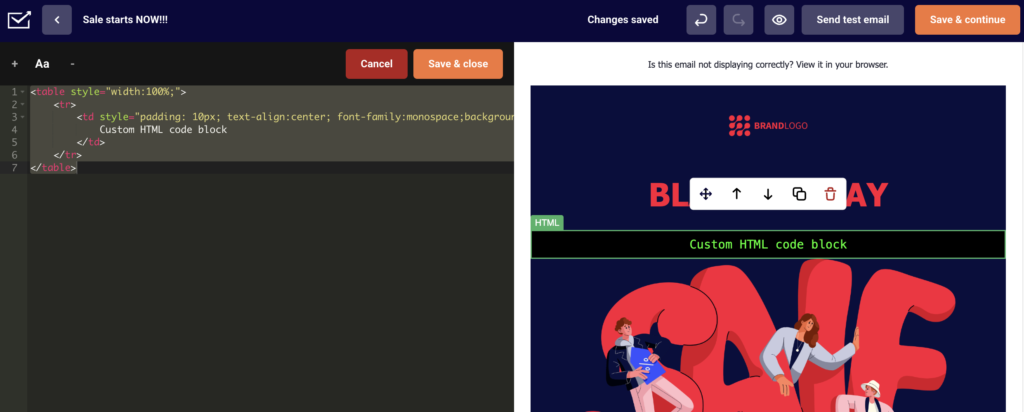
    • Custom HTML – an ability to add HTML coded section.
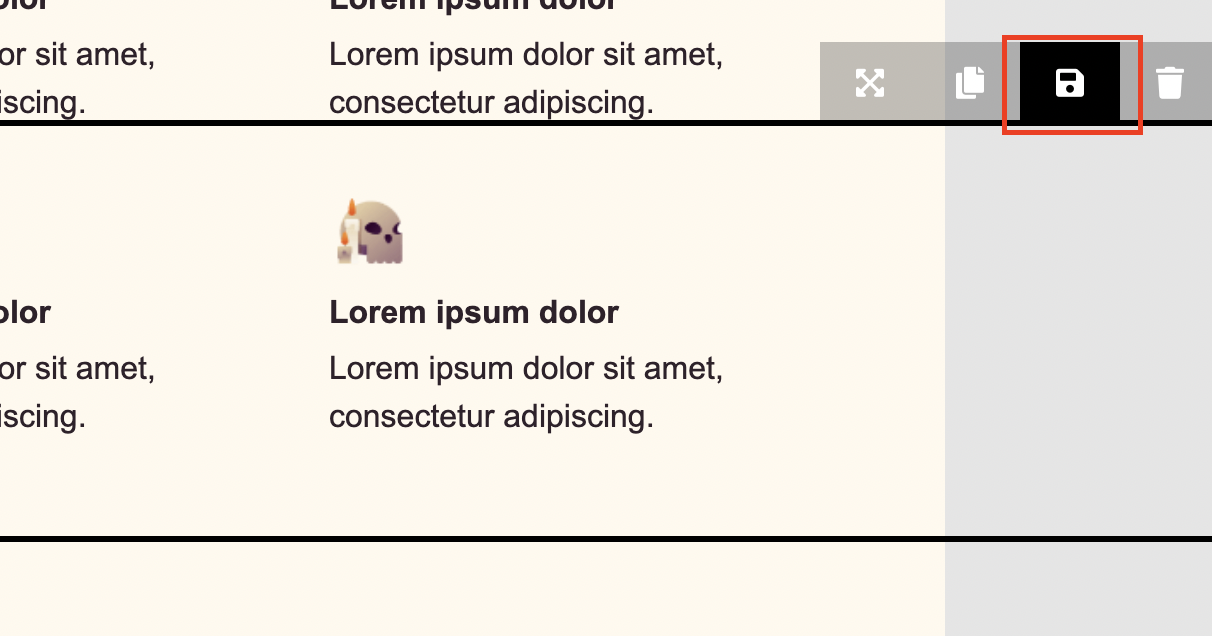
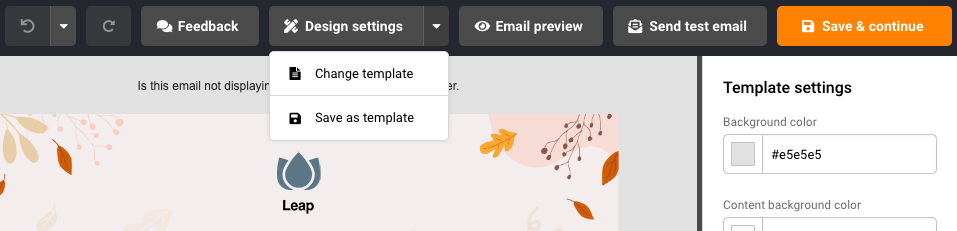
    Section tab

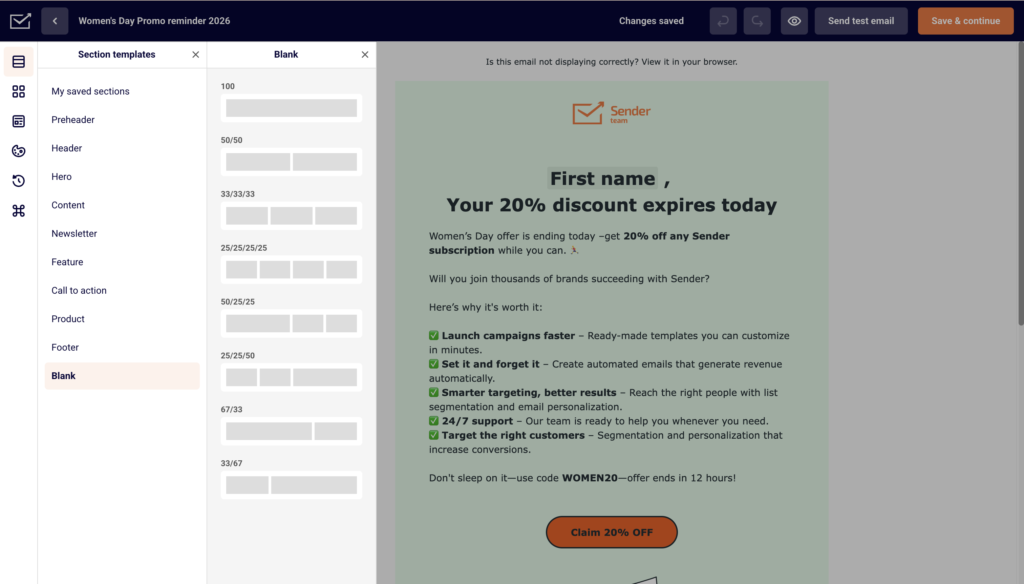
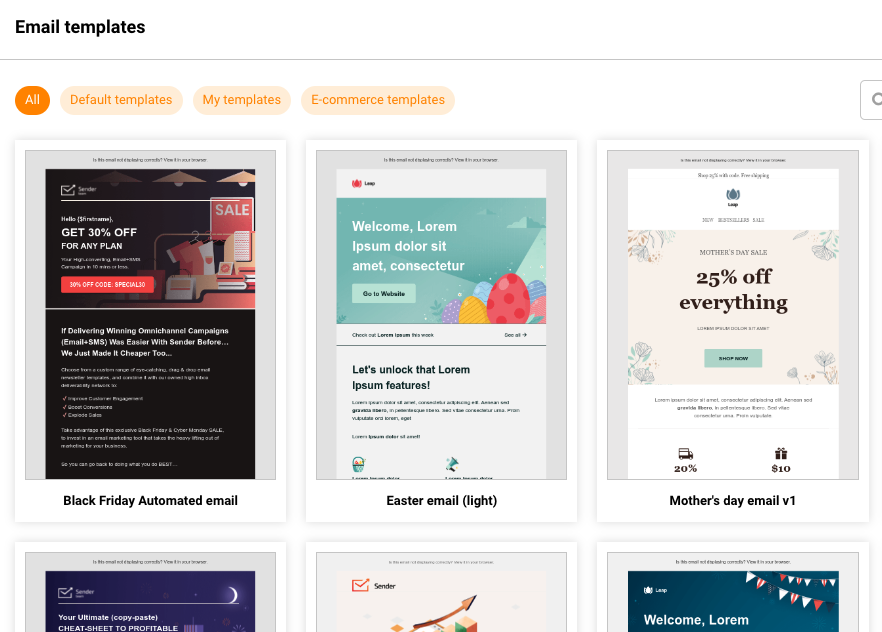
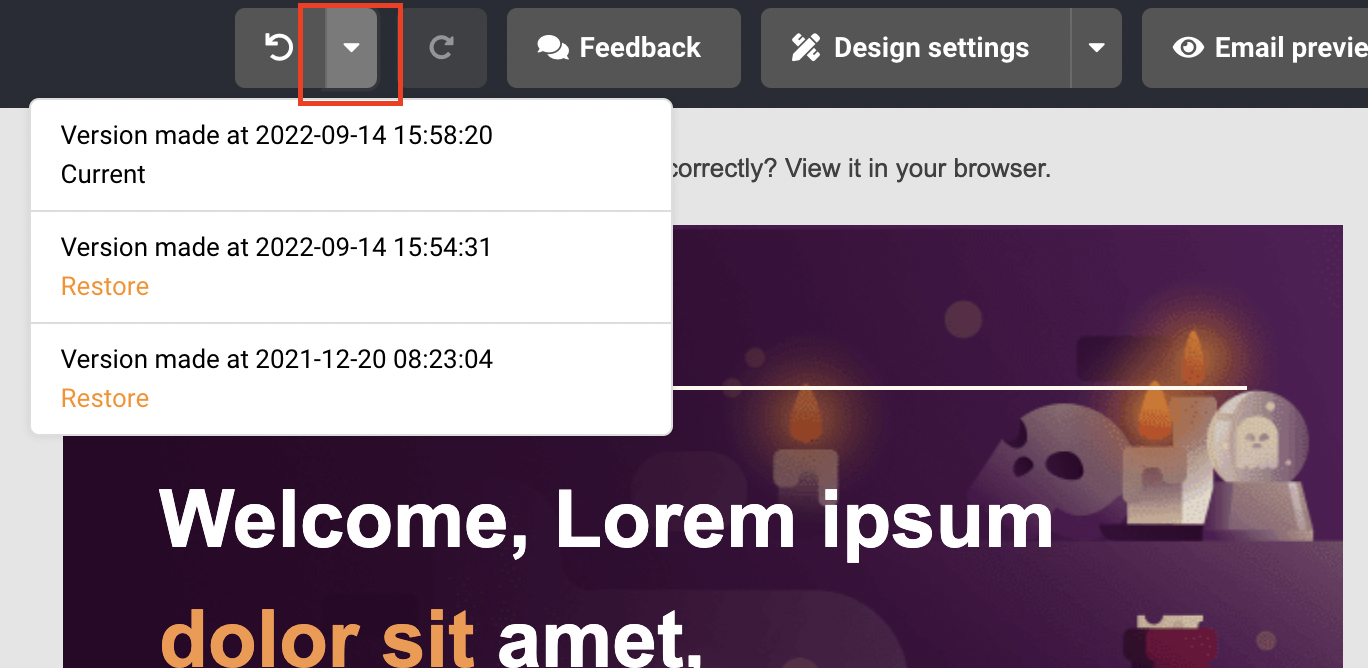
    Users will initially have default sections; however, additional sections can be saved. For example – if you created an excellent-looking footer, you can save it for future use.

    Click here for a tutorial on “how to save sections” .

    Design experience with newsletter builder is user-friendly. Creating good-looking emails never been so enjoyable. Basic email designs are usually produced in few moments.

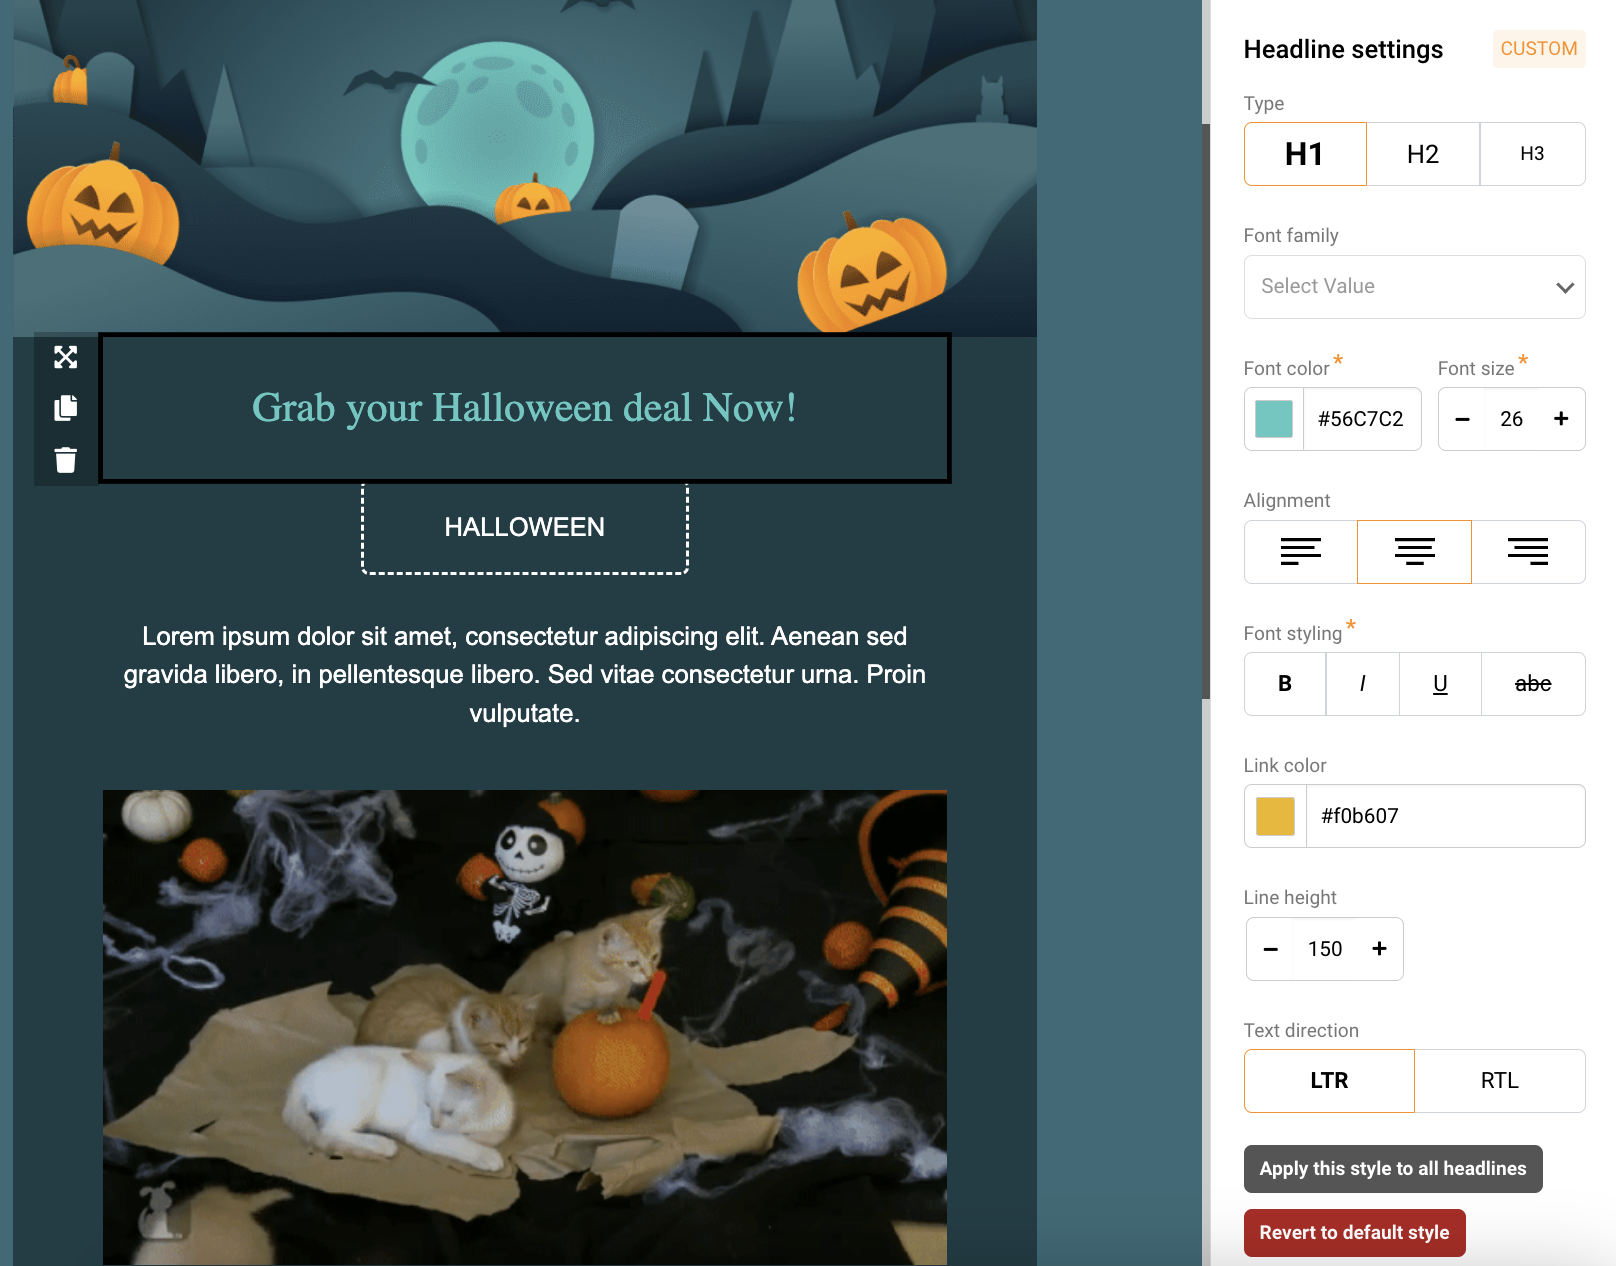
    How to customize an element?

    When an element is dragged to the section column, a customizable menu will appear on the right side of the dashboard. There you’ll be able to modify settings like sizes, colors, paddings, and other element’s settings.

    Furthermore, elements are easily moved between columns. Simply pick the needed item and drag it to next section.

    That’s it!

    If you got stuck on a specific task or can’t find a way to execute a particular job, contact our support team via LiveChat or [email protected] – we’re here to help 24/7.

  • Use account without business email

    In order to use Sender.net, users must have a working business email address – it helps with exceptional deliverability and has other useful perks.

    I don’t have a working business email. What should I do? We recommend using Google Workspace service. It gives many features, but most importantly, it provides you with the business email address and a Gmail inbox.

    Click here to learn more.

    That’s it!

    If you are stuck on a specific task or can’t find a way to execute a particular job, contact our support team via LiveChat or [email protected] – we’re here to help 24/7.

  • Import Contacts from Mailchimp

    The transitioning between providers should be easy and straightforward, so we created a sophisticated tool, especially for that.

    First of all, to transfer subscribers from Mailchimp to Sender, you will need to open the Sender dashboard and head to the Subscribers section. Then click “Add subscribers”.

    Then click on the Mailchimp icon and enter your Mailchimp account’s API key in the area below and click Get lists.

    How to find API key in Mailchimp?

    Log into your Mailchimp account. Go to the bottom left corner, click on your title picture and choose “Profile”

    Then click on “Extras” > API key 

    As Mailchimp hides formerly created API keys, you must create a new one if you do not have the previous one copied and saved somewhere.

    After creating and naming your new API code, you will be able to copy the full code and use it to export your subscribers from Mailchimp.

    That’s it!

    If you got stuck on a specific task or can’t find a way to execute a particular job, contact our support team via LiveChat or [email protected] – we’re here to help 24/7.

  • Filter active and inactive

    Active subscribers are those subscribers who can get email or SMS communication from you. This is the default status for all freshly imported subscribers.

    If you import subscribers’ email addresses, their email and transactional email status will be set to Active.

    If you import subscribers phone numbers, their SMS and transactional SMS status will be set to Active.
    To see your active subscribers, go to Subscribers, click Email status or/and SMS status choose Active:

    If you want to see all inactive subscribers, choose all but active status, and you will get the list of your inactive subscribers for that specific channel.


    If you got stuck on a specific task or can’t find a way to execute a particular job, contact our support team via LiveChat or [email protected] – we’re here to help 24/7.

  • Save reusable sections

    Saving sections can be beneficial for future designs – it can reduce workload while designing a brand-new newsletter, furthermore, well-developed sections will save time and help you later.

    While in the drag & drop editor, hover over the needed section and click on the “Save” icon.

    Once the “Save” icon is clicked, the section will be saved at the “Section” tab on the screen’s left side. You can access saved sections all the time while being in different campaigns as well. 

    Quick visualization below

    That’s it!

    If you got stuck on a specific task or can’t find a way to execute a particular job, contact our support team via LiveChat or [email protected] – we’re here to help 24/7.

  • Save email template

    Keeping newsletter design can be beneficial for future use, that’s why we advise saving final email designs. The saving process is quite simple. While in the editor,  click on the “Design settings” button, then tap on “Save as template”

    Now your newsletter design is saved in the “Email templates” section under “My templates”, which can be accessed by clicking the “Change template” or at the start of a new campaign. The templates are sorted by name.

    Note that the saved email template can also be used in Automation workflow emails.


    If you are stuck on a specific task or can’t find a way to execute a particular job, contact our support team via LiveChat or [email protected] – we’re here to help 24/7.

  • Use HTML block element

    The HTML element is essential for users who need to insert a custom-coded section or a full HTML template while using the “Drag & Drop” design editor. This feature allows you to have completely customized design elements.

    How can I use it? 

    First of all, drag the “Custom HTML” block into the selected section, and HTML console will appear on the left side. 

    Then, simply click the block that appeared and type or paste the HTML code in the console/editing area.

    If you wish to import a whole HTML template into the Design editor – follow identical steps on an empty template.


    If you got stuck on a specific task or can’t find a way to execute a particular job, contact our support team via LiveChat or [email protected] – we’re here to help 24/7.

  • Undo and restore changes

    The “undo” button is pretty self-explanatory. It works the same way as on the other programs. It lets you go back on and restore previous designs or edit. 

    The restore button works similarly, though it has few differences. For a start, it shows the exact date of the recent change and lets you move back and forth through the changes. That would affect not only the particular design but also the design editor’s changes, e.g. if you changed templates – that will be registered. 


    If you got stuck on a specific task or can’t find a way to execute a particular job, contact our support team via LiveChat or [email protected] – we’re here to help 24/7.

  • Provide verification information

    In order to protect our clients against spam, we have sophisticated a system that flag accounts that contain suspicious information.

    In most cases, the system works fine; however, sometimes perfectly innocent accounts get flagged. Many factors contribute to this, so – if you see this notice, don’t worry. It might not even be something directly related to you; for example, it could be you’re happening to use an IP that was flagged as suspicious in the past. These things happen – we’re just making sure everything’s all right.

    To make the process as fast as possible, please provide the following information to see if you’re a proper sender.

    1. Briefly describe how your business practices email marketing. What types of emails will you be sending?
    2. Where do you source your database/list of email addresses? Additionally, could you please provide the URLs to any of these sources (any websites or domains)
    3. What is your expected monthly email volume?

    Please answer these questions as completely as possible and forward them to [email protected]

    We’re doing this not to annoy you but to protect all our users on the system.

    That’s it!

    If you got stuck on a specific task or can’t find a way to execute a particular job, contact our support team via LiveChat or [email protected] – we’re here to help 24/7.

  • Use mobile editor features

    The new Design editor is more mobile responsive than ever.

    There’s a mobile view within the editor itself. You’ll be able to see how your campaign looks like on a mobile device, so you won’t need to send any campaigns to yourself to check how it looks on mobile.

    There are a few other functions you can use to make the mobile view even more attractive. One of them – the ability to hide elements if the campaign got opened on a mobile device.

    Or, you can choose to break elements in the section so that they’d line up instead of being next to each other.

    As you can see elements that are next to each other will line up one after another in the mobile view. That is done in order to maintain a good quality of your images and retain the best view possible on the mobile device.

    That’s it!

    If you got stuck on a specific task or can’t find a way to execute a particular job, contact our support team via LiveChat or [email protected] – we’re here to help 24/7.