Transfer your subscribers from Mailchimp using your API key.
Go to your Mailchimp profile (bottom left corner)
Click “Extras” → “API keys”
Create a new API key if needed
Copy and paste the key into Sender
Click “Get lists”
4. Import from GetResponse
Migrate contacts from GetResponse using their API.
Click on the menu in GetResponse
Select “Integrations and API”
Click on the “API” tab
Click “Generate API key” and copy it
Paste the key into Sender
Click “Start import”
5. Using the API
For developers, you can add subscribers programmatically using our API.
Visit api.sender.net and navigate to Subscribers → Create new subscriber for complete documentation and code examples.
That’s it!
If you got stuck on a specific task or can’t find a way to execute a particular job, contact our support team via LiveChat or [email protected] – we’re here to help 24/7.
Exporting your contact database allows you to back up your data, analyze subscriber information, or migrate to other platforms.
How to Export Contacts
Step 1: Filter Your Contacts (Optional)
Use the search bar to find contacts by email address
Apply Email status filters (Active, Bounced, Unsubscribed, etc.)
Apply SMS status filters for SMS subscribers
Filter by Groupsor Segments to export specific subscribers
Use Advanced filter for more detailed criteria
Step 2: Select Export Option
Once you have your desired contacts displayed (either all contacts or filtered results)
Select all of the contacts via the arrow in the top-left corner and proceed to go to the “Actions”
Step 3: Choose Export Format
CSV – Most common, works with Excel and other spreadsheet programs
Excel (.xlsx) – Direct Excel format
Step 4: Download Your File
The system will prepare your export file
Download the file to your computer
The file will contain all subscriber information including:
Email addresses and names
Phone numbers
Group memberships
Custom fields
Subscription status
Registration dates
What Gets Exported
Basic contact information (email, name, phone)
Subscription status for email and SMS
Group assignments
Custom field data
Registration and activity dates
Tips
Filter first if you only need specific contacts
Regular backups – Export your full contact list regularly
Secure storage – Keep exported files in secure locations
Check file size – Large lists may take longer to process
If you got stuck on a specific task or can’t find a way to execute a particular job, contact our support team via LiveChat or [email protected] – we’re here to help 24/7.
Finding specific subscribers quickly is essential for effective contact management. We provide multiple search and filtering options to help you locate contacts based on various criteria.
Basic Search
Use the main search bar to quickly find subscribers by entering their email address. Simply type the email address (partial or complete) in the “Filter subscribers” box and results will appear in real-time as you type.
Advanced Filtering Options
We provide several dropdown filters to narrow down your subscrbier list effectively.
Email Status Filter, which filters contacts based on their email campaign status with two categories:
Unsubscribed: Contacts who opted out of transactional SMS
Reported spam: Transactional SMS marked as spam
Non-subscribed: Not enrolled in transactional SMS delivery
Groups Filter, which helps find subscribers based on their group membership:
Select specific groups to view only members of those groups
Useful for targeting specific segments of your audience
Can filter by multiple groups simultaneously
Helps identify subscribers in particular categories like “New subscribers” or “Test groups”
Advanced Filter
For more complex searches, use the “Advanced filter” option which provides detailed filtering criteria across multiple categories:
Subscription Status
Email – Marketing email subscription status
Transactional Email – System email subscription status
SMS – Marketing SMS subscription status
Transactional SMS – System SMS subscription status
Subscriber Details
Group membership – Find subscribers in specific groups
Email address – Filter by email address patterns
Phone number – Search by phone number criteria
Created date – Filter by when subscribers joined
Subscribers location – Filter by geographic location
Campaign Activity
Sent – Subscribers who received campaigns
Opened – Subscribers who opened emails
Clicked – Subscribers who clicked links in emails
Unsubscribed from emails – Subscribers who opted out
Was inactive – Subscribers with low engagement
SMS Campaign Activity
Was sent to – Subscribers who received SMS campaigns
Clicked – Subscribers who clicked links in SMS messages
Custom Fields
Fields – Filter by any custom field values you’ve created
Using Advanced Filter
Click the “Advanced filter” button
Select criteria from the available categories
Set specific values or conditions for each selected criterion
Combine multiple criteria for precise targeting
Apply the filter to see results matching your conditions
Search Tips and Best Practices
Effective Search Strategies
Start Broad: Begin with general terms and narrow down as needed
Use Partial Matches: You don’t need to enter complete information – partial emails or names work
Combine Filters: Use multiple dropdown filters together for precise results
Regular Cleanup: Use status filters to identify and clean up bounced or invalid contacts
Common Search Scenarios
Finding Bounced Emails: Use Email status filter set to “Bounced”
Locating Test Subscribers: Filter by Groups and select test-related groups
New Subscriber Review: Filter by Groups for “New subscribers” or “New registrations”
SMS Campaign Prep: Use SMS status filter to find active SMS subscribers
Specific Contact Lookup: Use the search bar with email address or name
Managing Search Results
Bulk Actions: Select multiple contacts for group assignments or updates
Export Results: Save your filtered results for external use
Create New Groups: Turn search results into new subscriber groups
Campaign Targeting: Use filtered lists to create targeted email or SMS campaigns
Troubleshooting Search Issues
No Results Found
Check spelling in your search terms
Try partial matches instead of complete information
Clear existing filters that might be too restrictive
Verify the contact exists in your database
Too Many Results
Add more specific search criteria
Use additional dropdown filters to narrow results
Try the Advanced filter for more precise searches
Consider searching by unique identifiers like email addresses
Effective contact searching saves time and improves your ability to manage subscribers efficiently. Use the combination of basic search, status filters, group filters, and advanced filtering to quickly locate the exact contacts you need for any campaign or maintenance task. Regular use of these search tools will help you maintain a clean, organized subscriber database.
If you got stuck on a specific task or can’t find a way to execute a particular job, contact our support team via LiveChat or [email protected] – we’re here to help 24/7.
Managing subscriber contact information effectively helps maintain clean lists and enables targeted communication. This guide covers how to update profiles, organize subscribers into groups, and add custom data fields.
Accessing and Editing Profiles
Navigate to any subscriber’s profile to view and edit their information. You’ll see their current contact details, group memberships, and any custom fields that have been added.
Contact Information Updates
Basic Contact Details
Phone Number: Add or edit phone numbers using the “Add Phone” button for SMS campaigns
Name Fields: Edit first name and last name as needed
Registration Date: View when the subscriber joined (automatically tracked)
Email Status Monitoring
The system tracks email delivery status. If you see “BOUNCED” next to an email campaign, it means the email address is invalid or undeliverable. Update these addresses promptly to maintain list quality.
Group Managment
Groups help you organize subscribers for targeted campaigns and better list management, which you can always change around to your liking and how you would want to organize your subscribers and you can add them to groups via these steps through their contact information:
Open the subscriber’s profile page
Locate the groups section with the dropdown menu
Select one or multiple groups from the available options
Subscribers can belong to multiple groups simultaneously
Save your changes
Groups allow you to segment your audience for more relevant messaging and campaign targeting.
Custom Fields
The “Add custom field” feature is one of the most powerful tools for collecting additional subscriber information beyond standard contact details. The types of information are endless, such as:
Demographics: Age, location, occupation, income level
Preferences: Communication frequency, content interests, preferred contact method
Business Information: Company name, job title, industry, company size
Behavioral Data: Last purchase date, engagement level, website activity
Personal Interests: Hobbies, lifestyle preferences, event attendance
Creating and Managing Custom Fields
Navigate to the custom fields section in the subscriber profile
Click “Add custom field”
Name your field descriptively
Choose the appropriate data type (text, number, date, etc.)
Enter the information for that specific subscriber
Save to update the profile
Best Practices
Data Quality Maintenance
Address Bounced Emails: Regularly update or remove contacts marked as bounced
Verify Information: Double-check email addresses and phone numbers before saving
Consistent Formatting: Use standard formats for dates, names, and other data
Regular Reviews: Periodically audit subscriber information for accuracy
Effective Segmentation
Strategic Grouping: Assign subscribers to groups that reflect their interests or status
Multiple Group Assignments: Use multiple groups to create detailed subscriber profiles
Custom Field Strategy: Design custom fields that support your specific marketing goals
Test Before Broadcasting: Always use test groups to verify campaigns before sending to your entire list
Privacy and Compliance
Ensure you have permission to collect and store the information you’re adding
Keep sensitive data secure and follow relevant privacy regulations
Allow subscribers to update their own information when possible via forms
Troubleshooting Common Issues
Bounced Email Addresses
Check for typos in email addresses
Verify the domain exists and is accepting email
Consider alternative contact methods to confirm correct information
Group Management
Ensure subscribers are in relevant groups for their current status
Remove inactive subscribers from time-sensitive notification groups
Use descriptive group names to avoid confusion
Custom Field Organization
Plan your custom fields before creating them to avoid duplication
Use consistent naming conventions across all custom fields
Regular cleanup of unused or outdated custom fields
Conclusion
Proper contact management through regular updates, strategic group organization, and thoughtful use of custom fields will improve your campaign effectiveness and subscriber engagement. Keep profiles current, use groups to segment your audience effectively, and leverage custom fields to create more personalized communication strategies.
That’s it!
If you got stuck on a specific task or can’t find a way to execute a particular job, contact our support team via LiveChat or [email protected] – we’re here to help 24/7.
Need to check information about a specific subscriber? You can easily view detailed information about any contact in your Sender account, including their profile, activity, and engagement history.
How to View Subscriber Details
Go to Subscribers in the left sidebar
Find the subscriber you want to view
Click on the subscriber to open their profile
What You Can See
Email campaign – Email address, source, and status (Active/Unsubscribed)
SMS campaign – Phone number or option to add one
First name and last name
Subscription date
Any custom fields you’ve collected
Groups, which showcase what lists the subscriber is a part of
Subscriber Activity
Field updates and changes
Form visits and interactions
Email opens, clicks, and engagement
Exact timestamps for all activities
Filter Activity Options: You can filter the activity timeline to focus on specific types of interactions:
Opens – When they opened your emails
Clicks – Links they clicked in your campaigns
Unsubscribes – Any unsubscribe actions
Bounces – Failed email deliveries (hard or soft bounces)
Spam reports – If they marked your emails as spam
Emails – All email campaigns sent to the subscriber
Subscriber changes – Profile updates, list changes, etc.
Use these filters to quickly find specific activities or troubleshoot delivery issues. For example, filter by “Bounces” to see if there are delivery problems, or check “Opens” and “Clicks” to understand their engagement level.
That’s it!
If you are stuck on a specific task or can’t find a way to execute a particular job, contact our support team via LiveChat or [email protected] – we’re here to help 24/7.
Want to be instantly notified whenever someone submits your form? You can easily set up an automation that sends you an alert every time a new subscriber fills it out.
Step-by-Step Setup
Step 1: Create Your Form
Navigate to Forms in your dashboard
Click Create new form
Choose your desired design from the available templates
Add your form fields (name, email, message, etc.)
Step 2: Configure Group Settings
Go to Settings → Groups
Select or create a group for your form
Make sure to assign your form to the appropriate group.
Step 3: Save Your Form
Make sure to save the creation of the form
Verify all settings are properly configured before clicking the “Publish” button
Step 4: Create Notification Workflow
Go to the Automations tab
Click Create new workflow
Select Create from scratch
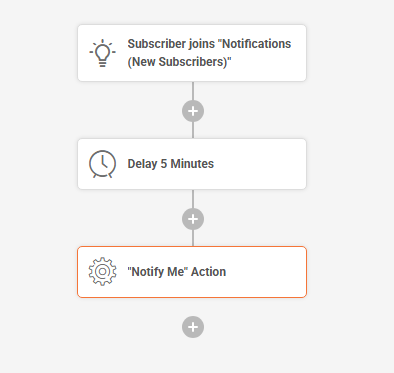
Step 5: Set Up the Trigger
Choose the “Subscriber joins group” trigger
Select the group you assigned to your form in Step 2
Step 6: Add Delay
Add a Delay action of at least 5 minutes
This prevents immediate notifications and allows for processing
Step 7: Add Notification Action
Add a “Notify Me” action as the final step
Configure the notification settings as needed
An Example of such Workflow would look like this:
Step 8: Test Your Setup
Submit a test entry through your form
Wait for the 5-minute delay to pass
Check that you receive the notification
Make adjustments if needed
That’s it!
If you got stuck on a specific task or can’t find a way to execute a particular job, contact our support team via LiveChat or [email protected] – we’re here to help 24/7.
In Sender, you can organize subscribers with Groups or Segments. Each has a different purpose, and knowing the difference helps you manage your audience effectively.
What Are Groups?
Groups are static lists of subscribers that you create manually.
Manual membership: You add subscribers to a group during import or later by editing their profile.
Doesn’t change automatically: Subscribers remain in the group until you remove them.
Multiple groups allowed: One subscriber can belong to more than one group.
What Are Segments?
Segments are dynamic subscriber lists created with rules and conditions.
Automatic membership: Subscribers join or leave a segment based on whether they meet the conditions you set.
Updates daily: The system refreshes segments so they always reflect the latest subscriber data.
Flexible rules: You can combine multiple filters, such as location, activity, or custom fields
When to Use Each
Use Groups when you want full manual control over who belongs to a list (e.g., tagging event attendees).
Use Segments when you want your list to update automatically (e.g., targeting active buyers or re‑engaging inactive subscribers).
By combining both, you can keep your subscriber management simple and powerful: use groups for organization, and segments for smart targeting.
That’s it!
If you got stuck on a specific task or can’t find a way to execute a particular job, contact our support team via LiveChat or [email protected] – we’re here to help 24/7.
Landing pages are a powerful way to grow your audience, promote special offers, or collect leads — all without needing a separate website. With Sender’s built-in landing page builder, you can quickly create and publish beautiful, mobile and tablet-friendly pages that match your brand.
Whether you want to launch a newsletter sign-up form, announce a product launch, or offer a downloadable resource, our landing pages make it easy.
In this guide, we’ll walk you through how to create and customize your first landing page step by step — from choosing a layout to publishing it live. Let’s get started!
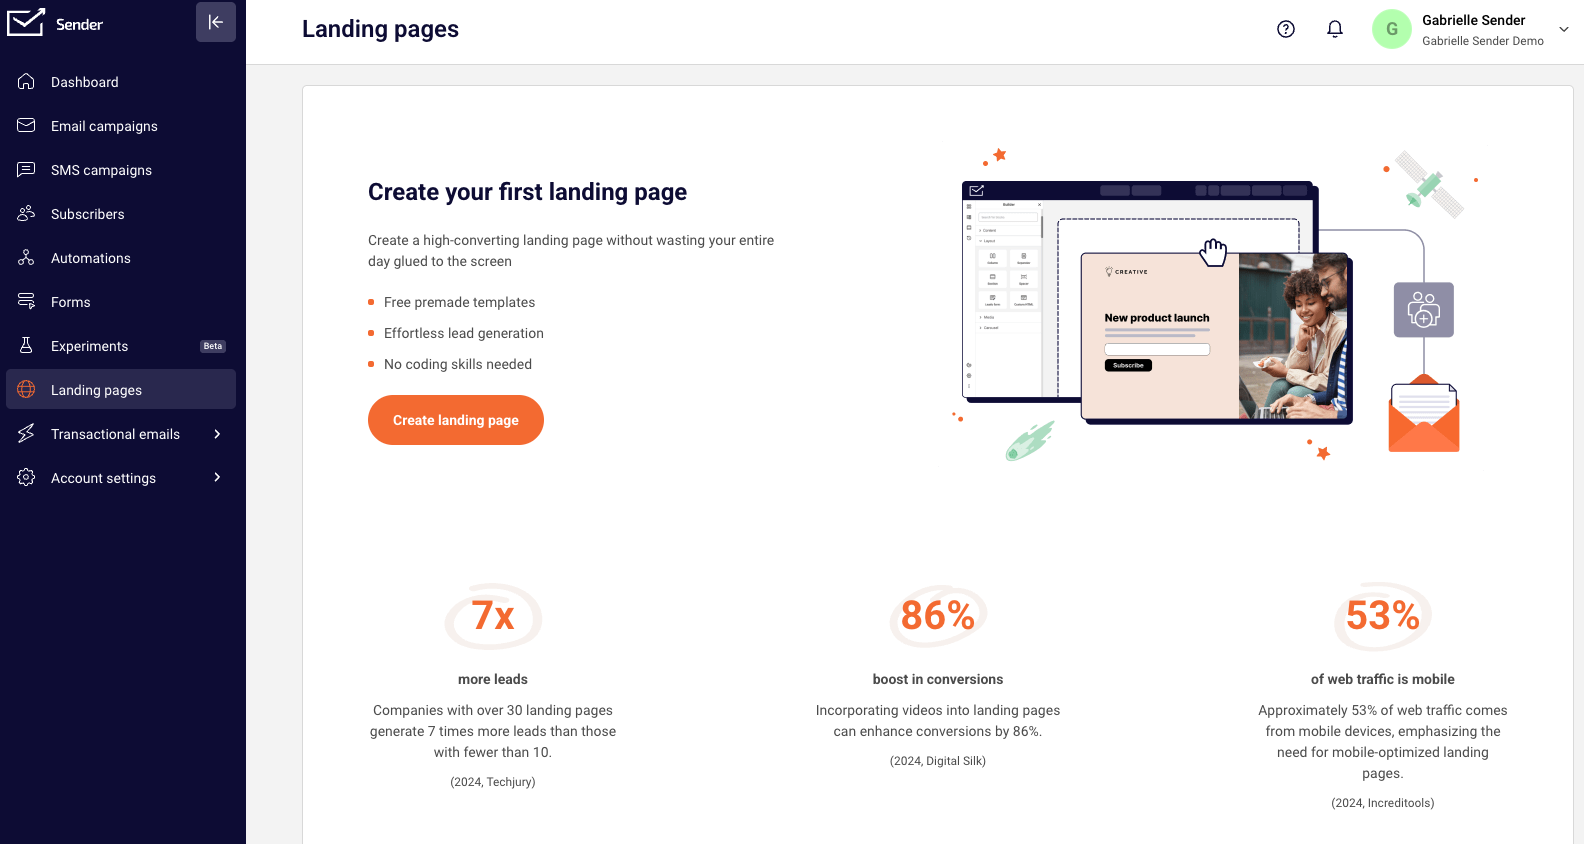
Creating a landing page
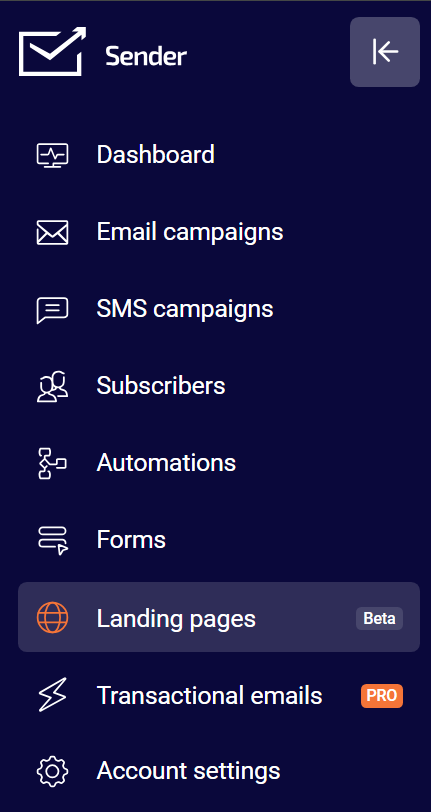
To create a landing page, head to “Landing pages” from the menu on the left and then “Create landing page”.
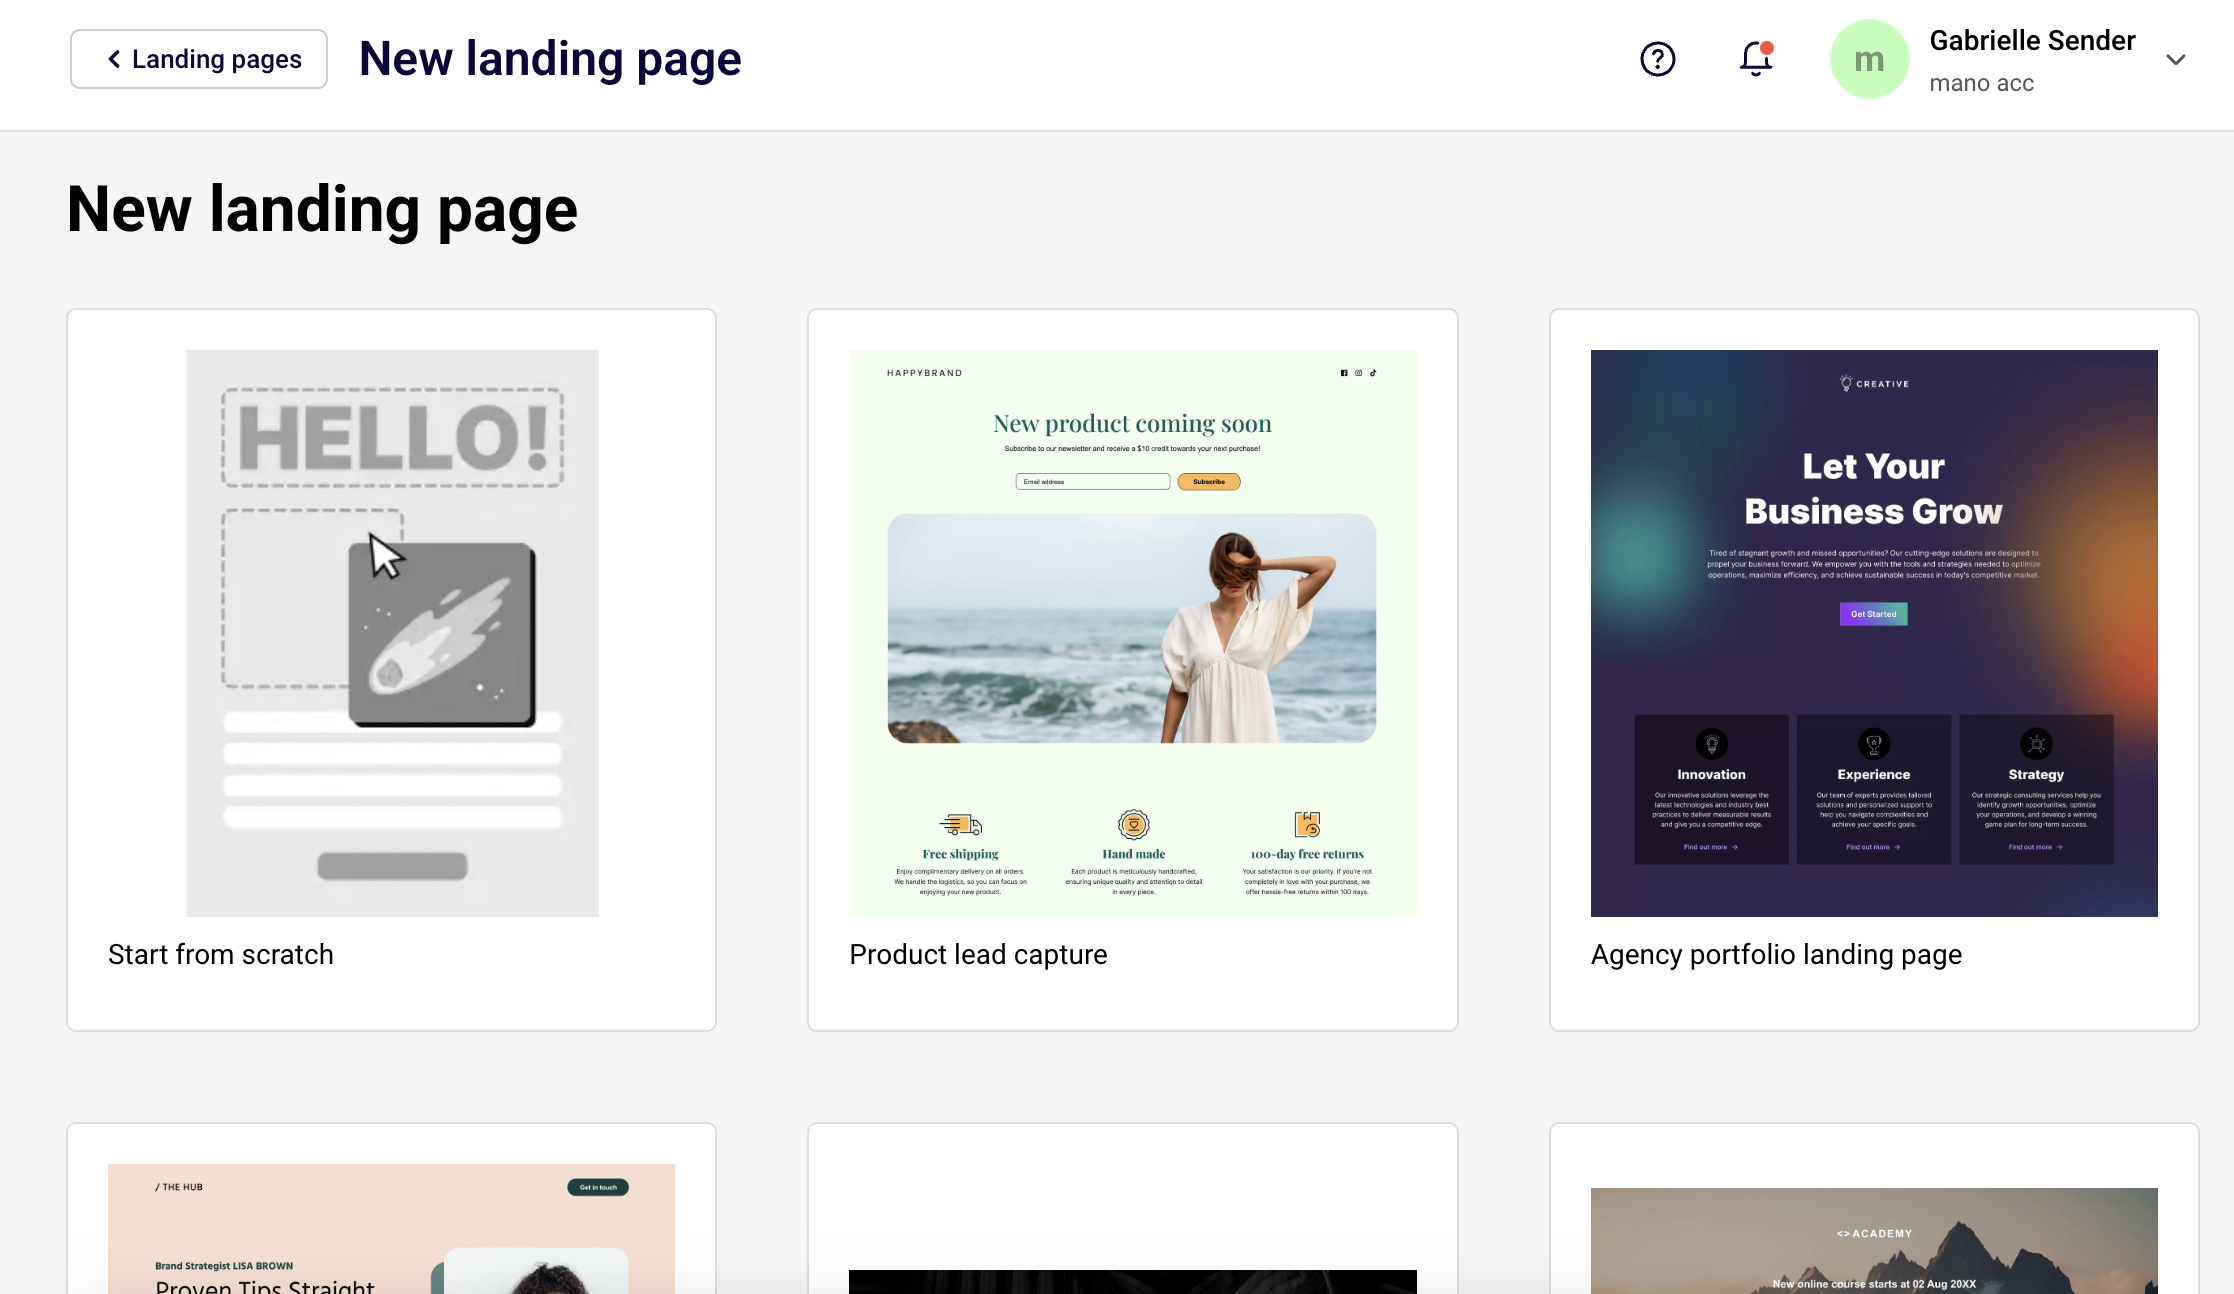
You will be asked to choose your landing page template or you can start creating one from scratch.
You will then be asked to name your landing page.
Another pop-up will give you an option to go through a quick tour around the landing page building, which we highly recommend. It will give you a great overview of the different sections and options for your creation process.
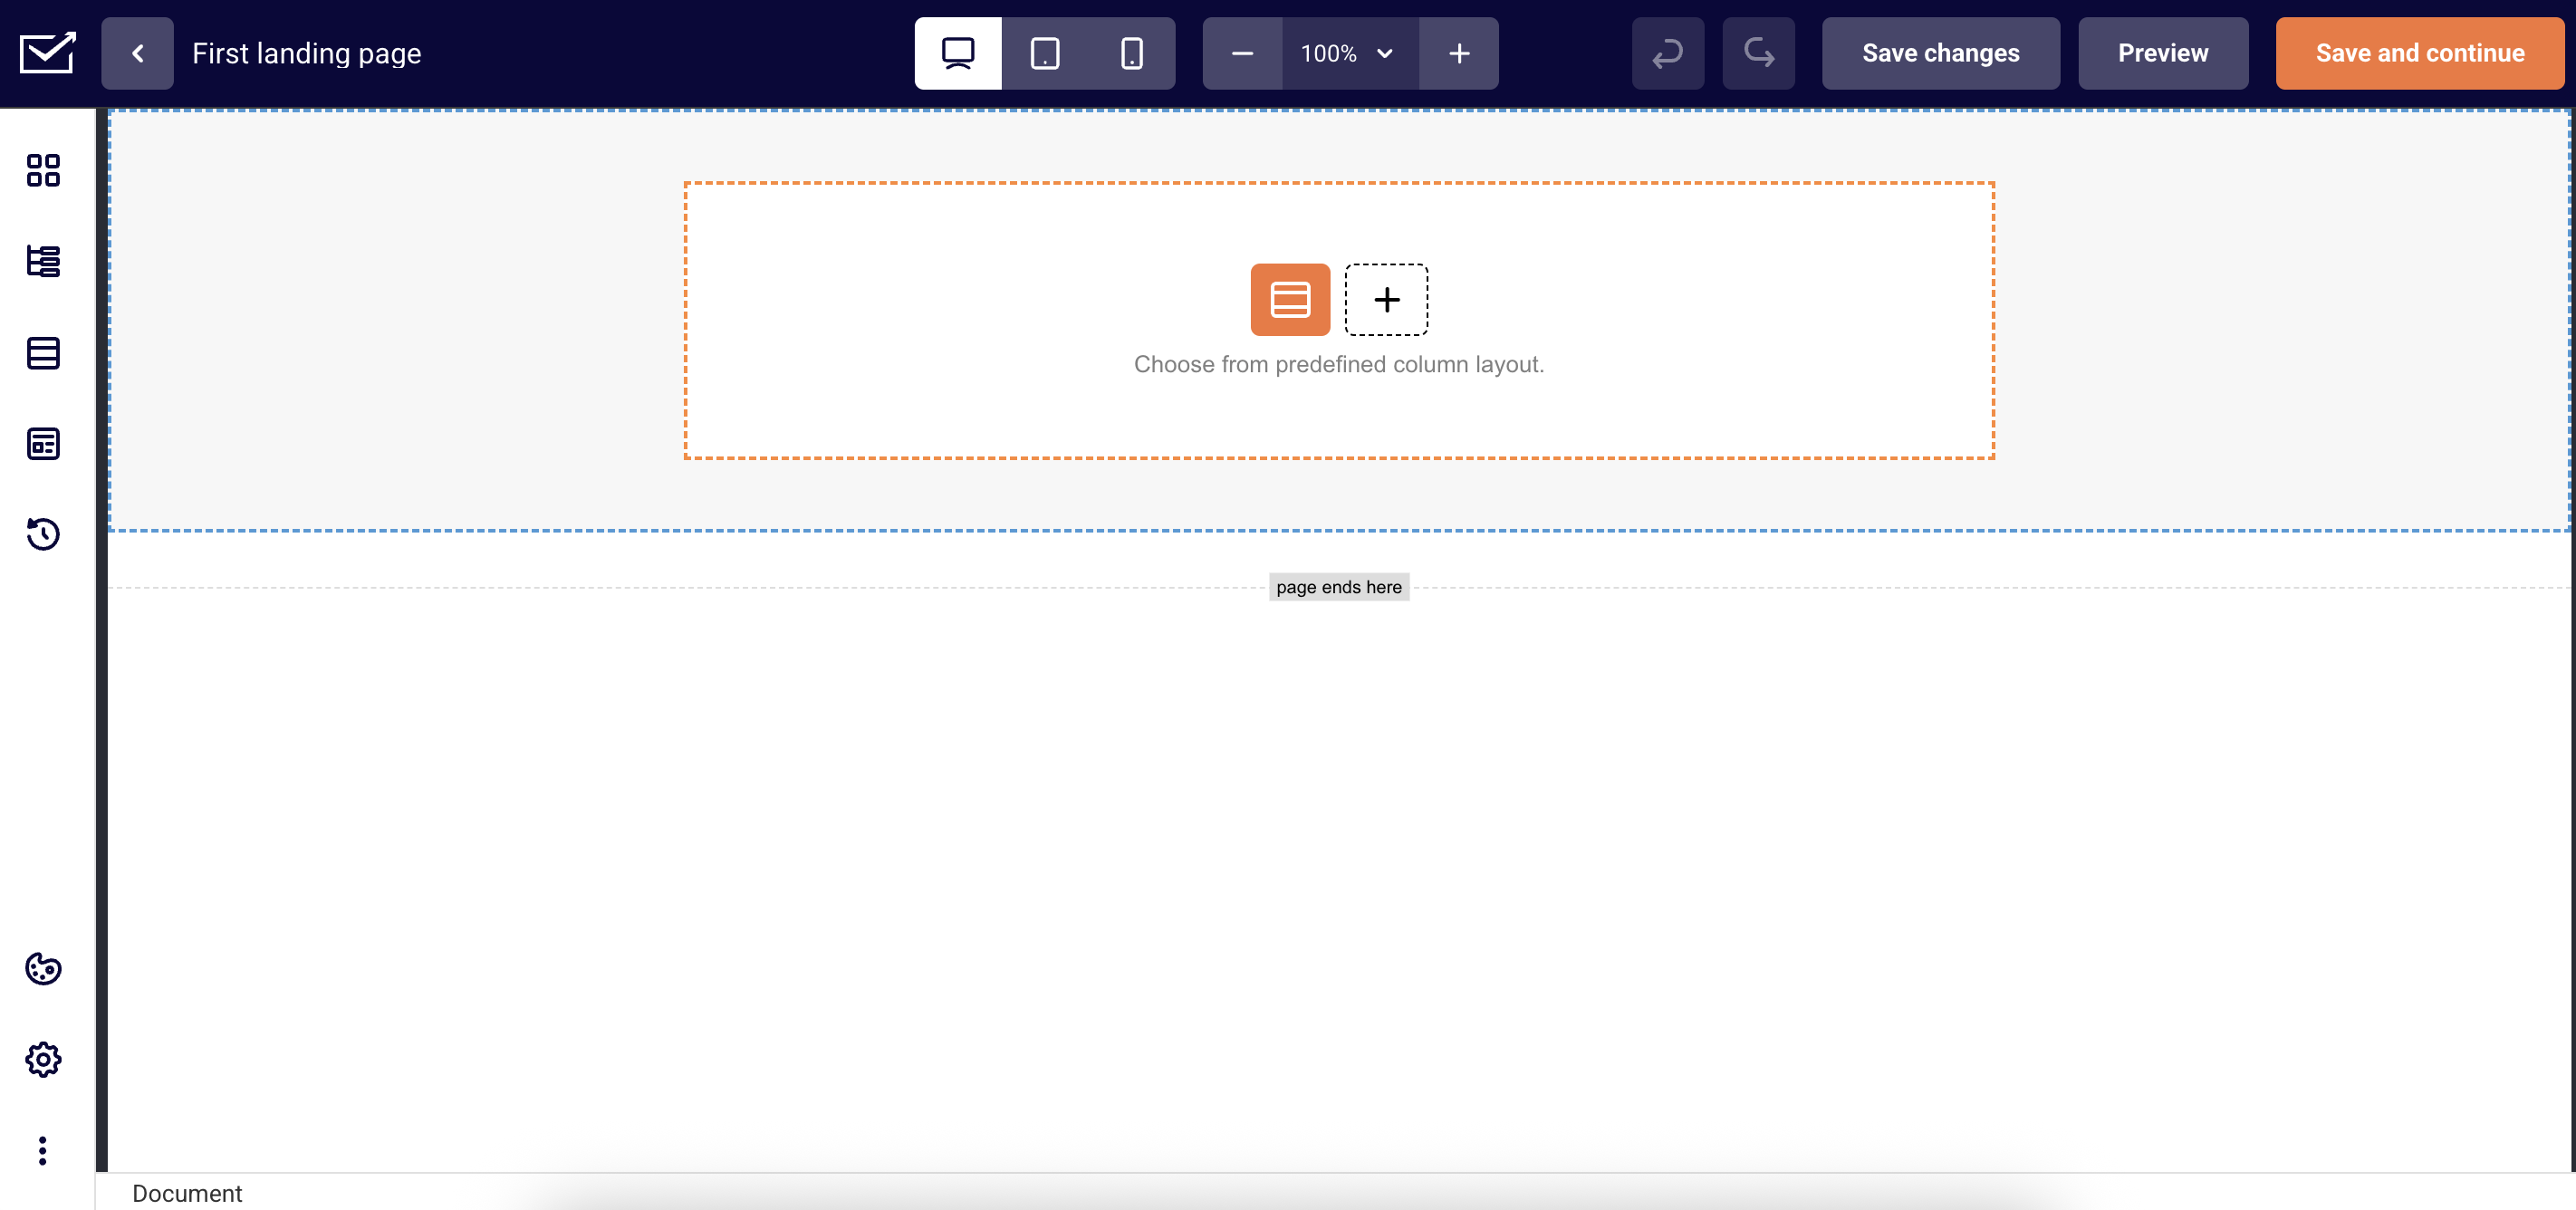
Landing page builder looks quite similar to our Drag and Drop editor made for email campaigns. It has blocks, sections and other editing tools for anything you add into your page.
Content blocks include:
Headline – Create compelling titles that capture attention and communicate your main message.
Paragraph – Insert formatted text content to provide detailed information, descriptions, and messaging throughout your page.
List – Create organized bullet points or numbered lists to present features, benefits, or step-by-step information clearly.
Buttons – Add clickable call-to-action buttons that direct visitors to take specific actions like signing up, purchasing, or contacting you.
Icon – Include visual icons and symbols to enhance your design and communicate concepts quickly and effectively.
Accordion – Display collapsible content sections that allow visitors to expand and view information while keeping your page organized and clutter-free.
Profile – Showcase team members, testimonials, or personal information with dedicated profile sections including photos and descriptions.
Social – Integrate social media links, feeds, or sharing buttons to connect your landing page with your social media presence.
Rating stars – Display star ratings and review scores to build trust and showcase customer satisfaction or product quality.
Review – Feature customer testimonials and detailed reviews to provide social proof and build credibility with potential customers.
Timer – Create countdown timers to add urgency to limited-time offers, events, or product launches.
Counter – Show animated number counters to highlight statistics, achievements, or key metrics that demonstrate your success.
Menu – Add navigation menus to help visitors easily browse different sections or pages of your website.
Progress – Display progress bars or indicators to show completion status, skill levels, or step-by-step processes.
Map – Embed interactive maps to show your business location, service areas, or event venues for easy navigation.
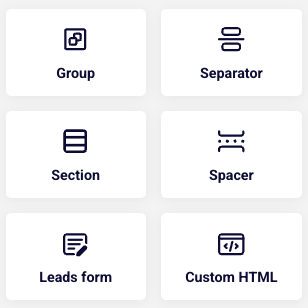
Layout options:
Column – Organize content side-by-side in flexible column layouts for better visual structure.
Separator – Add dividing lines and visual breaks to separate different sections clearly.
Section – Group related content together with customizable background colors and spacing.
Spacer – Control vertical spacing between elements to improve page flow and readability.
Leads form – Capture visitor information with customizable signup and contact forms.
Custom HTML – Insert your own code for advanced functionality and unique design elements.
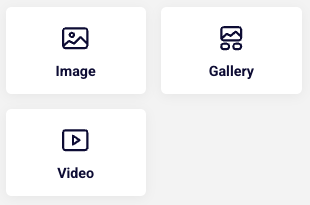
Media block:
Image – Add photos, graphics, and visual elements to enhance your message and design.
Gallery – Showcase multiple images in an organized, browsable collection or slideshow.
Video – Embed videos to demonstrate products, share stories, or engage visitors dynamically.
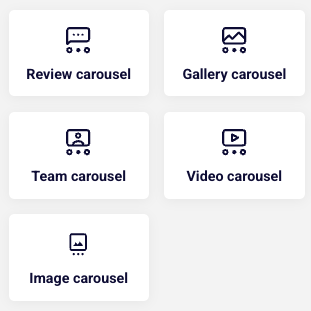
Carousel:
Review carousel – Display multiple customer testimonials in a rotating slideshow format.
Gallery carousel – Showcase collections of images that visitors can browse through automatically or manually.
Team carousel – Present your team members in a scrollable format with photos and information.
Video carousel – Feature multiple videos in an interactive slideshow for dynamic storytelling.
Image carousel – Create sliding image displays perfect for highlighting products or key visuals.
Version history:
If you need to undo edits or restore a previous version of your landing page, you can use the “Version history” feature. This tool automatically saves different versions of your work as you build, allowing you to easily revert to any earlier state of your page. Simply access the version history to view and restore any saved version whenever needed.
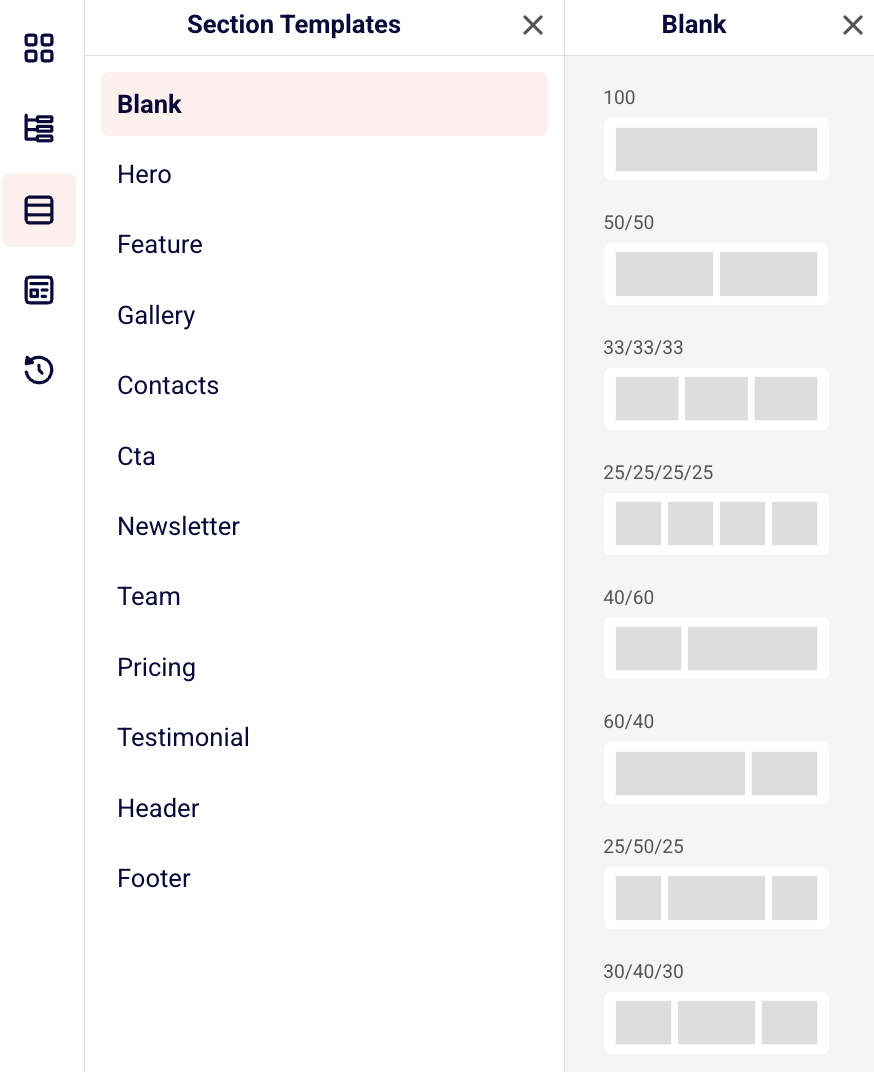
Section templates:
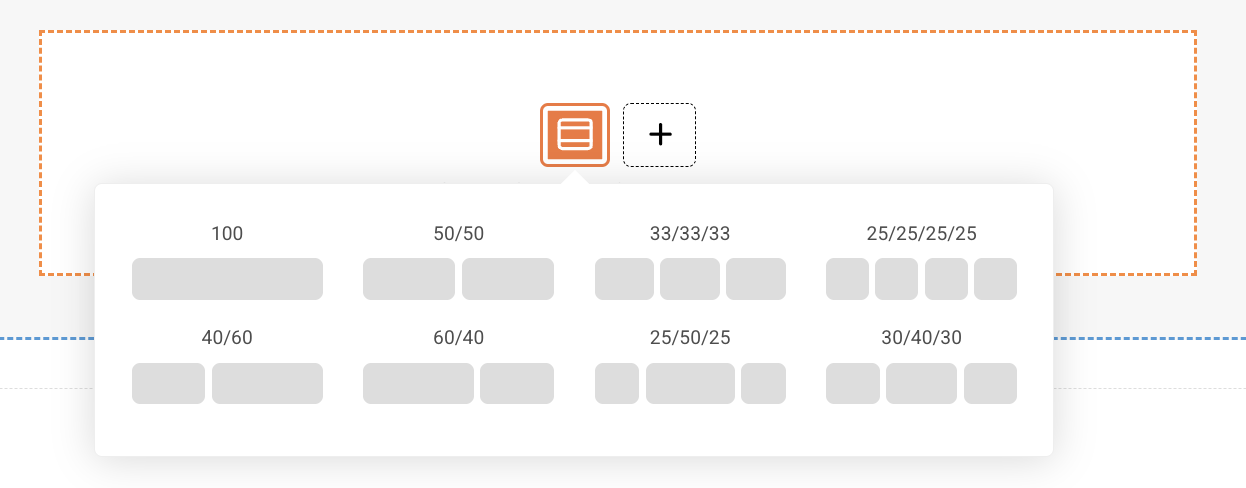
There is a variety of pre-designed section templates to help you create your landing page quickly and easily: from impactful hero sections, organized feature displays, to compelling call-to-action areas, you can choose from multiple template options for each section type.
These ready-made templates provide different layouts, styles, and arrangements that you can customize with your own content, saving you time while ensuring your landing page looks polished and professional.
You can also choose one, two or more slots when adding a new section directly in the template editor.
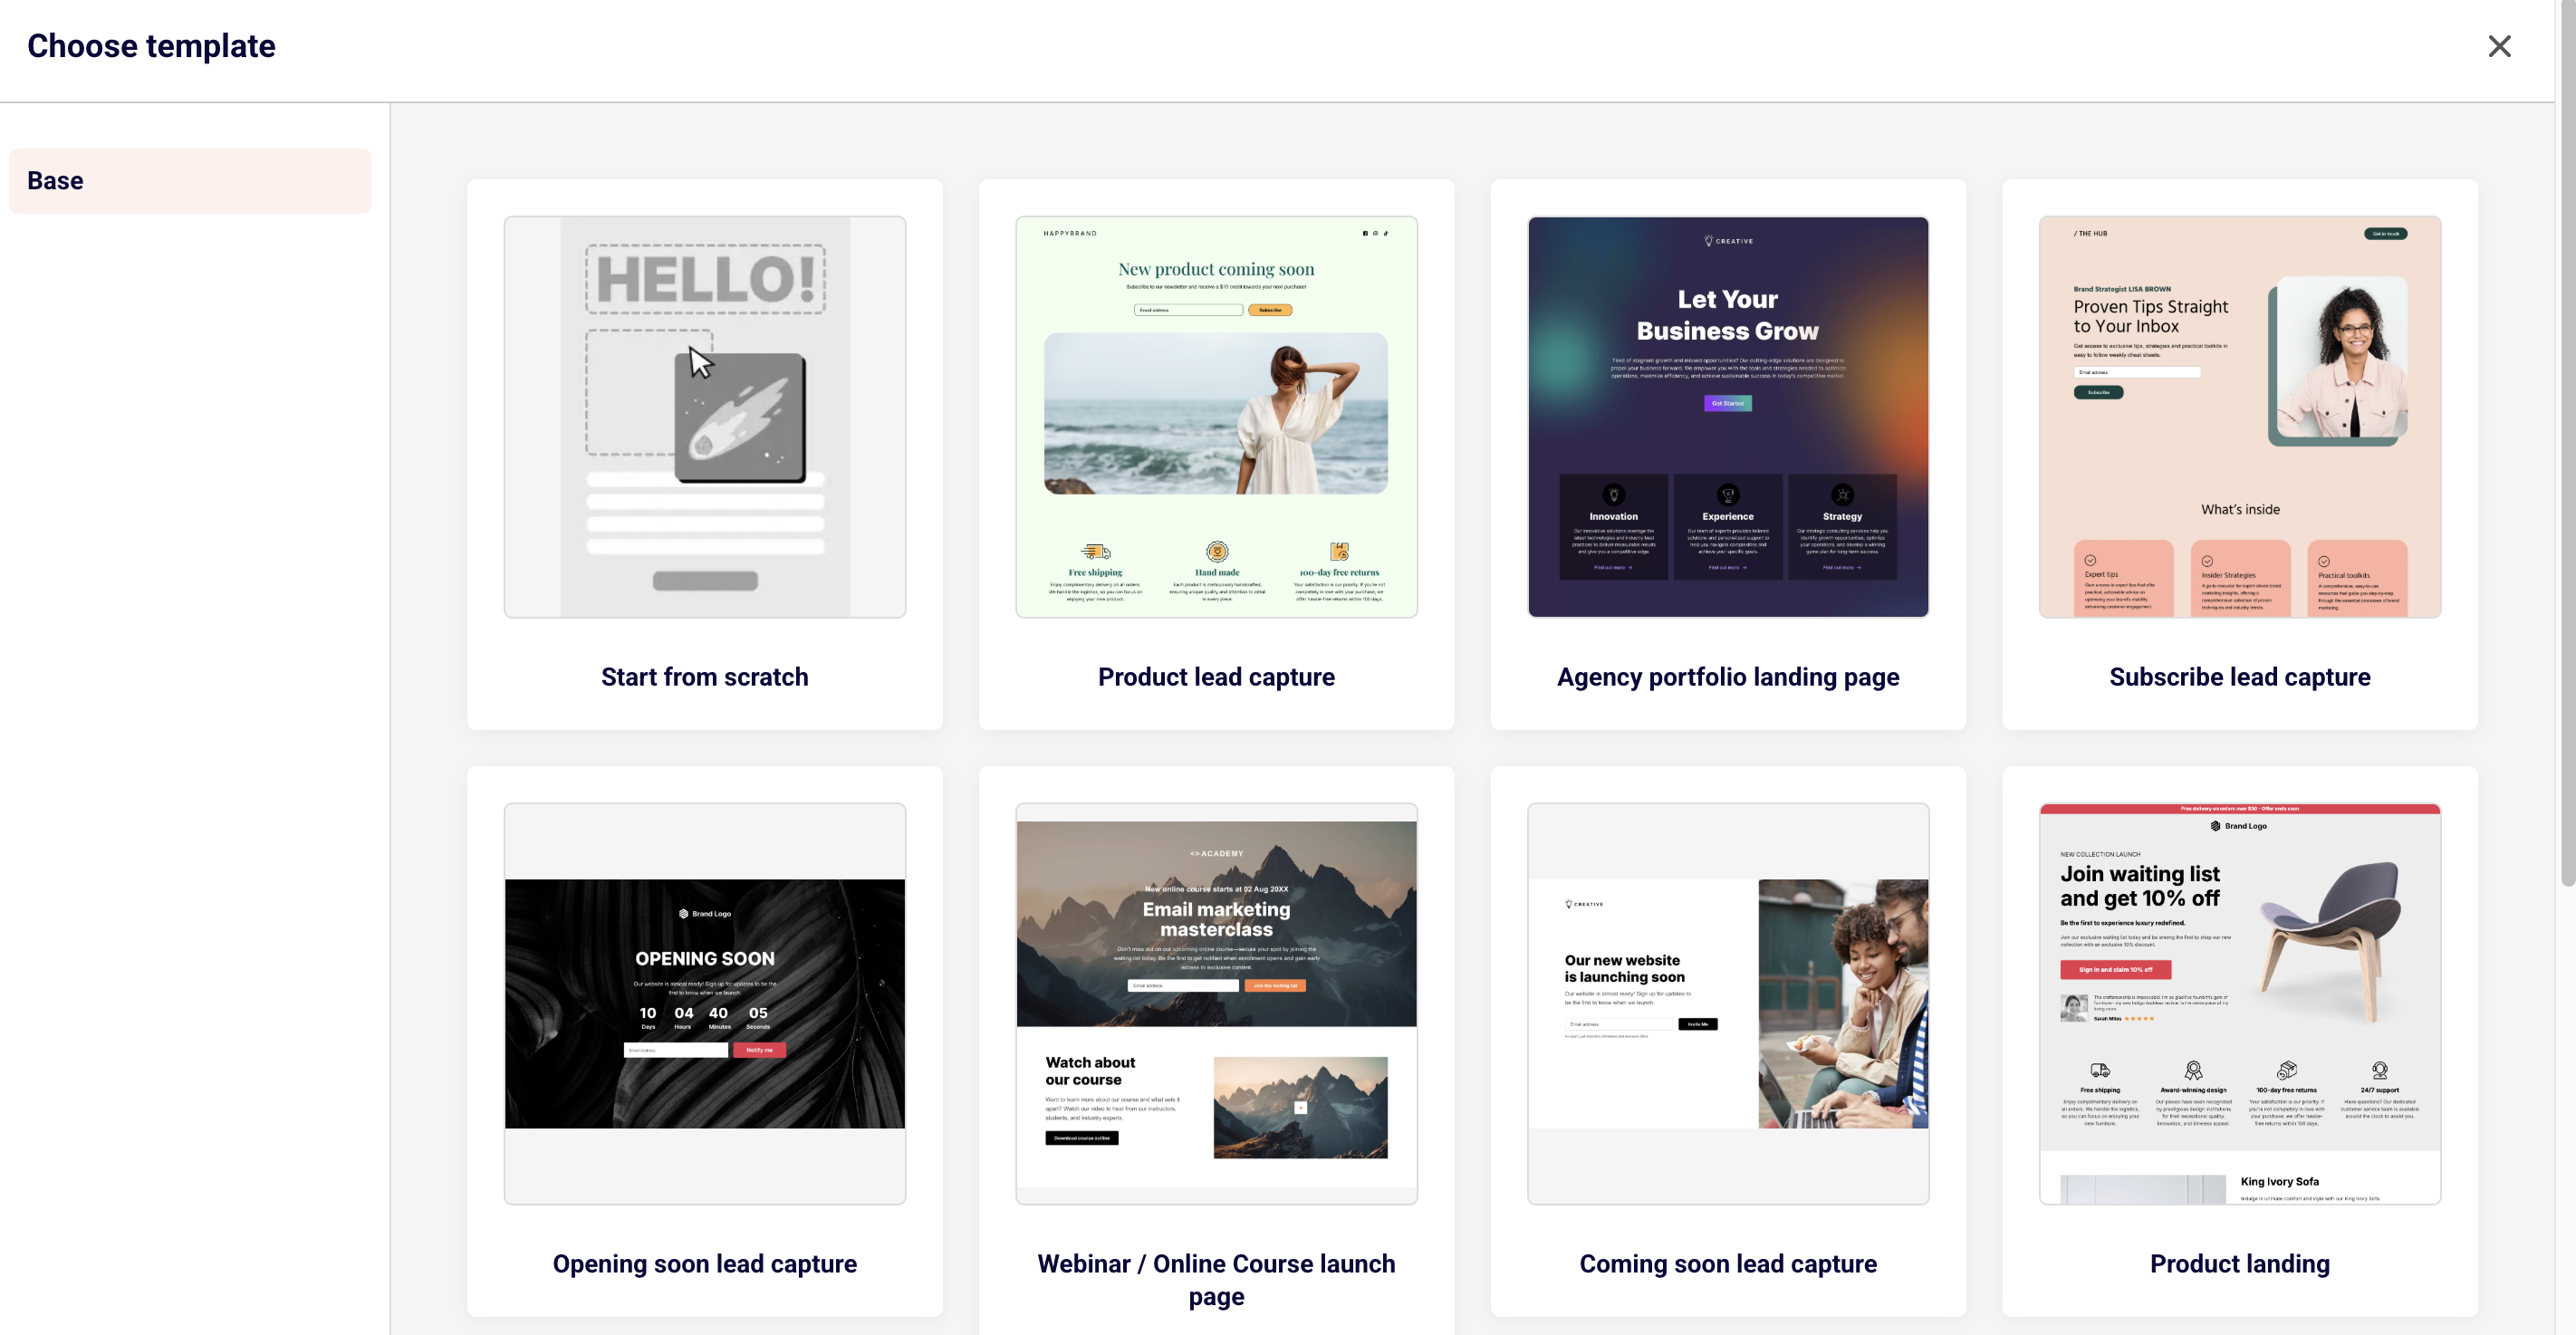
Templates:
For those who find building from scratch challenging, we offer complete landing page templates to get you started. These professionally designed templates can be easily customized with your own content and branding. Simply choose a template, replace the placeholder content, and you’ll have a polished page ready in minutes.
Editing landing page:
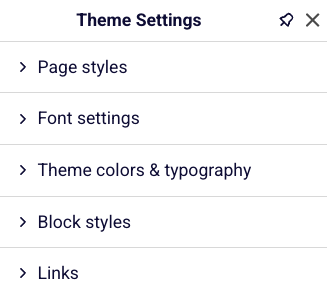
You can edit your landing page by customizing individual blocks or applying settings to the entire theme for consistent styling. Individual blocks can be modified separately to meet specific needs, while theme-wide settings allow you to control the overall appearance across your entire page.
These global settings include page style, font settings, theme colors and typography, block styles, and link formatting to ensure a cohesive and professional look throughout your landing page.
Site settings:
SEO settings – Configure your site title, craft compelling meta descriptions, add relevant tags, and upload a favicon to improve search engine rankings and click-through rates,
Global CSS – Add custom styling code that applies to your entire page, allowing for advanced design customizations beyond the standard theme options,
Scripts – Insert essential tracking codes, analytics tools, or custom JavaScript functionality to monitor performance and add interactive features,
Map settings – Enter your Google Maps API key to enable interactive location displays and mapping functionality throughout your landing page,
Social share settings – Customize the preview image, title, and description that appear when visitors share your page on social media platforms, ensuring consistent branding and messaging.
Additional notes:
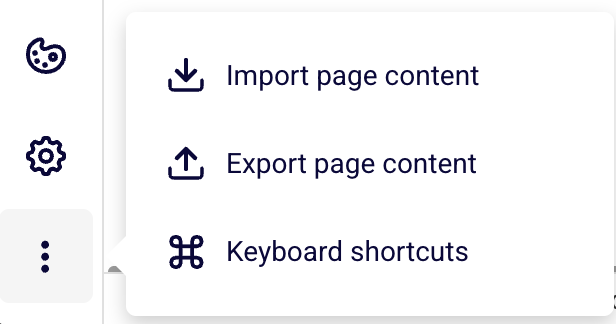
You can easily import JSON-formatted page content to quickly load existing designs or export your current landing page for backup or reuse purposes.
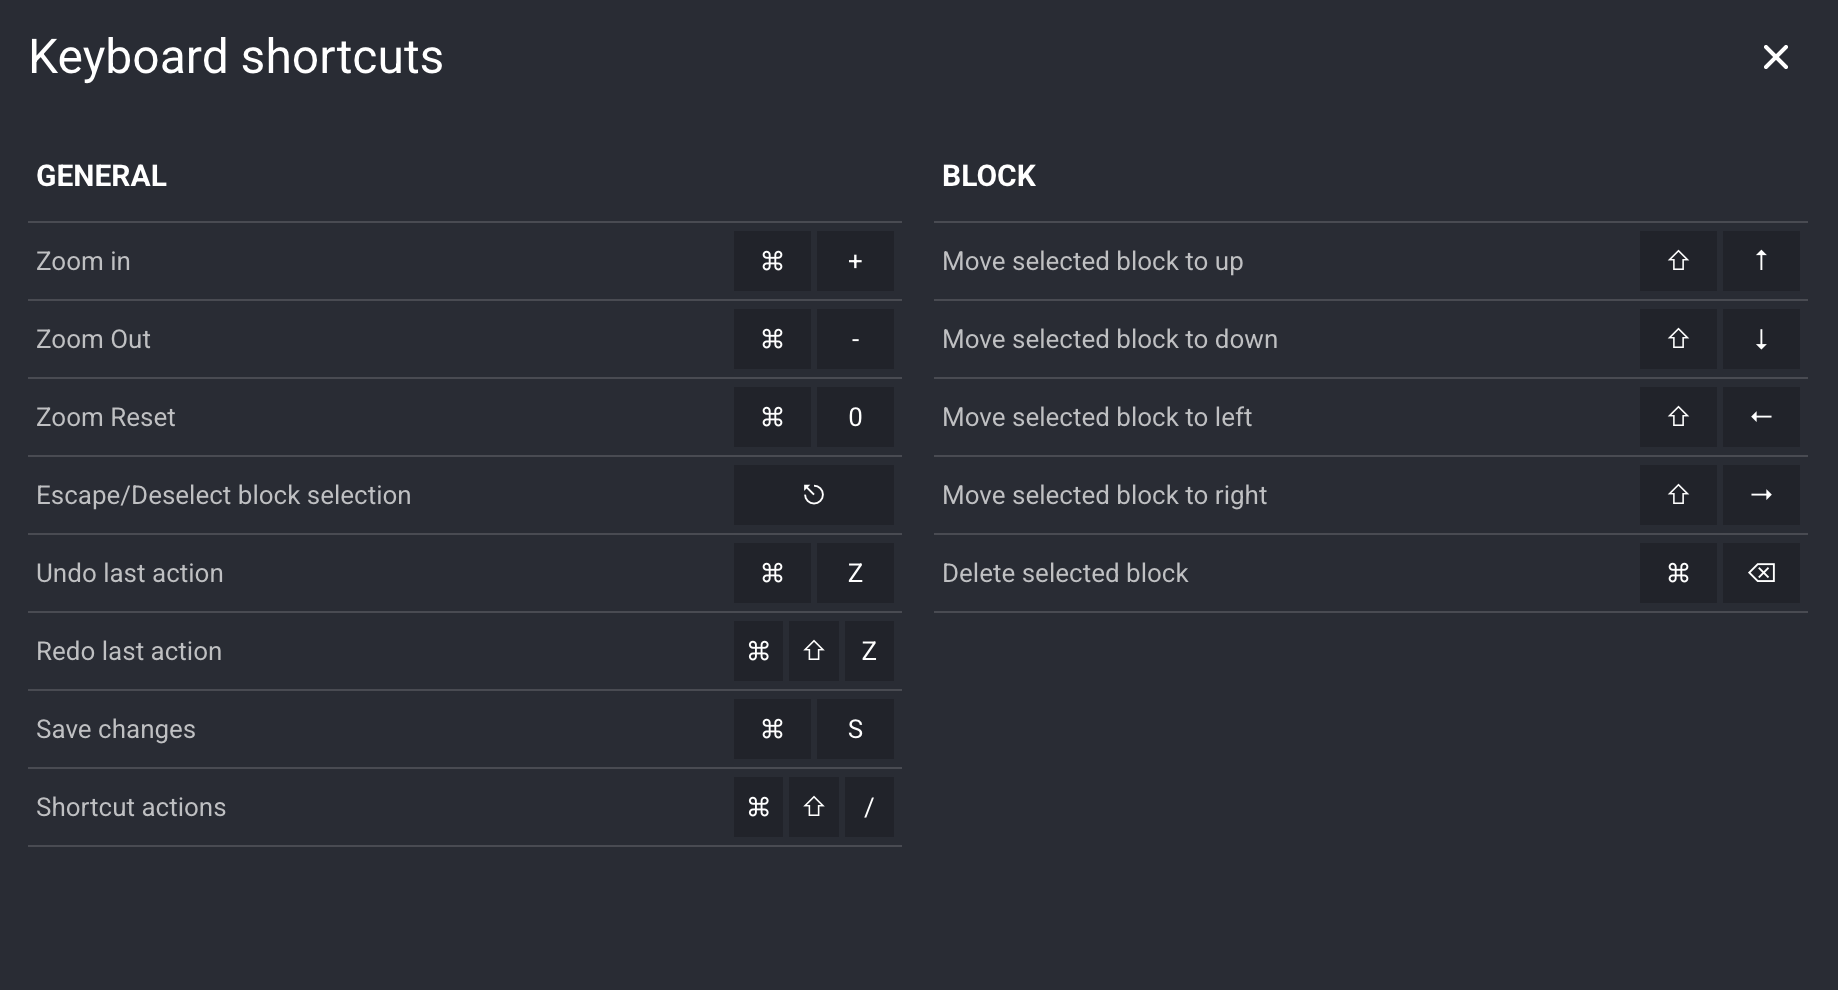
Additionally, the landing page builder includes comprehensive keyboard shortcuts to streamline your workflow and make page creation more efficient. These shortcuts allow you to build faster without constantly switching between mouse and keyboard.
If you got stuck on a specific task or can’t find a way to execute a particular job, contact our support team via LiveChat or [email protected] – we’re here to help 24/7.
Need to save or share your email campaign offline? You can easily download any of your email campaigns as a PDF file. This is perfect for archiving campaigns, sharing with team members who don’t have account access, or including in reports and presentations.
How to Download Your Campaign as PDF
Step 1: Go to Email Campaigns
Log into your Sender account.
Click Email campaigns in the left sidebar.
Find the campaign you want to download.
Step 2: Download the PDF
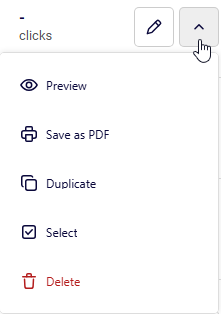
Click the Little Arrow ( ^ ) next to your campaign.
Select “Save as PDF” from the dropdown menu.
Your campaign will be downloaded as a PDF file to your device.
When to Use PDF Downloads
Team sharing – Share campaigns with colleagues who don’t have Sender access.
Client presentations – Include campaign mockups in proposals or reports.
Archive keeping – Save important campaigns for future reference.
Print purposes – Create physical copies for offline review.
Design approval – Send campaigns to stakeholders for approval before sending.
What’s Included in the PDF
The PDF download captures your complete email design exactly as recipients would see it, including:
All text content and formatting
Images and graphics
Layout and styling
Header and footer elements
All of the links that were used in the campaign
The Bottom Line
Downloading campaigns as PDFs is a simple way to share, archive, and present your email designs outside of the Sender platform. It’s especially useful for getting approvals, creating documentation, or sharing work with people who don’t need full account access.
That’s it!
If you got stuck on a specific task or can’t find a way to execute a particular job, contact our support team via LiveChat or [email protected] – we’re here to help 24/7.
Need to create a new landing page similar to one you already have? Duplicating saves time and lets you build on what’s already working. Instead of starting from scratch, copy your best-performing page and modify it for new campaigns.
Why Duplicate Landing Pages?
Save time – No need to rebuild layouts and designs from scratch.
Keep consistency – Maintain your brand look across campaigns.
Build on success – Start with pages that already convert.
Easy A/B testing – Create variations to test different elements.
Scale campaigns – Quickly launch multiple similar campaigns.
How to Duplicate a Landing Page
Step 1: Access Your Landing Pages
Log into your Sender account
Go to Landing pages in the left sidebar
Find the page you want to duplicate
Step 2: Duplicate the Page
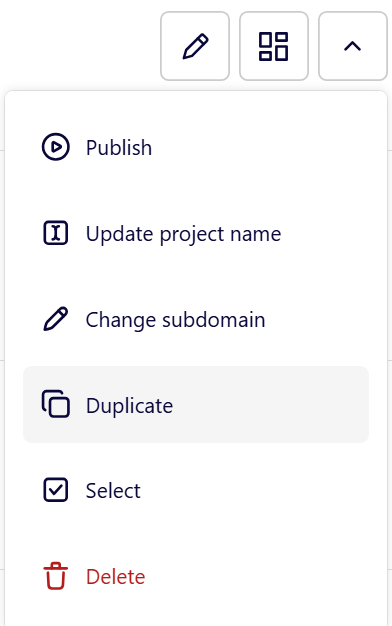
Click the Little Arrow (^) next to your chosen page
Select “Duplicate” from the dropdown
Your page is copied instantly
Step 3: Customize Your Copy and Update:
Page name and subdomain
Headlines and offers
Images and graphics
Call-to-action button text
Form fields if needed
Best Practices
Choose the Right Page to Copy
Start with your highest-converting pages
Pick pages with similar goals to your new campaign
Consider your target audience
What to Always Change
Page title and headlines
Offer details and pricing
Images and graphics
Call-to-action button text
Smart Organization
Use clear names: “Summer Sale – Facebook Ads”
Update subdomains for different campaigns
Keep track of which page came from which
Common Use Cases
Seasonal campaigns – Copy holiday pages for new seasons
Different traffic sources – Adapt the same offer for Facebook vs Google ads
A/B testing – Test different headlines while keeping everything else the same
Product launches – Use successful product pages as templates
Audience targeting – Create versions for different customer segments
After Duplication:
Test Everything:
Check all links and buttons work
Verify forms submit properly
Test on mobile and desktop
Make sure images load correctly
Check that conversion tracking works
Monitor performance vs the original
Troubleshooting
Page won’t load? Check for broken links or missing images.
Changes not saving? Make sure you’re in edit mode and try refreshing.
Looks different? Some elements might need to be reconfigured after copying.
The Bottom Line
Duplicating landing pages is the fastest way to scale your marketing. Start with what works, customize for new campaigns, and launch faster than building from scratch.
That’s it!
If you got stuck on a specific task or can’t find a way to execute a particular job, contact our support team via LiveChat or [email protected] – we’re here to help 24/7.